Sponsor Tool
Purpose
To have a central location where all sponsor logos are managed. Logos here are used across all our various events and web platforms. All logos entered here can be reused and referenced in multiple ways.
Top uses include but are not limited to:
- Sponsor Logos pages
- Sponsor Logos rotators
- Exhibitor Logos
- Session Sponsor Logos
Logging in
-
To begin, load https://sponsorlogo.informamarkets.com/ in your web browser
- A Service Now ticket is required for an initial username and login access to the tool

-
Click “Login” in the upper right corner; enter the username and password provided to you

-
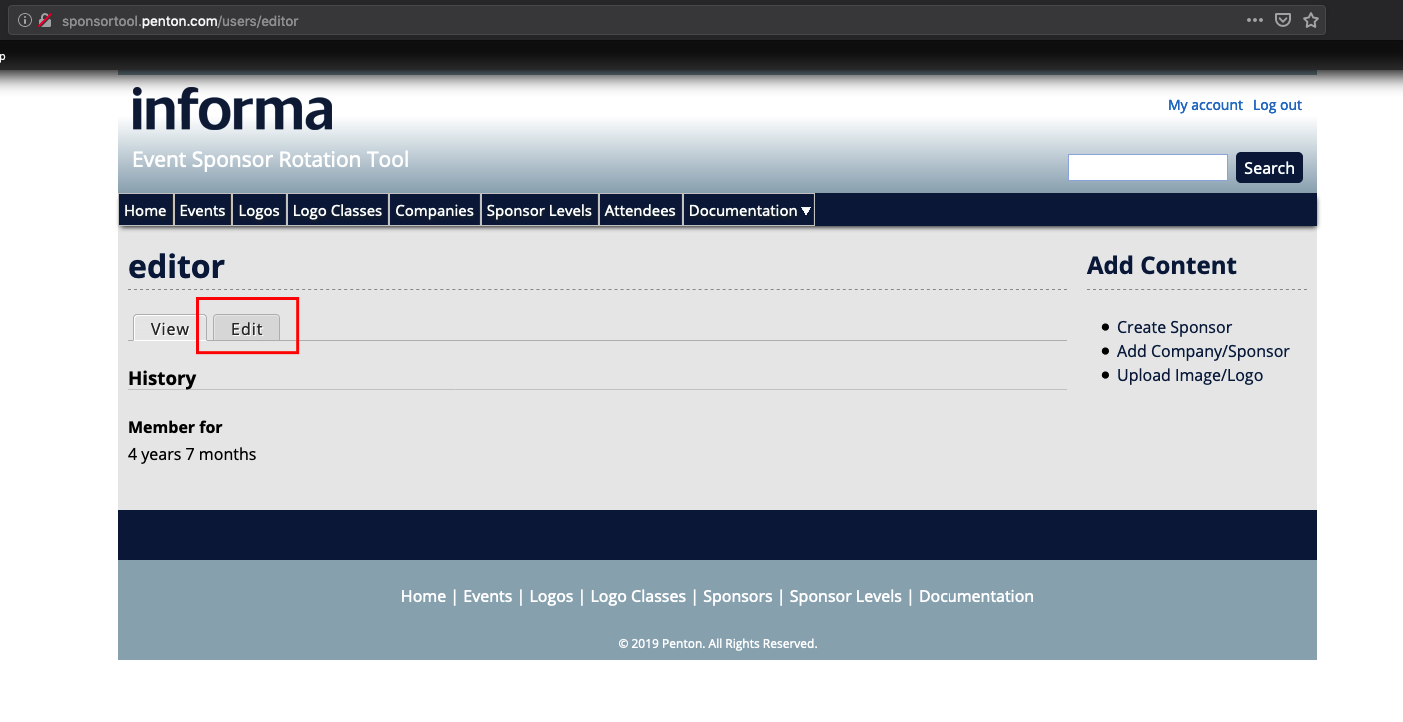
After logging in, you’ll notice an “Edit” tab under your username. Click this tab to update your email address and password
-
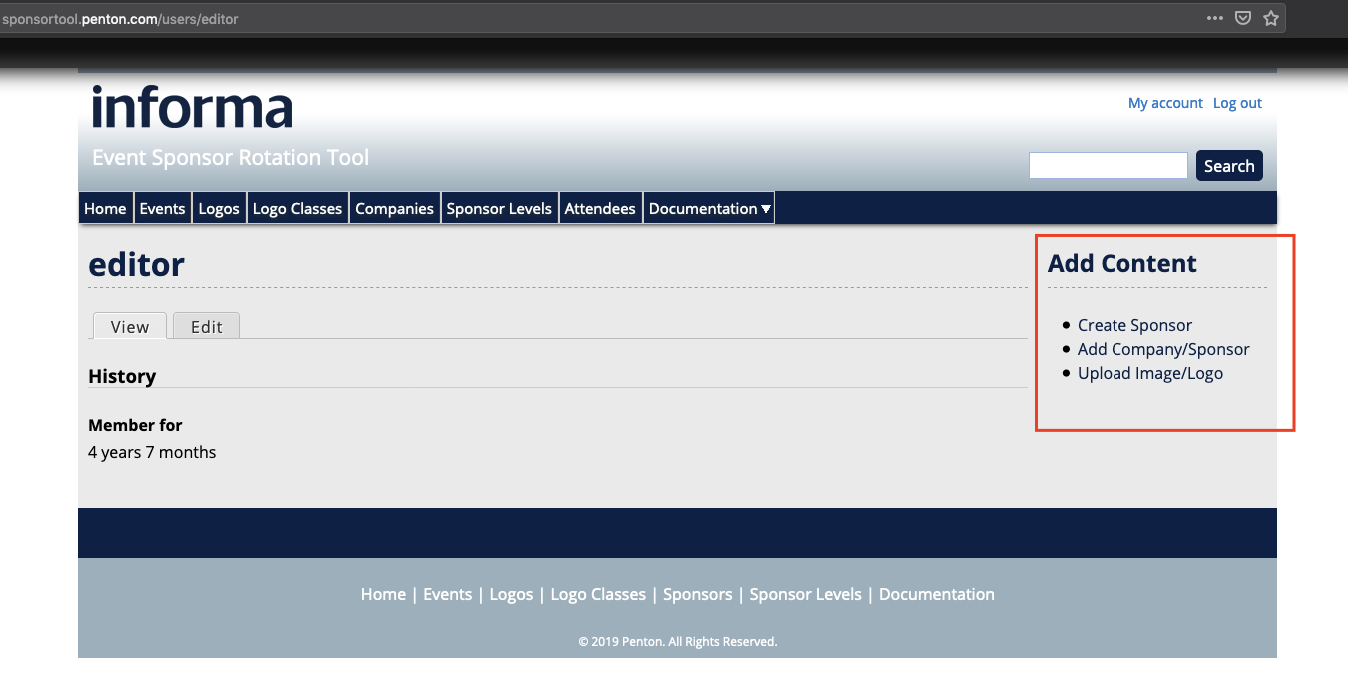
Options on the right sidebar under the “Add Content” heading are where you can create sponsor logos
Creating A Sponsor
All questions with a "*" must be answered/are required
-
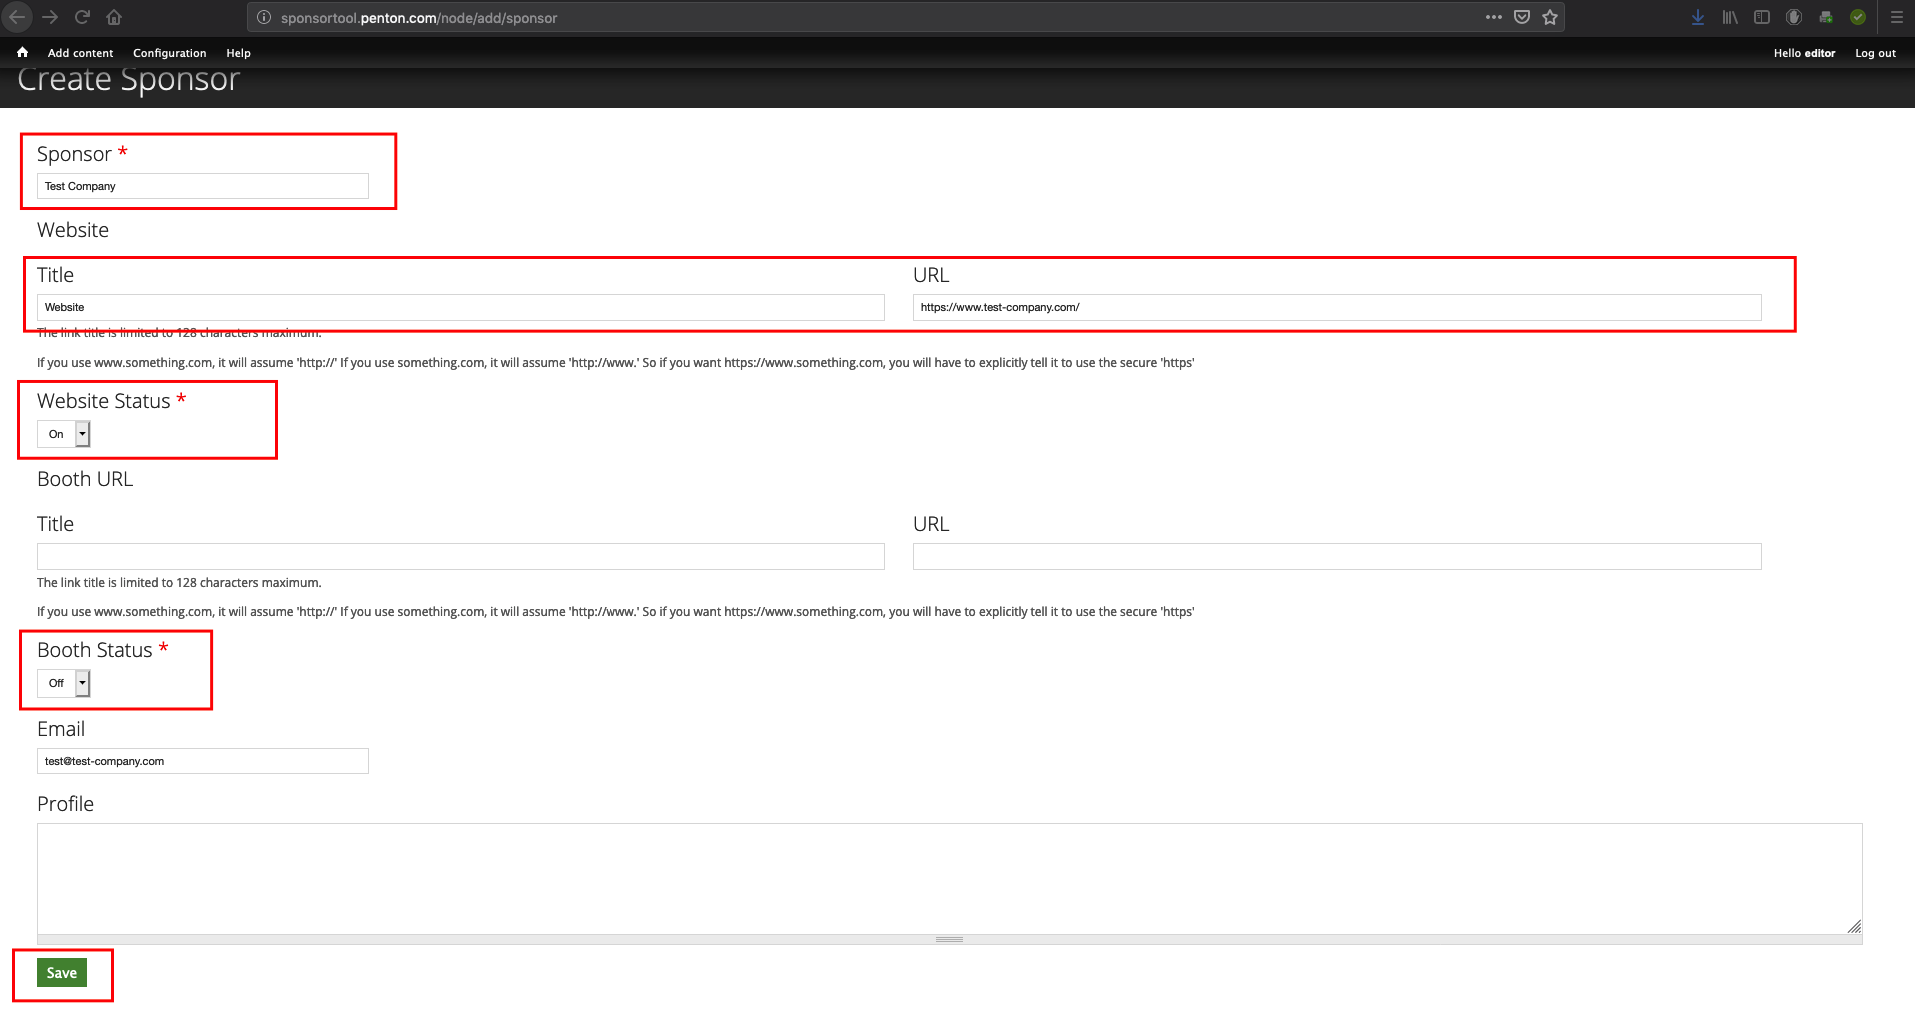
Under the “Add Content” header, click the “Add Company/Sponsor” link if the “Company” does not already exist. If the company does exist in the tool, skip to 3
-
Enter the following information:
- Company Name
- Website title (we usually just use “Website”)
- Website URL (ex. https://www.google.com/)
- Leave booth URL alone unless needed
- Change booth status to off
- Click the Save button at the bottom
-
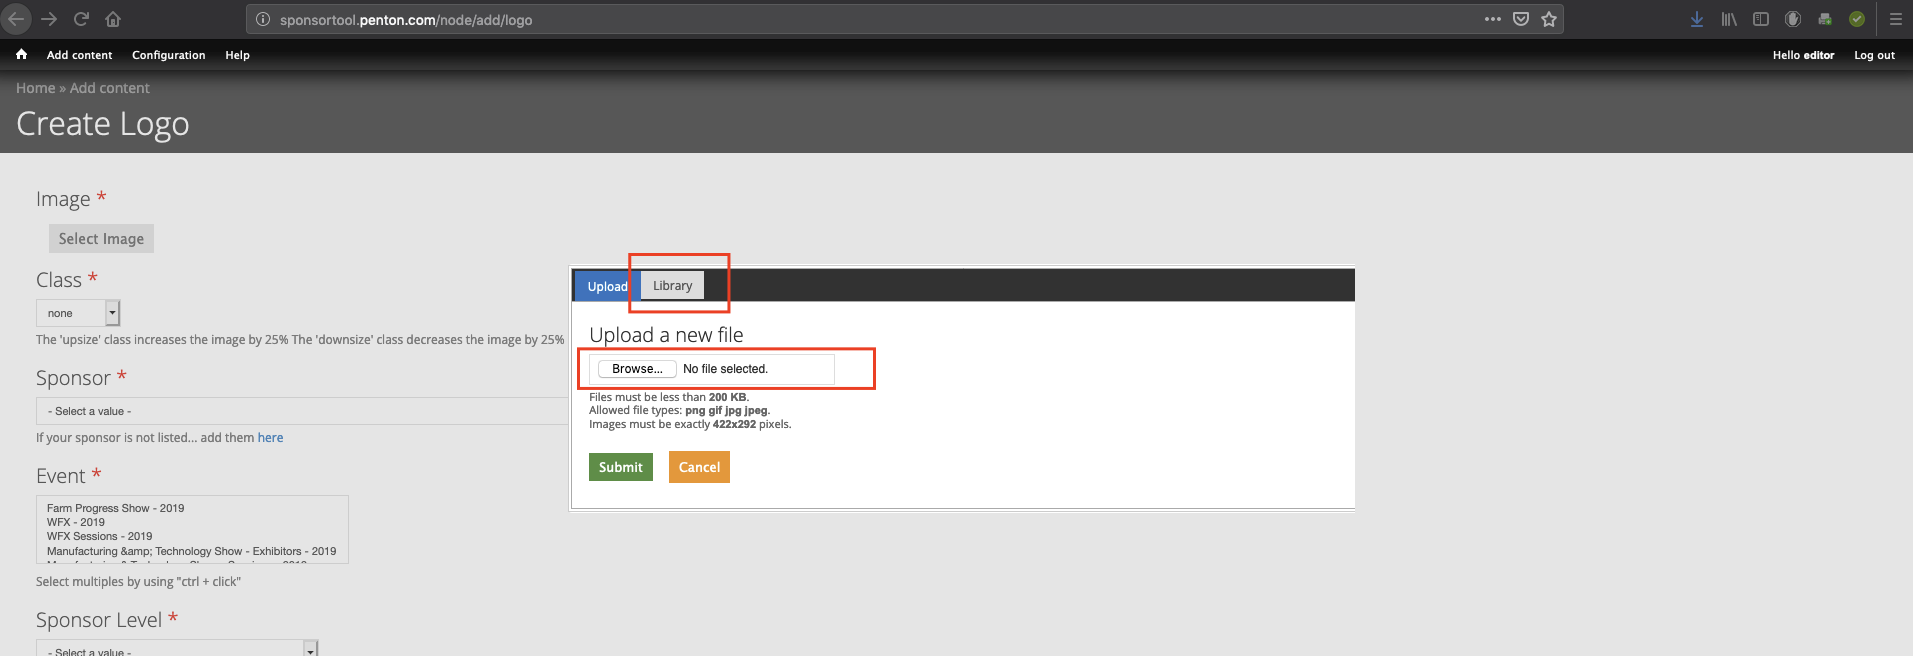
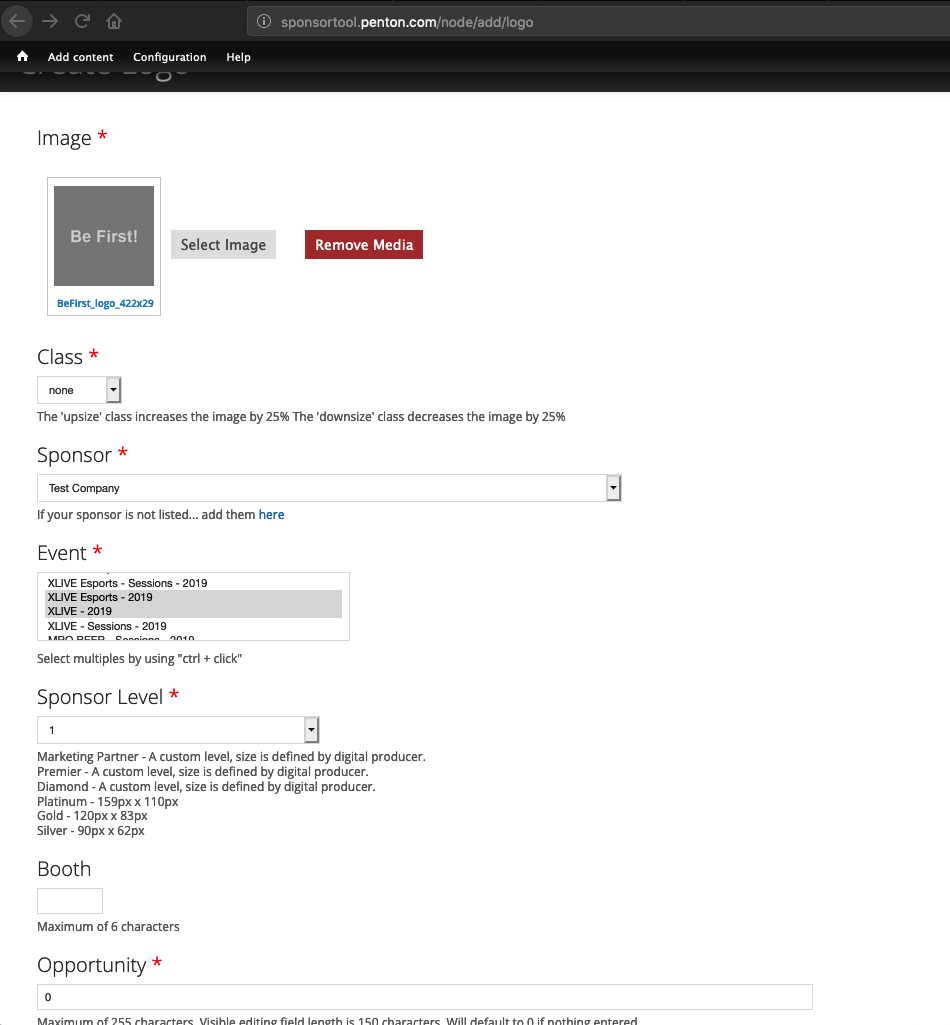
Next, under the “Add Content” header click “Create Sponsor” link and begin by clicking “Select Image” button.
-
The image/logo you select:
- Must be a .png that’s 422x292px, preferably transparent. If you can’t create this logo yourself, please contact the art department or put in a ticket with the web group. Logos that are the wrong size or format will not upload.
- Can also be from the Library tab if your logo has been uploaded recently or if you used the “Upload Image/Logo” from the “Add Content” sidebar
- Click the green Submit button
-
Continue down the page and fill out the following:
- Class can usually stay what it is, unless the logo is extra small, then the upsize class can be used (use downsize for extra large logos)
- Sponsor the corresponding company to the logo entered
- Select Event(s) from the list. You can select multiple events by ctrl clicking (cmd clicking on a Mac) them
- Choose Sponsor Level number from the drop-down. Numbers can only be used. We default to sponsors being three tiers: 1: Platinum, 2: Gold and 3: Silver, but many custom tiers can be used. Please check your Events Description in the Sponsor Logo Tool https://sponsorlogo.informamarkets.com/ or consult with the web team about what levels are available on your event, otherwise they may not show up or will show up in the wrong order.
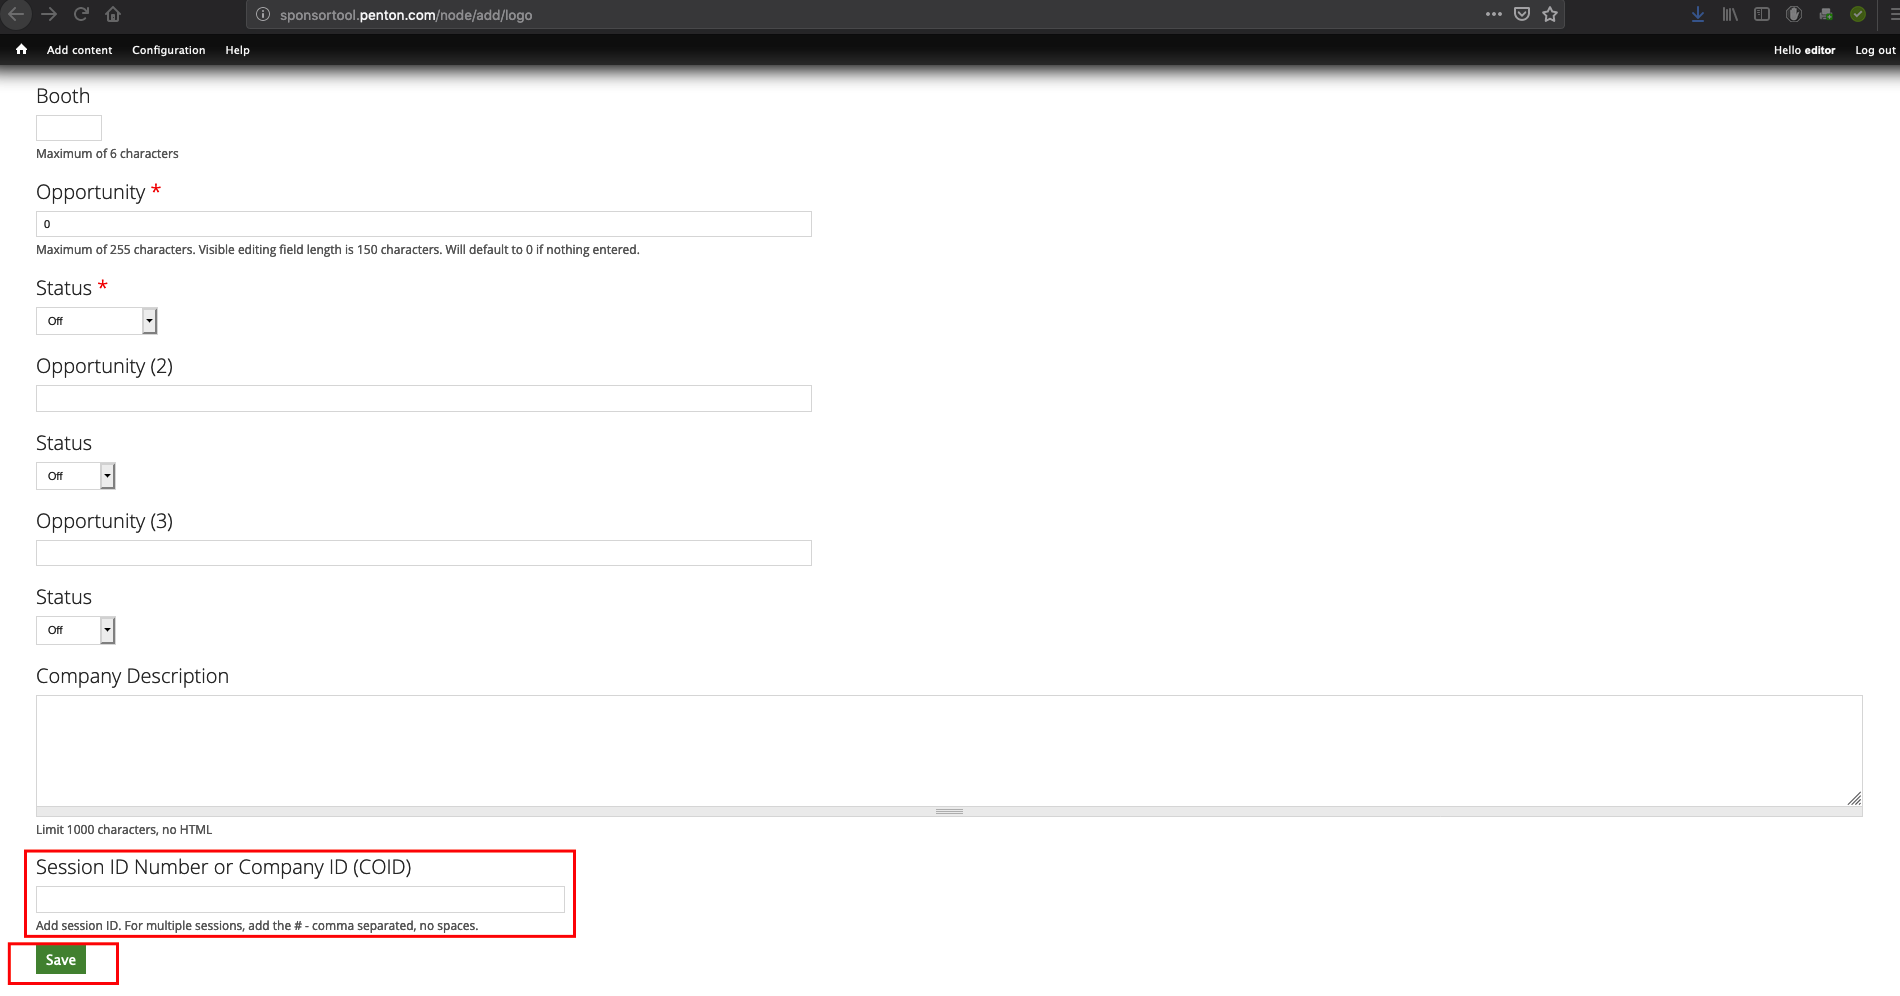
- Opportunity (1-3) are often not used so leave them with the “0” default value unless your show does
- Status on the first Opportunity is required set this to “Off” unless your show specifically needs the opportunity field enabled
- All remaining fields are optional and should be left as is. Please note Session ID Number or Company ID (COID) can be entered here to enable Exhibitor List Logos and Session Sponsor Logos if enabled by the web team.
-
Be sure to Click the Save button at the bottom
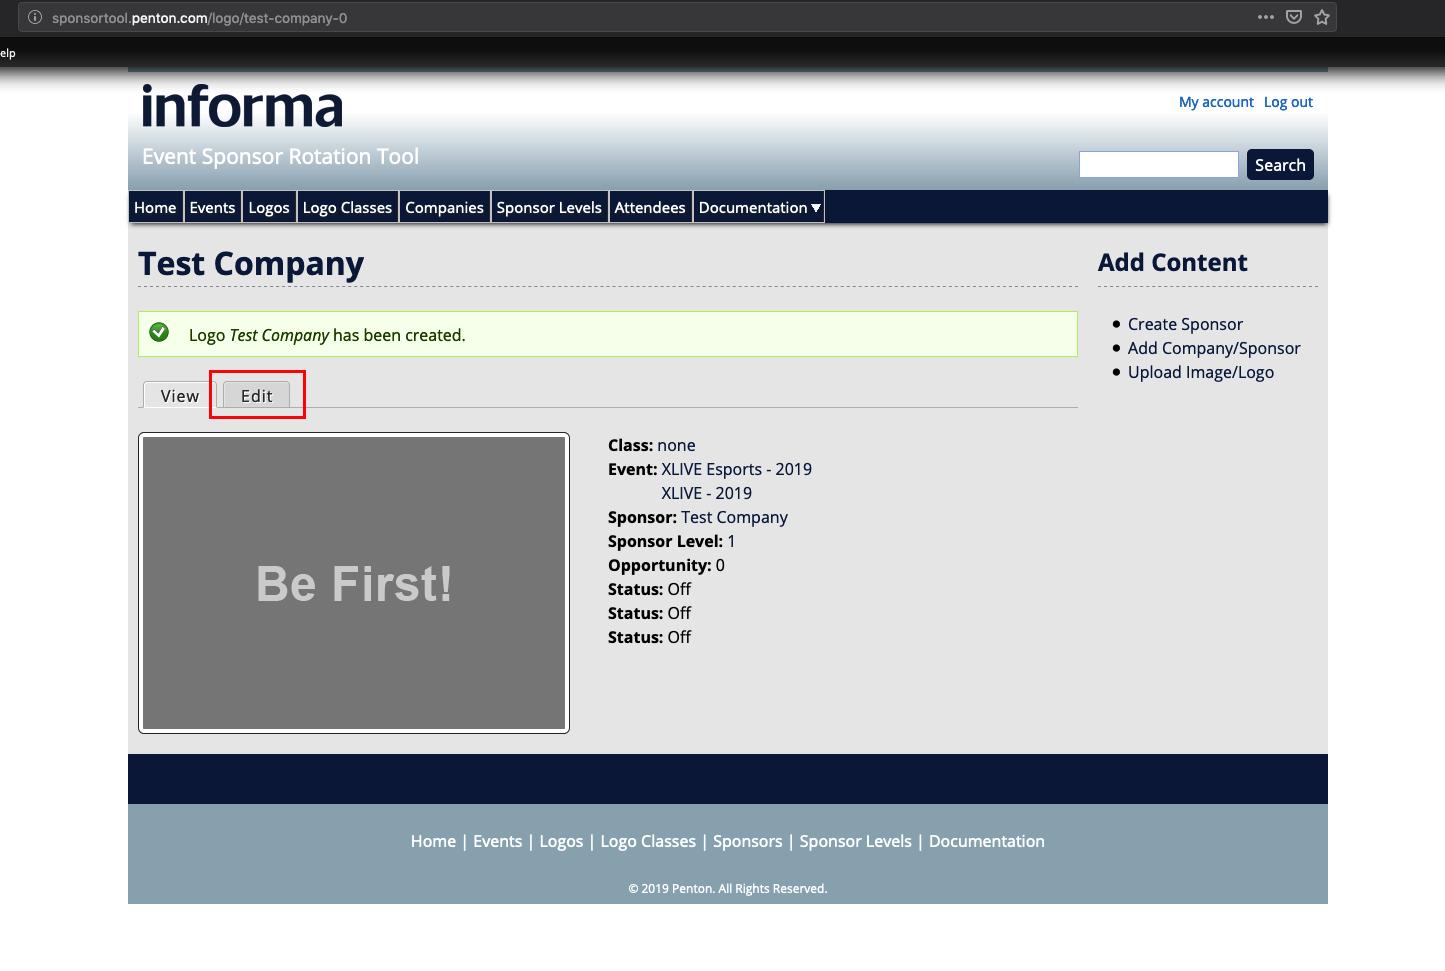
- You have now just successfully added a sponsor to your show.
Editing A Sponsor
-
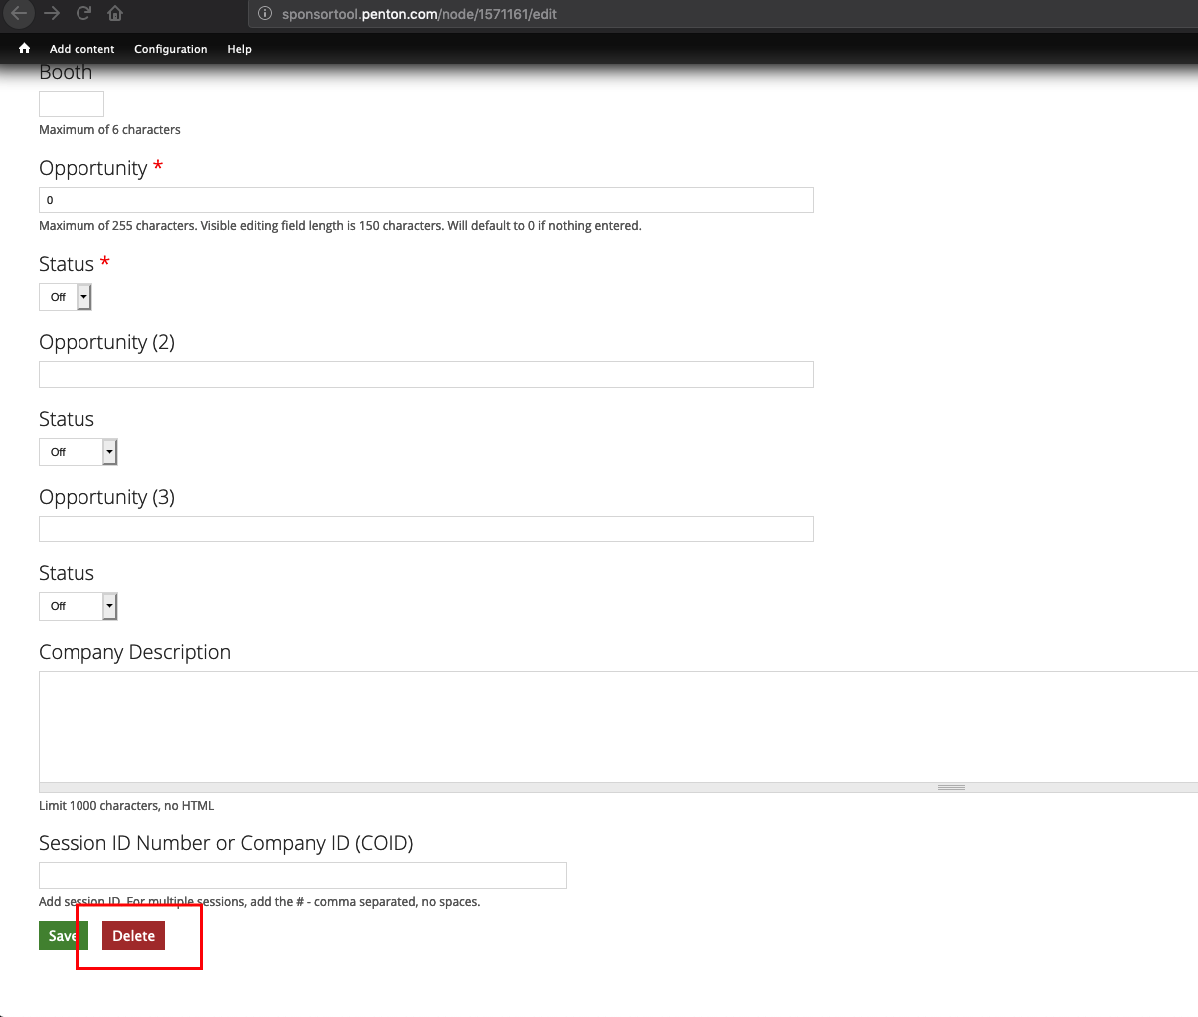
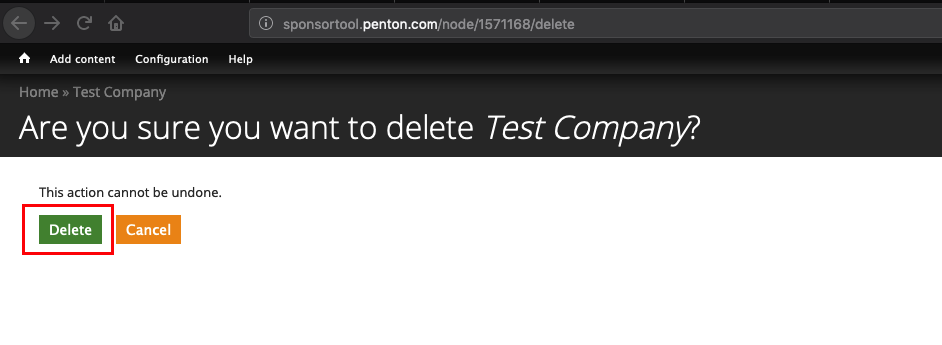
Clicking on the Edit tab in the above view (also found from clicking on the images on the Homepage https://sponsorlogo.informamarkets.com/) will enable editing a logo again or deleting it entirely
-
While the delete action cannot be undone, it does not delete either the “Logo” or the “Company” from the Sponsor Logo Tool
-
You can repeat these steps to add as many as you need.
FAQ
Do I have to fill out every field on the Create Sponsor page?
No. The more you fill out the better, but only the fields with a ” * “ are required.
I cannot remember my email or password?
Please open a ServiceNow ticket describing your issue and the URL you are not able to access. All logins are firstname.lastname and the “Request new password” is available if you recall the email you signed up with.
How do I get more help
Please open a ServiceNow ticket describing your question or issue, which site you are working on, and what page(s) you are modifying