Sponsor Opportunities Tool
Purpose
To have a central location where all sponsor marketing Opportunities are managed. Opportunities here are used across all our various events and web platforms. All Opportunities can be reused and referenced in multiple ways.
Top uses include but are not limited to:
- Central location for all Sponsorship and Marketing Opportunities
- Sorting, highlighting and sharing show specific Opportunities
- Showing all current Opportunities details and statuses
- Additional location/value added for Sponsor Logos
Process
To begin, go to: https://opps.informamarkets.com in your browser of choice.
If you do not see a specific Event, either main parent category or specific year in the Events List you’d like to update, please submit a Service Now ticket: Service Now ticket requesting that the new Event be built out by the Web Department.
If a ticket is necessary, please be sure to note all of the following:
- The Event name and date
- Specific levels the Opportunities should include
- Specific types the Opportunities should include
- If all the Opportunities from the past year should be copied forward (or not)
- After ticket response:
- The Web Department will provide a working page:
 , that is hidden in the sites:
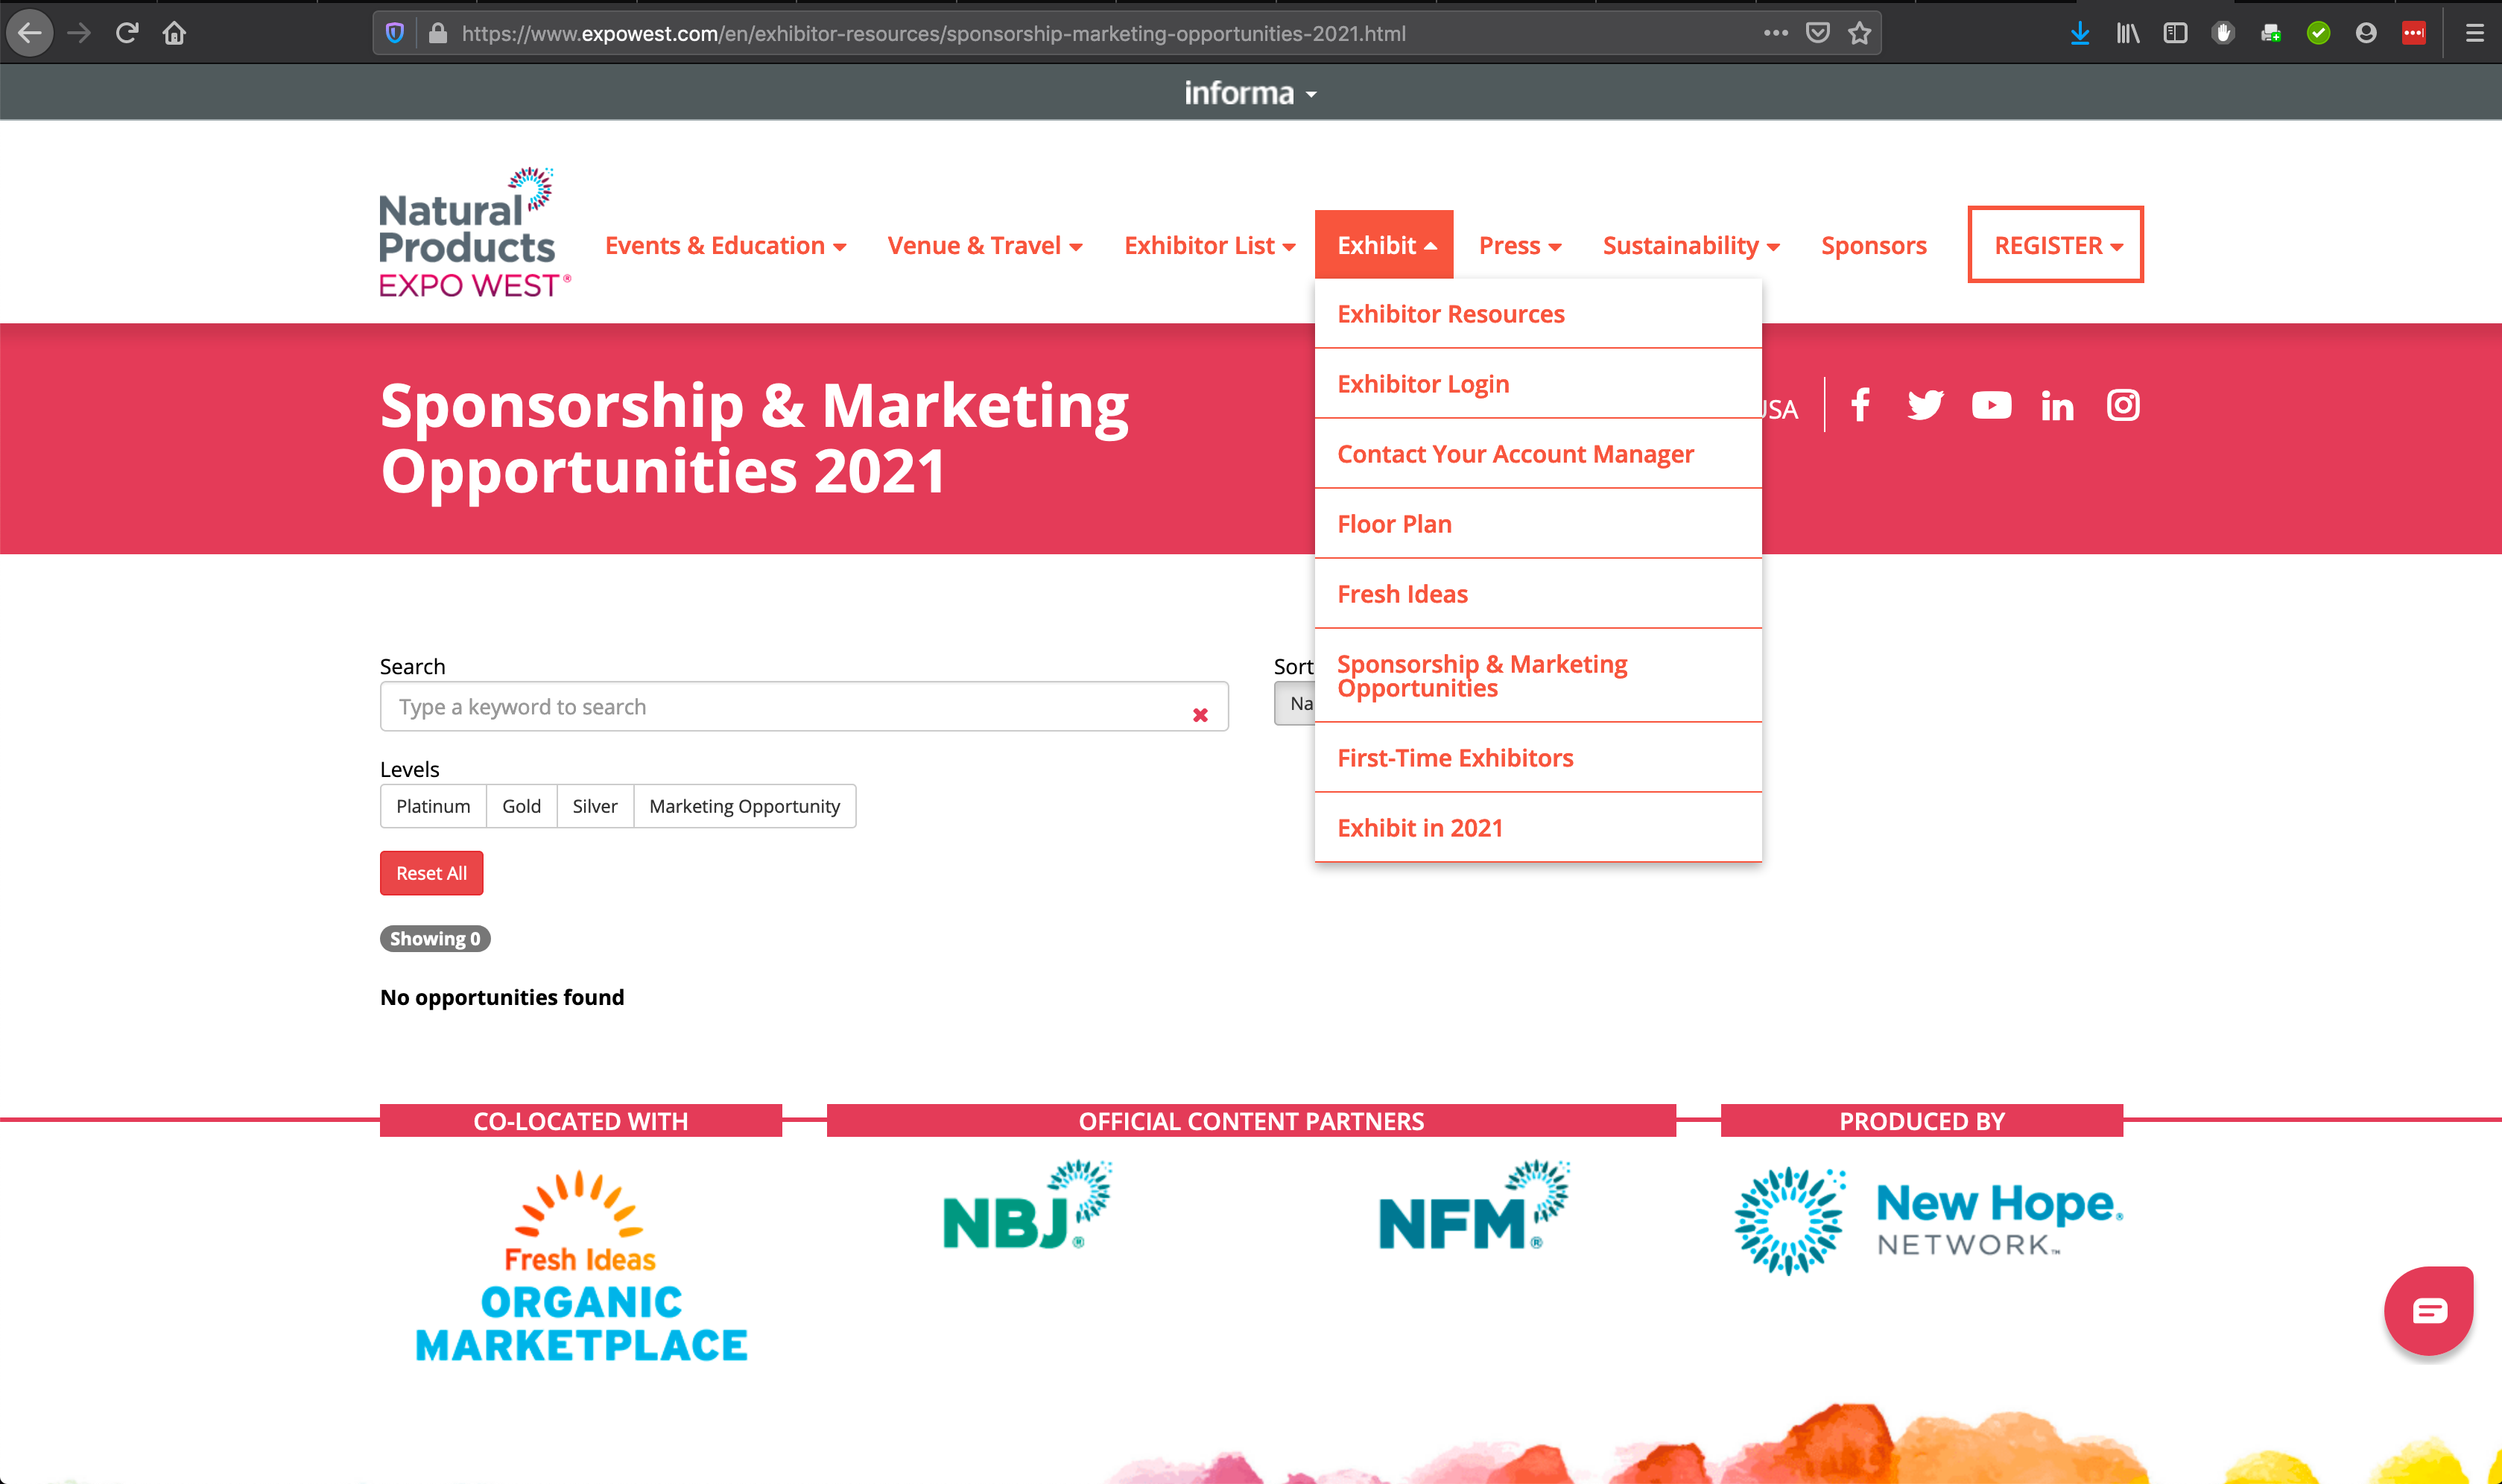
- Please close that ticket (any new issues will need a new ticket) and begin editing and publishing all of the Opportunities as needed
- The Web Department will provide a working page:
With all Opportunities ready, the Marketing Content Team can then go and make the provided page live.
Please note, the Web Department does not manage content, and as these pages need content to function: web can give you a start but cannot work across purposes as you edit (turn on/off) Opportunities
Logging in
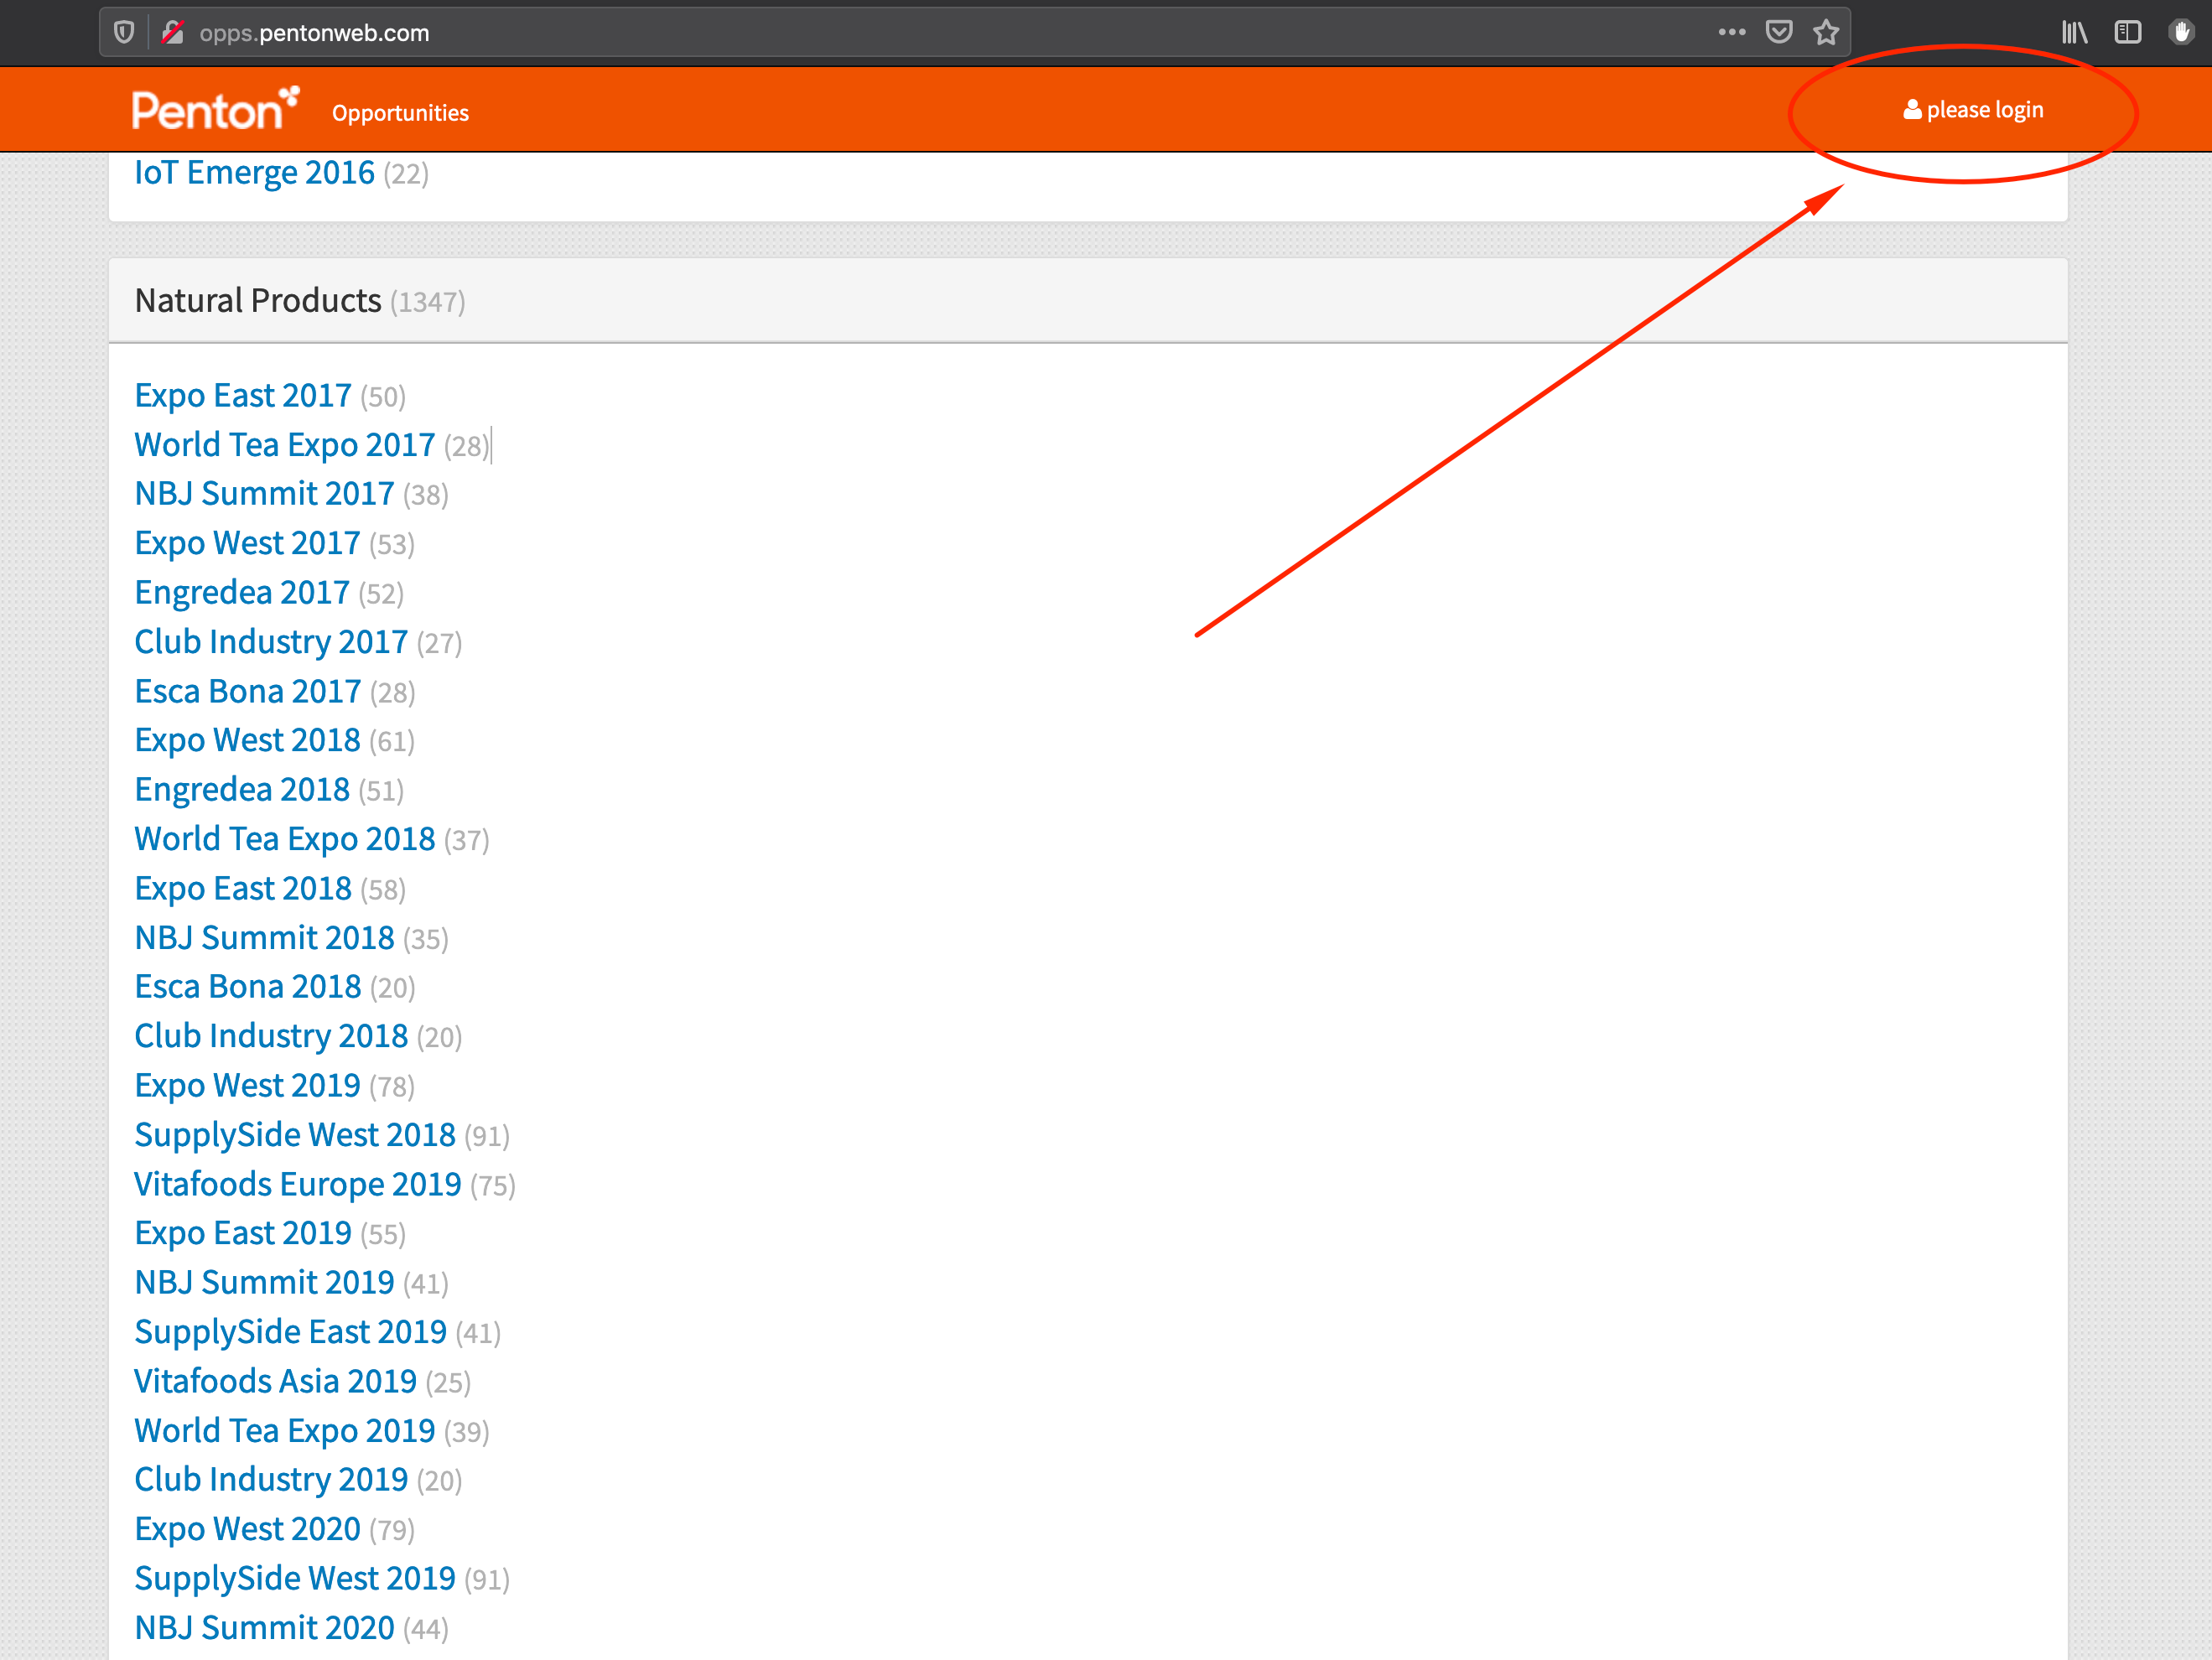
- At this point, please utilize this Event List landing page to see:
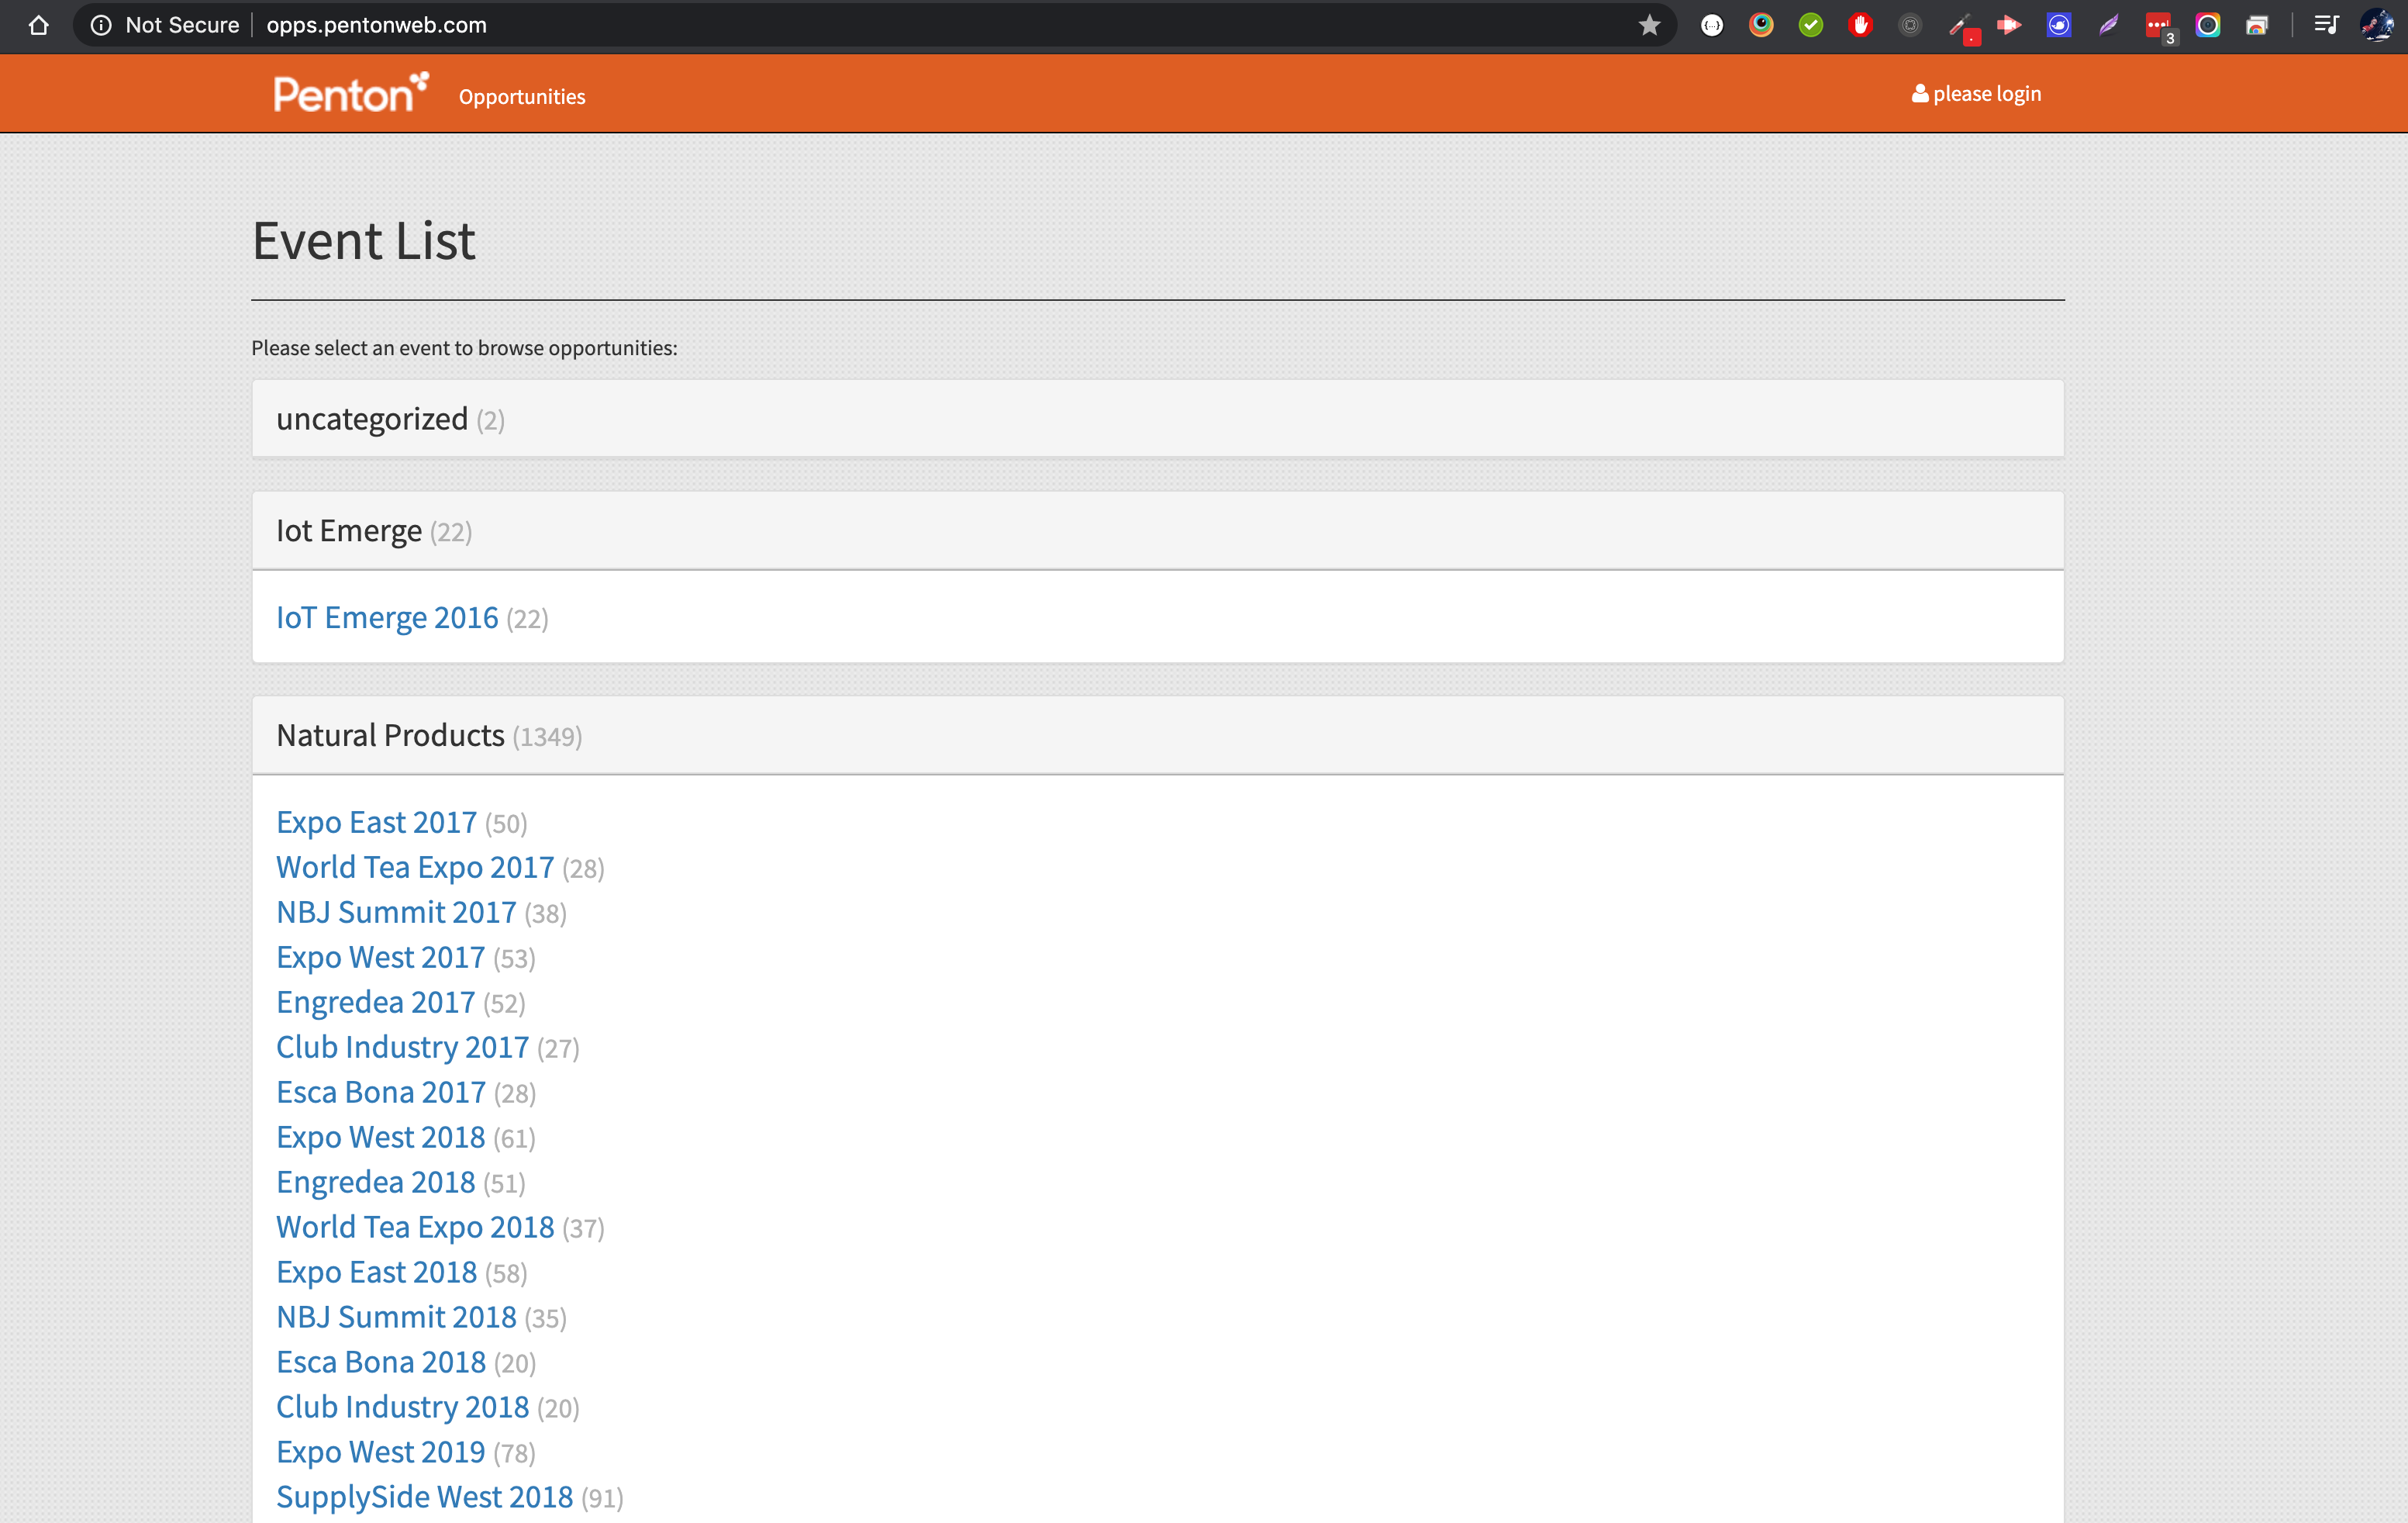
- Current Marketing/Opportunity Events already part of the system
- The current count of those Opportunities
-
Which events you have/might need to access (ie: Natural Products, Waste, etc.)
-
Load https://opps.informamarkets.comwp-login.php in your browser of choice or click the “please login” in the upper right corner; and
- Enter the username and password provided to you:
- A Service Now ticket: Service Now ticket is required for initial username and login access to the tool
-
Please note in that ticket which Events you will/might need to access
-
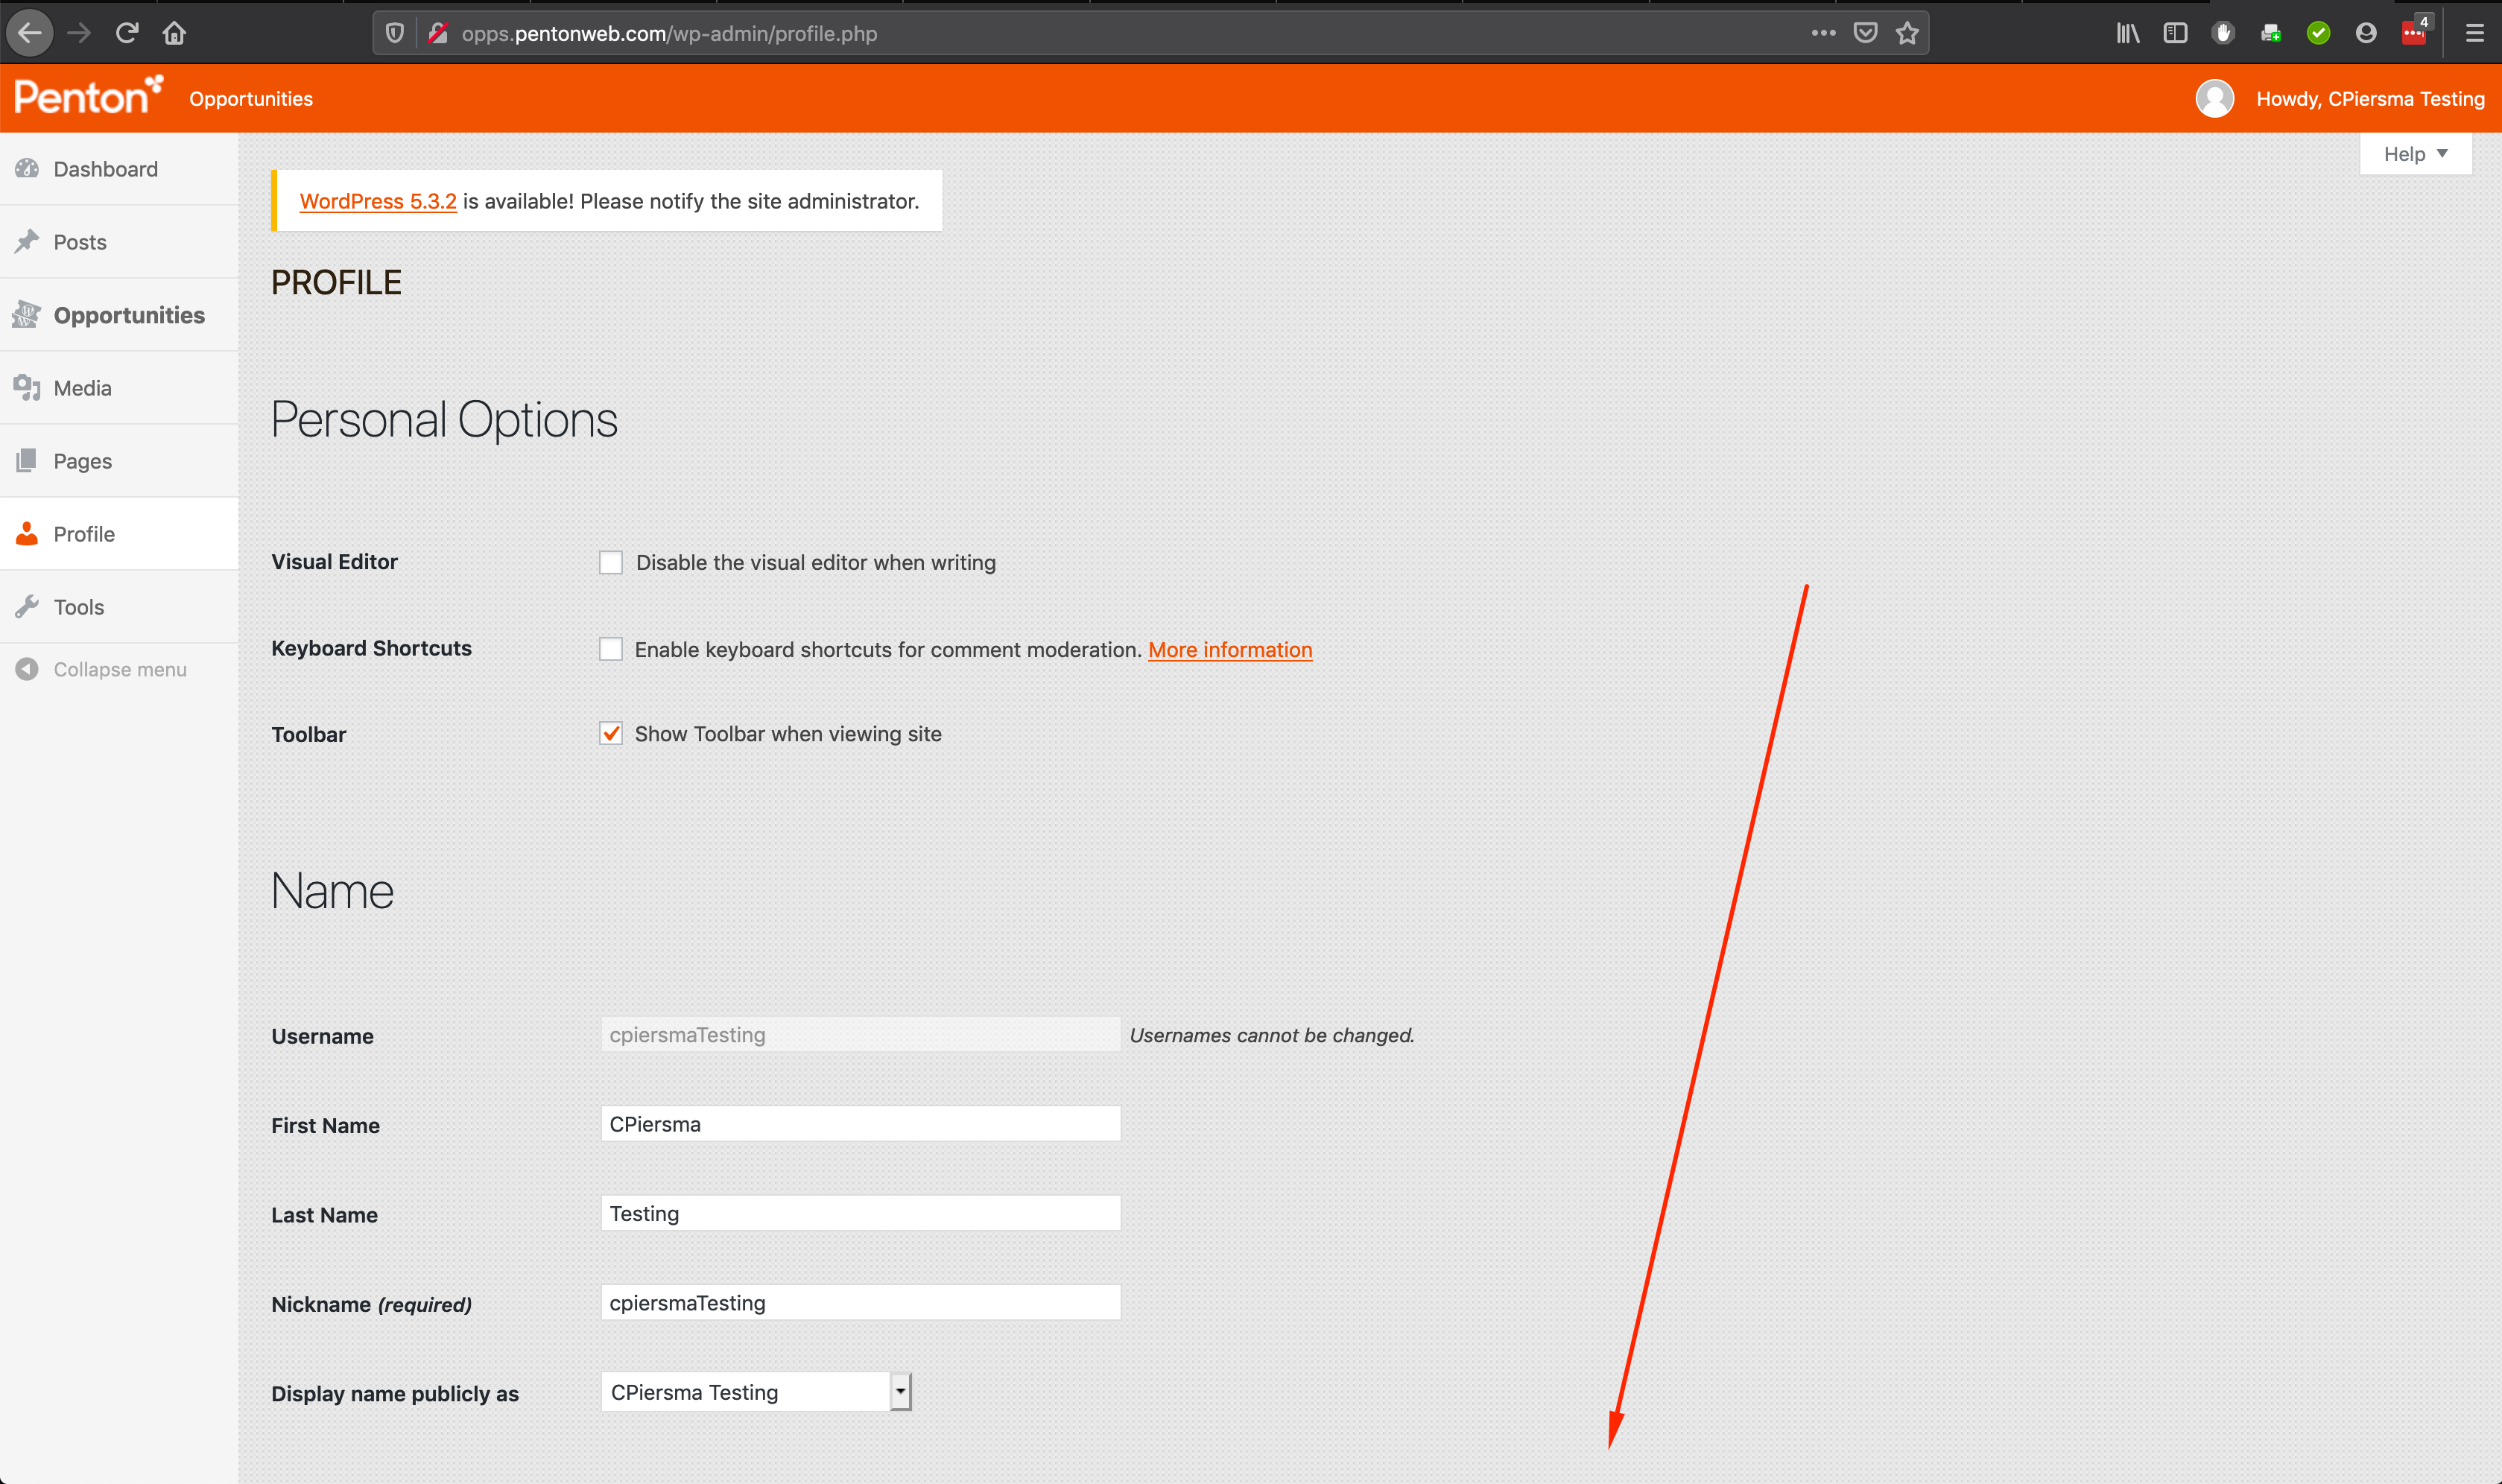
After logging in, please go to the “Howdy, [Your Name]” button in the upper right-hand corner, and navigate down to “Edit My Profile”:

-
On your profile page, scroll down and confirm that all your information is correct:
-
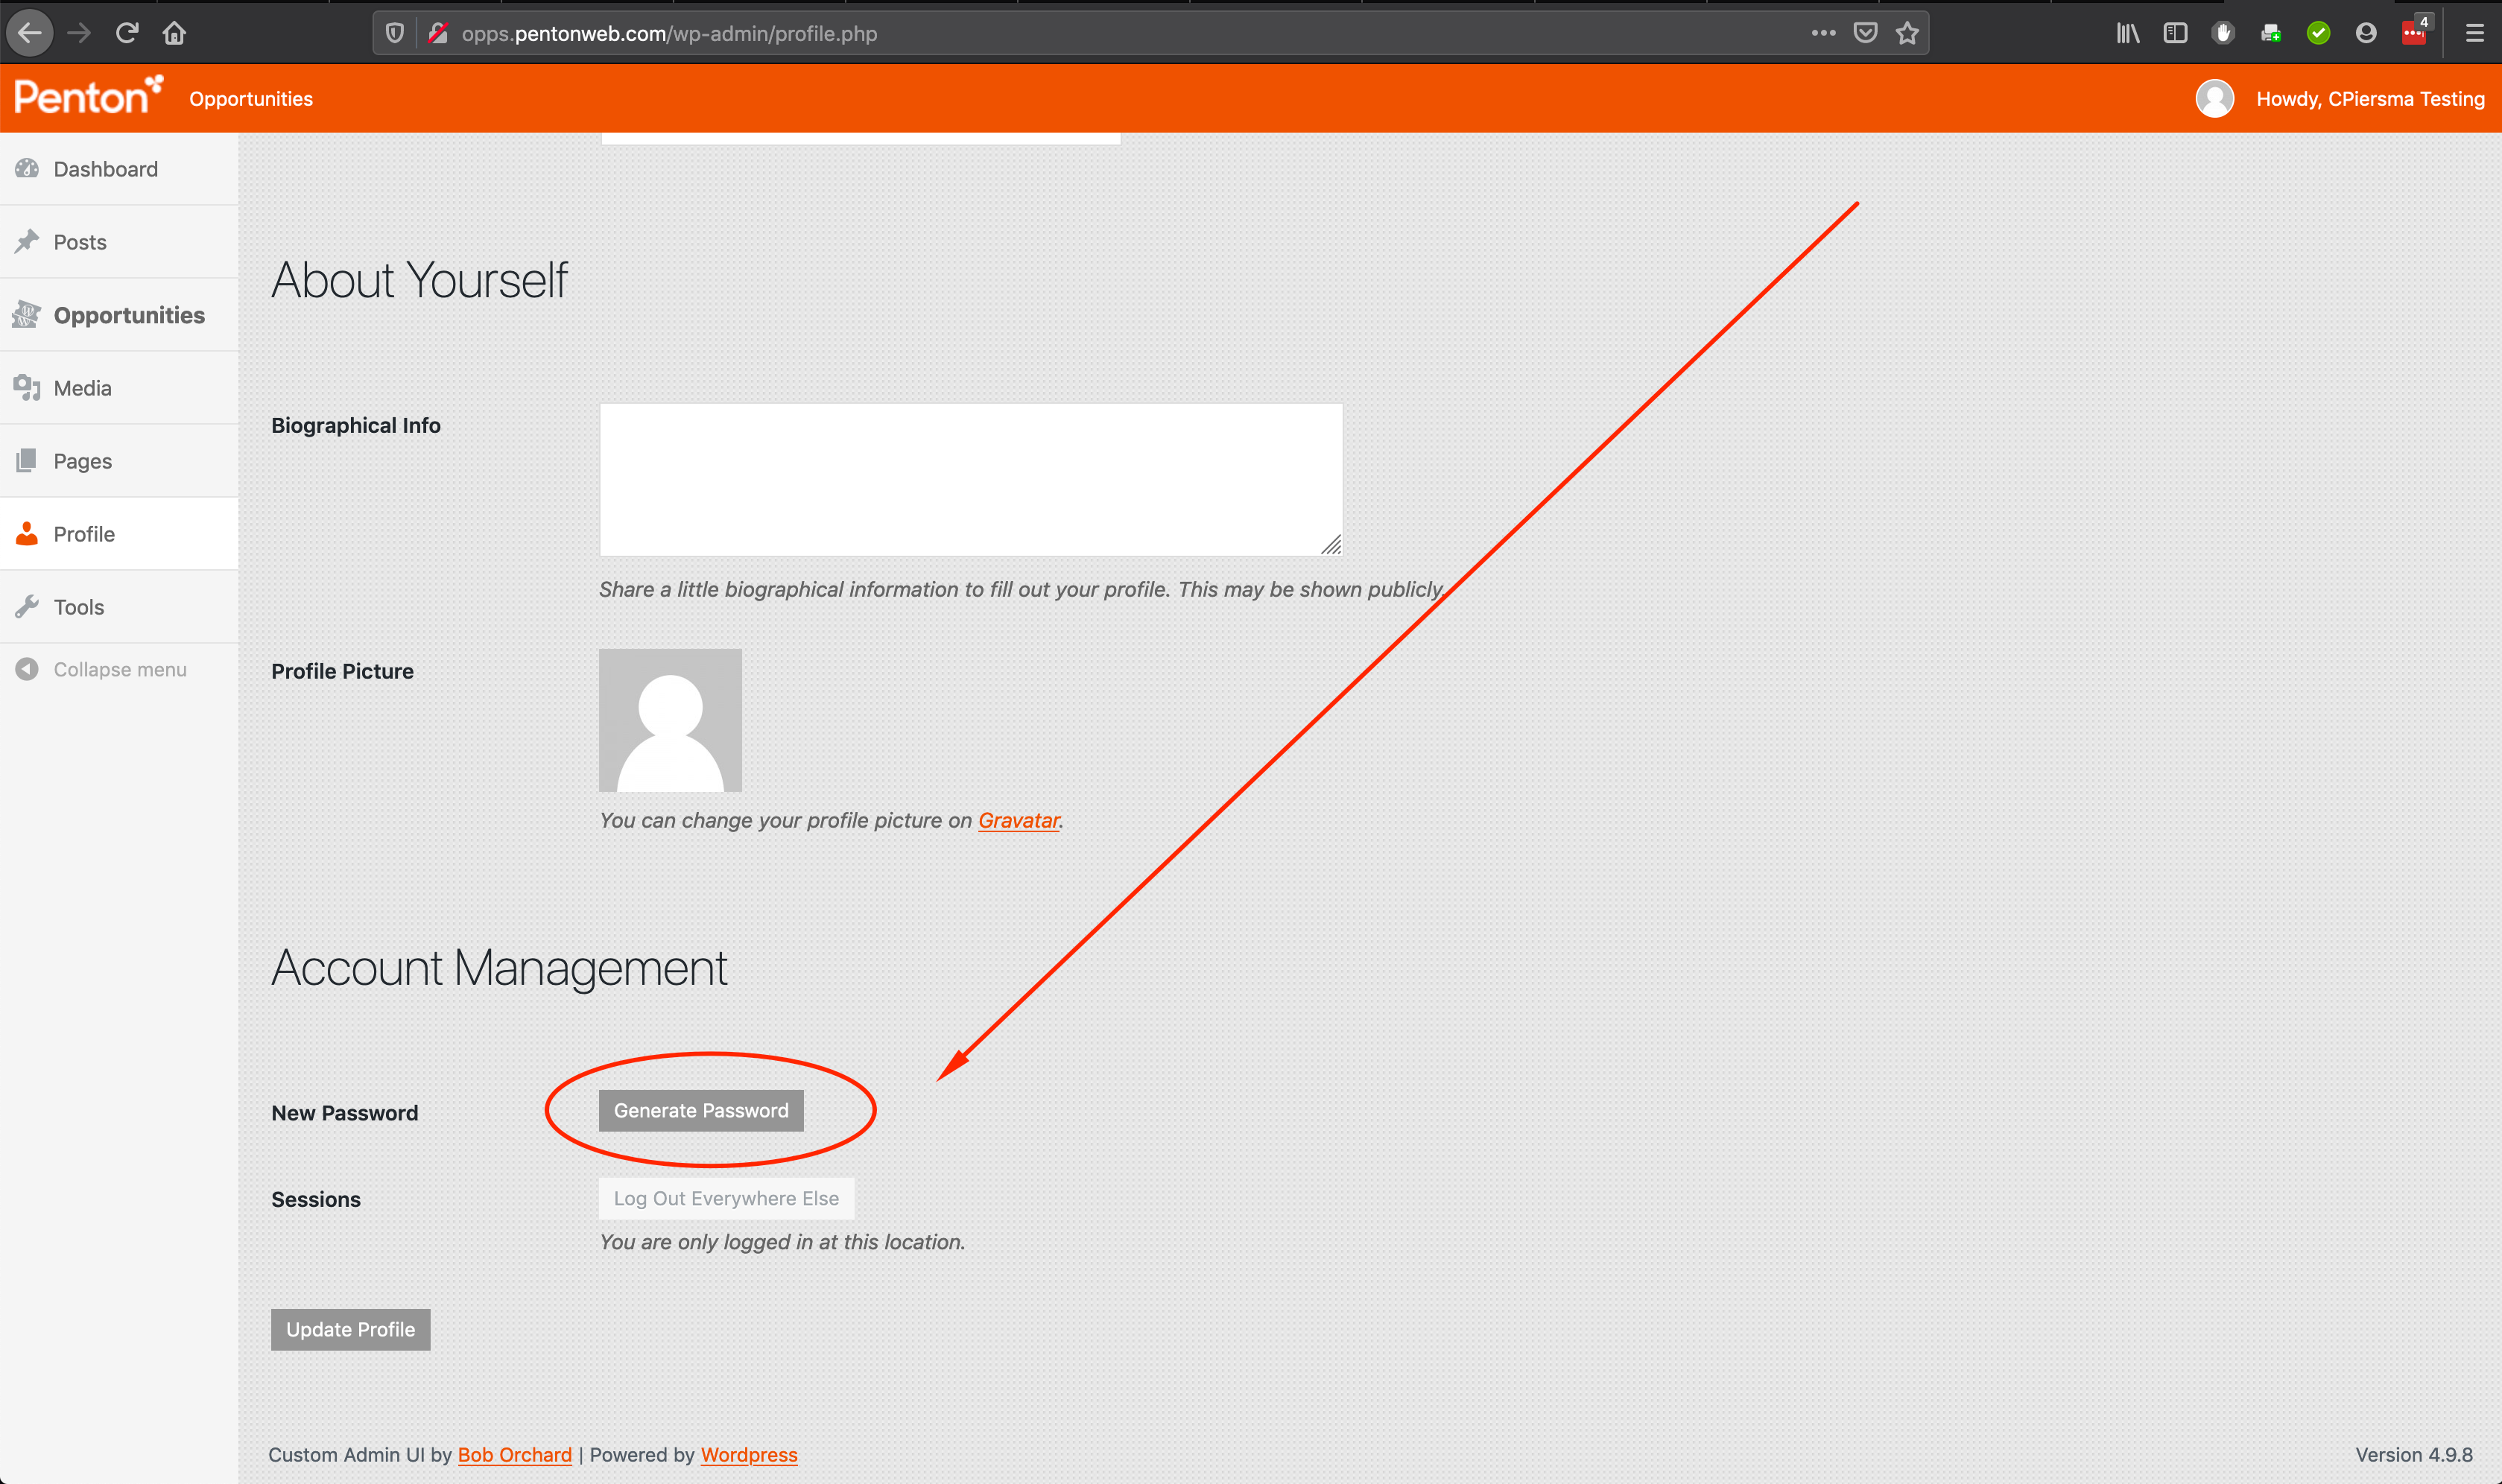
Scroll down and be sure to “Generate Password” and make a note of this, as it should change from the password your account was set up with:
-
After that, return to the “All Opportunities”/main landing page:
Creating a Marketing & Sponsorship Opportunity
From this point, please note the following:
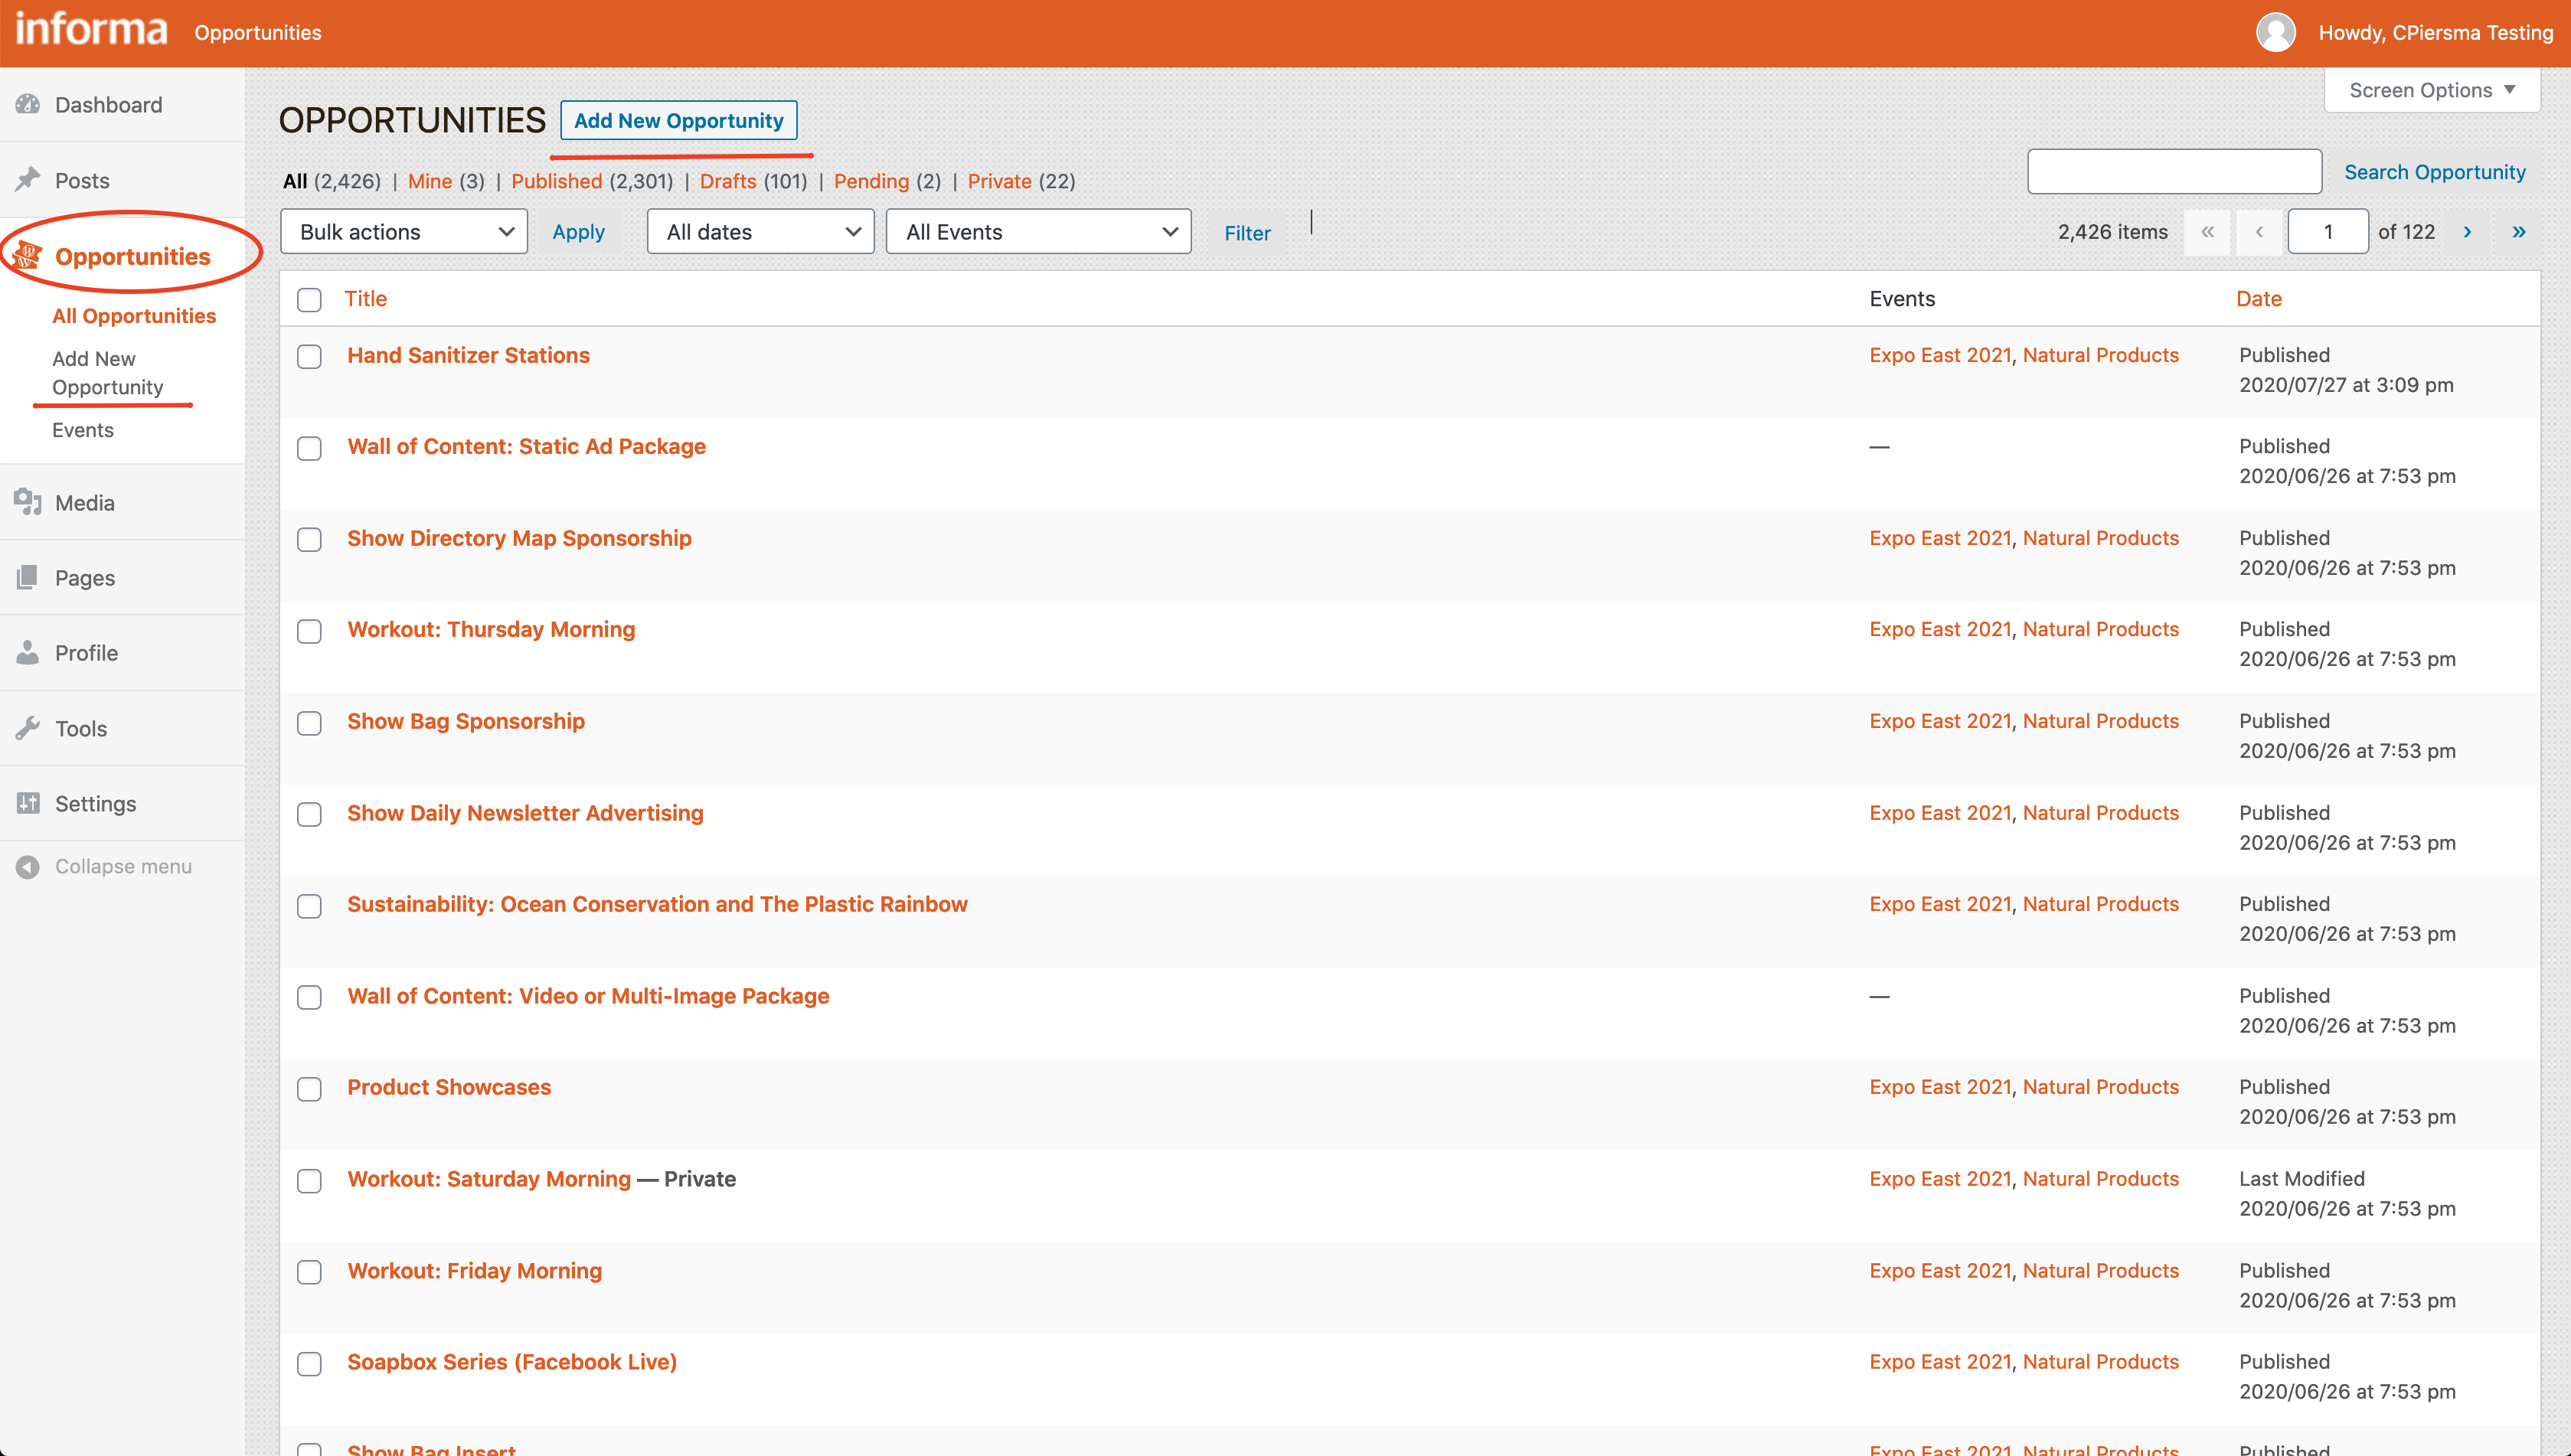
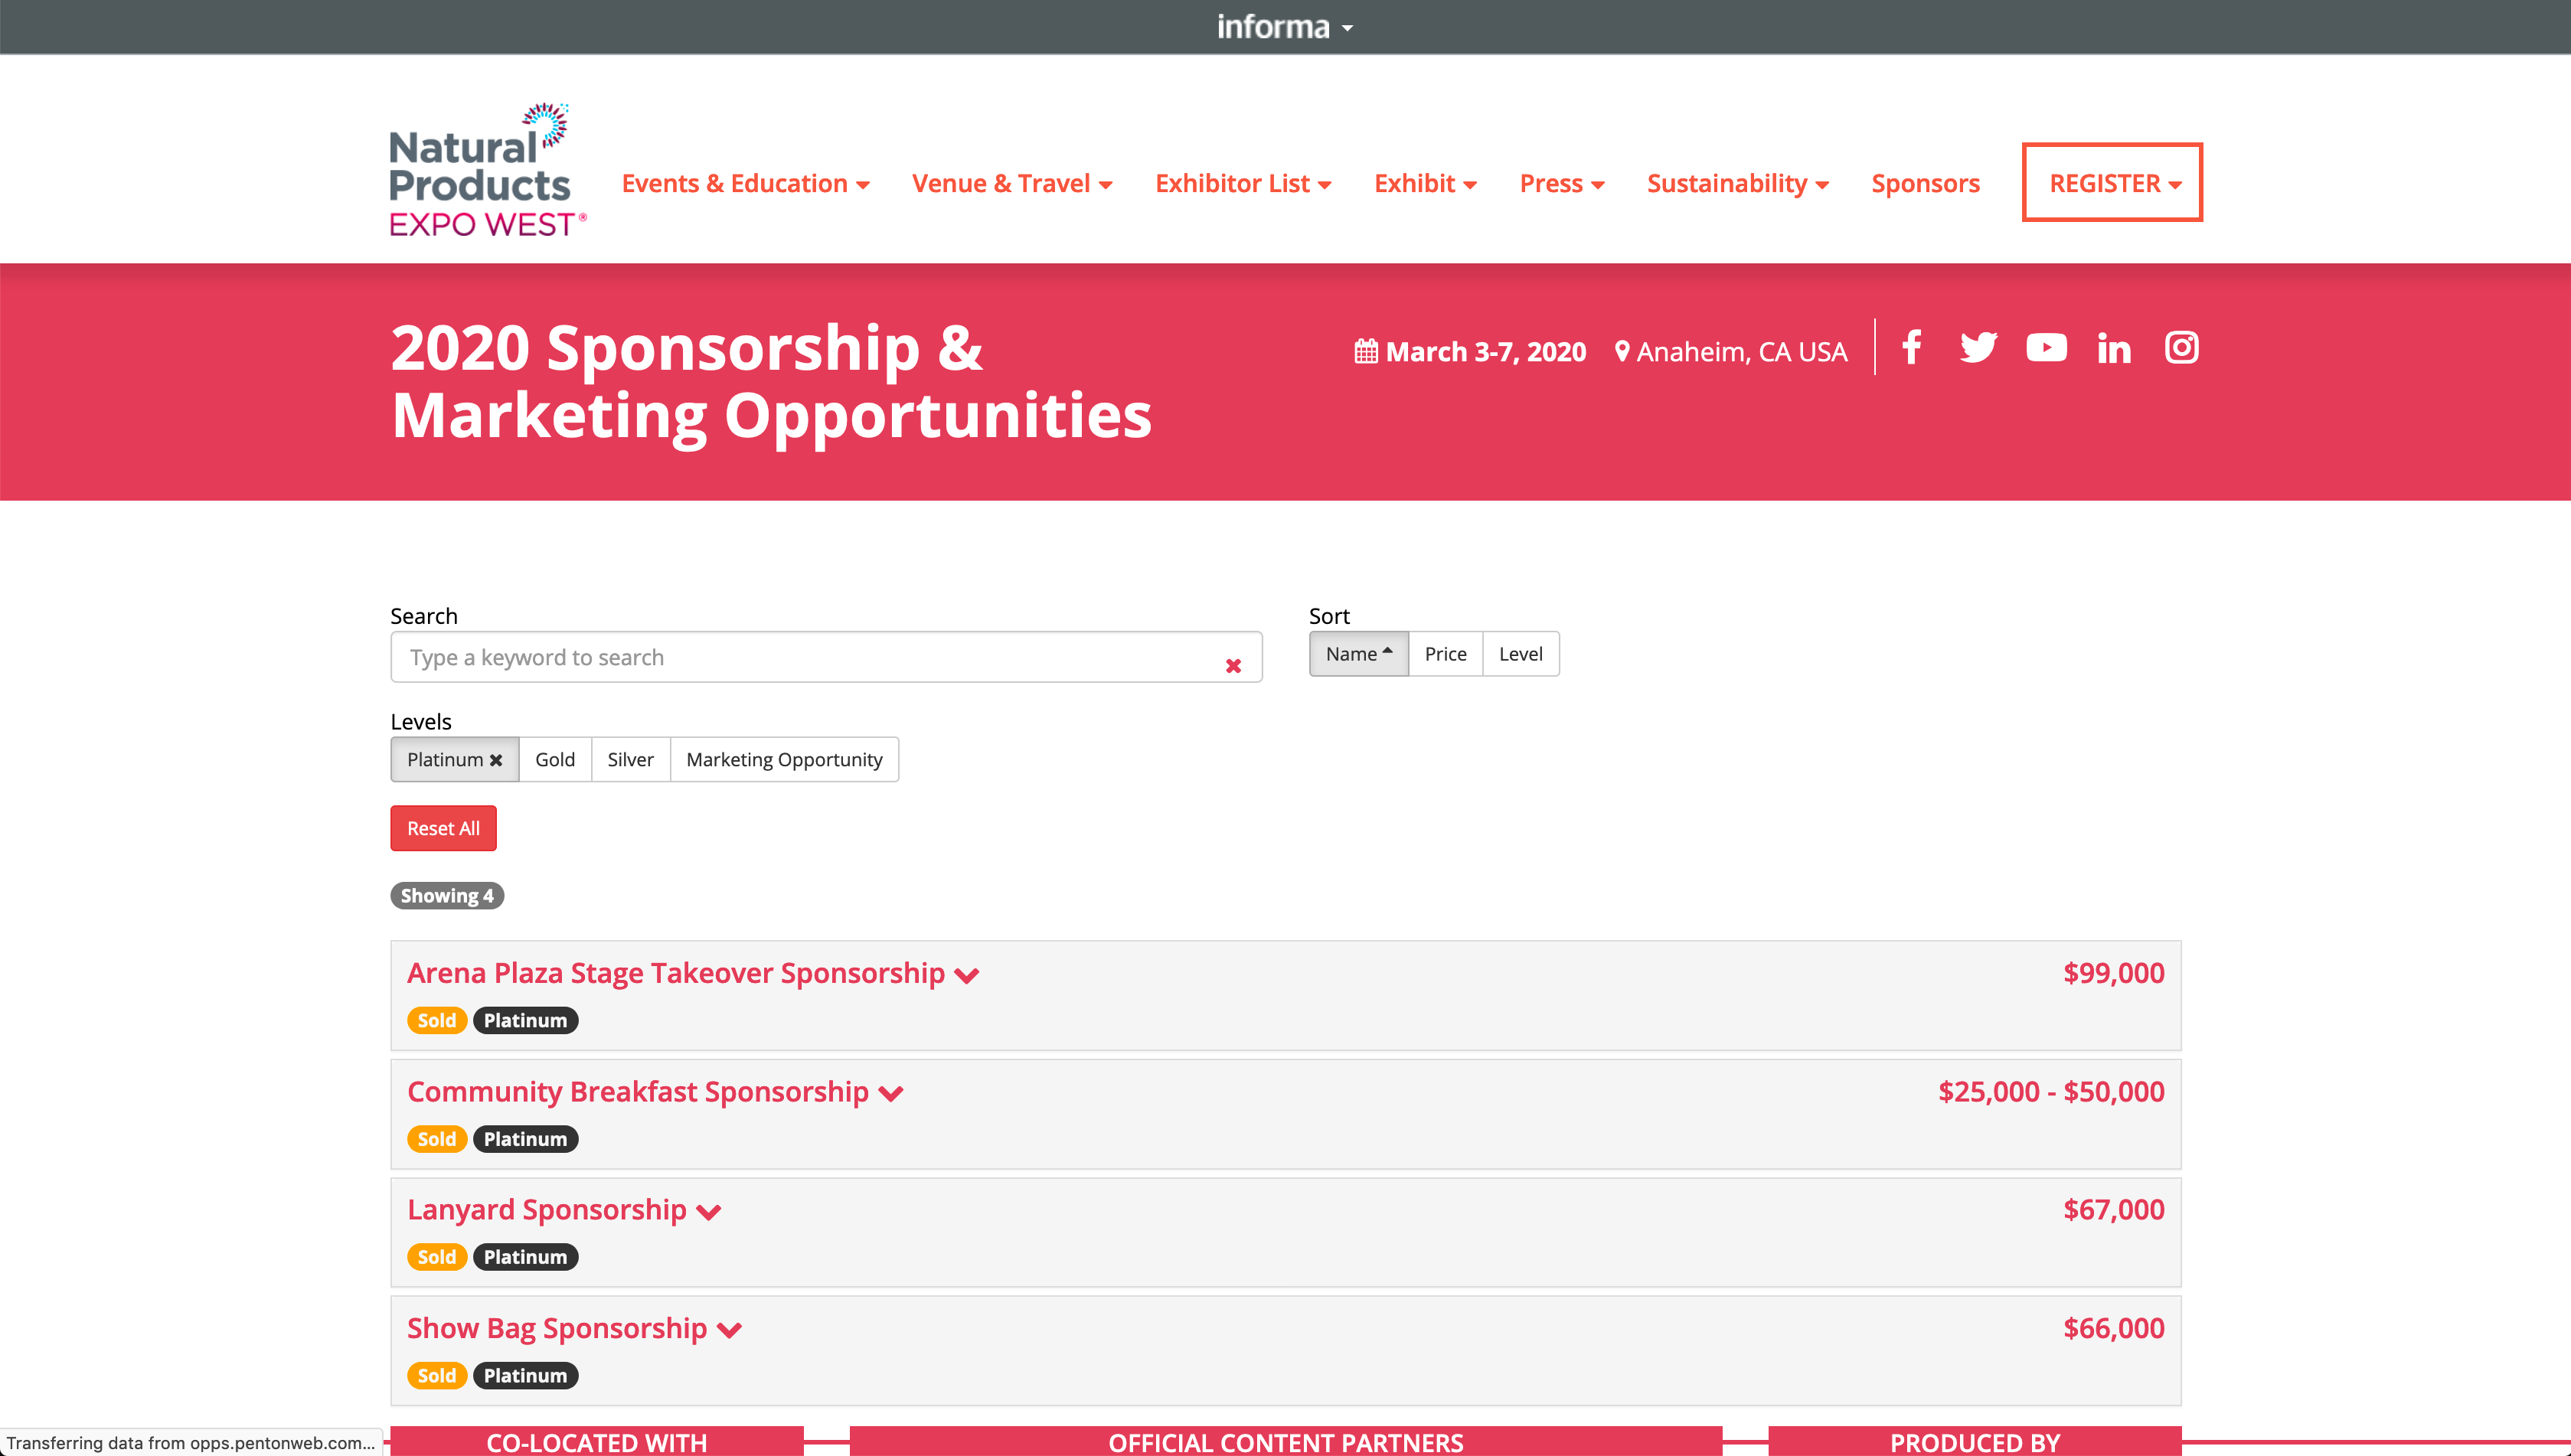
* The various sort possibilities (click on the table headers)
* The “Bulk Actions”, “Dates”, and “Events” filter drop-down, “Search”, and the various opportunity categories:
* All
* Mine
* Published
* Drafts
* Pending
* Private
* Trash
* Please note that only one of these filters/sorts can be applied at any given time
* If more than one is selected the site will result in the “Invalid post type” warning: 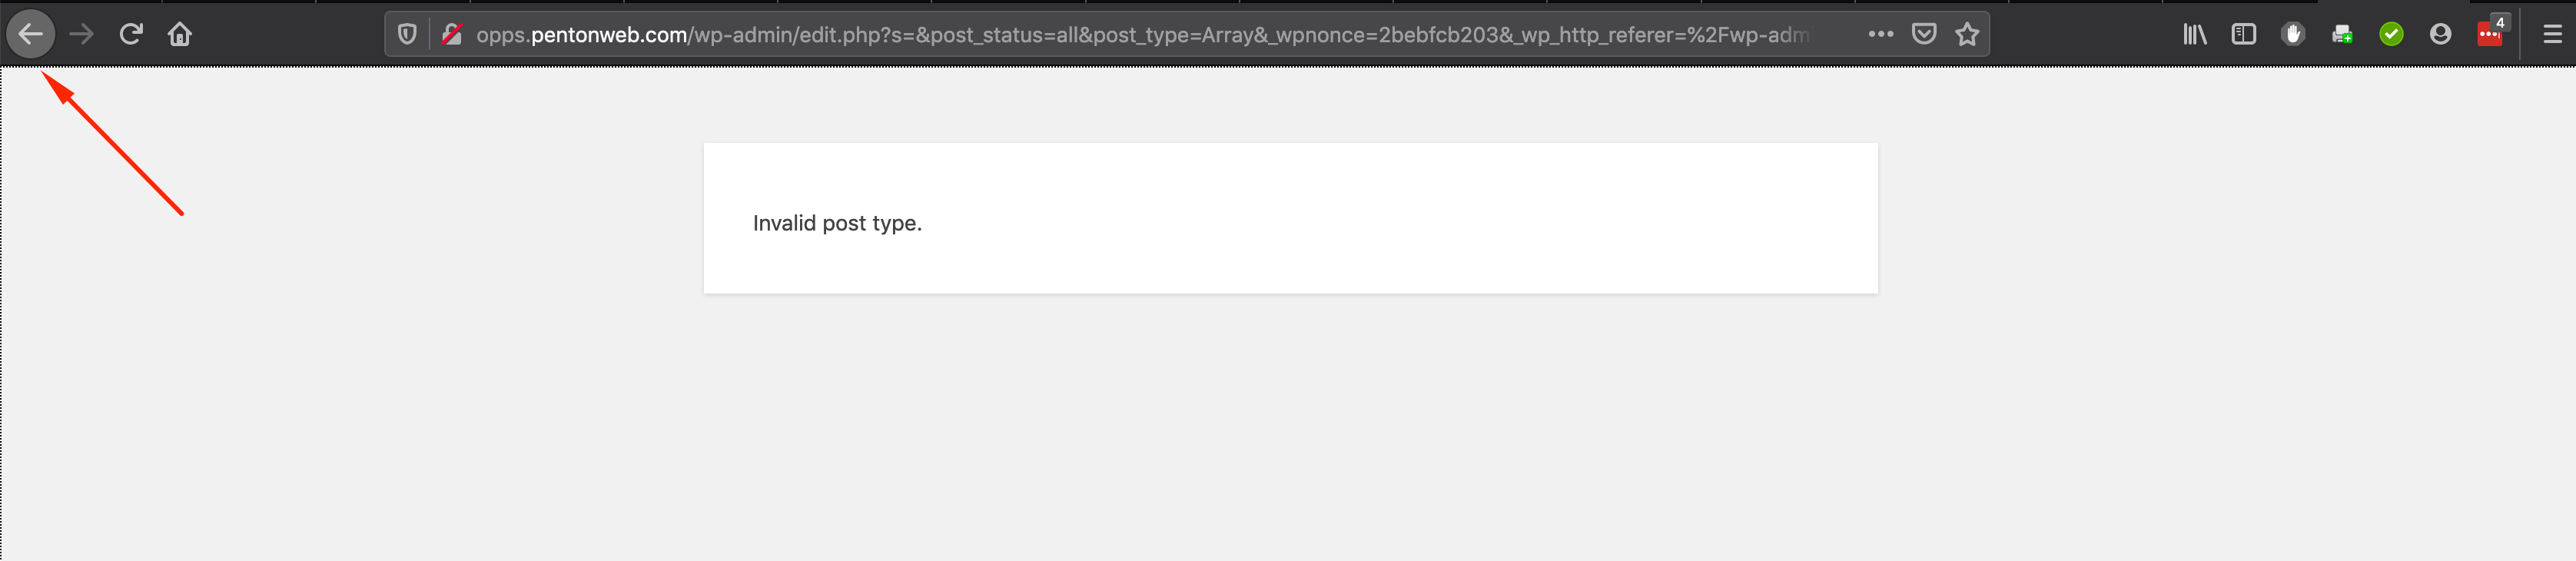 * Should this happen just use the “Back” button on your browser
There are two ways you can create Sponsorship Opportunities for your show:
- Create a new Opportunity (recommended)
- Copy existing Opportunities
Option 1 - Add a new Opportunity (recommended):
-
To begin, it is highly recommended that you assemble all assets and details for each opportunity prior to working in the Sponsorship and Opportunity tool.
-
Similar to adding Asset(s) in AEM, it is best to start here by going to the “Media” area of the Sponsorship and Opportunity tool:
 and adding any and all media/PDFs/assets through either the “Add New” link or “Add New” button:
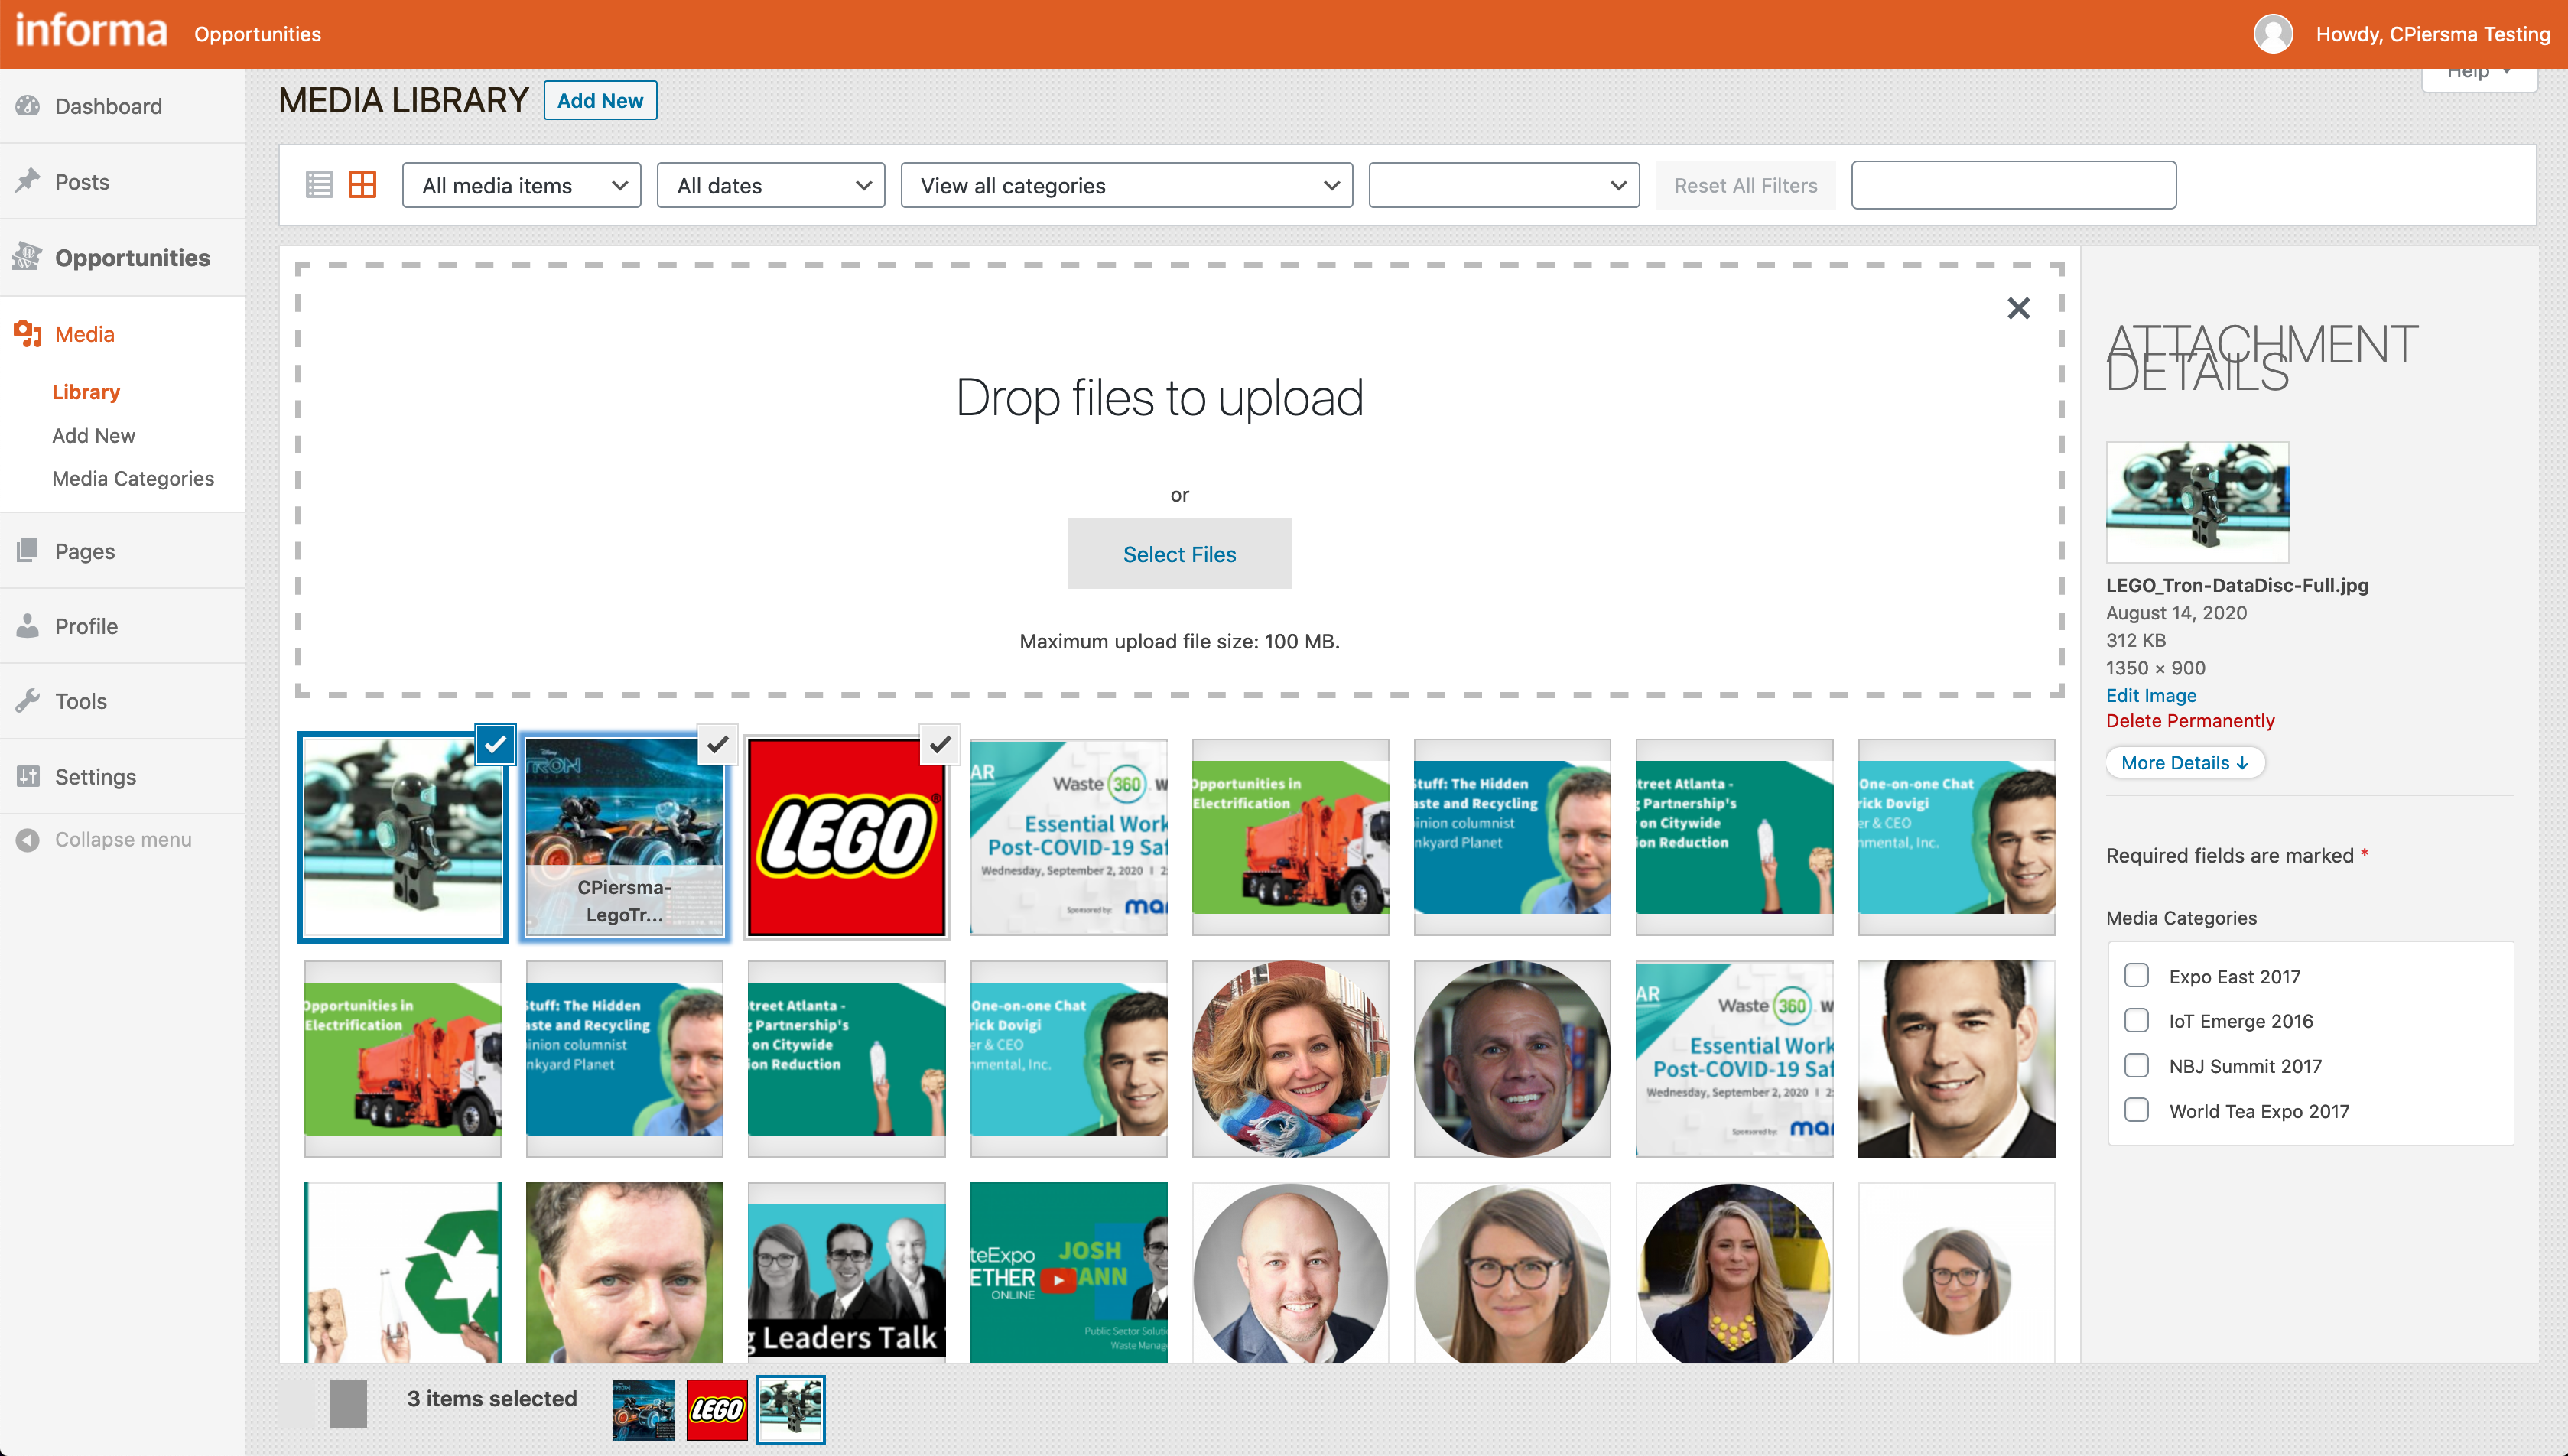
-
Once that is complete, you can navigate over to the Opportunities area and click on either of the “Add New Opportunity” links:
 to begin to fill out a new opportunity.
 -
The Sponsorship and Opportunity tool uses Blocks:
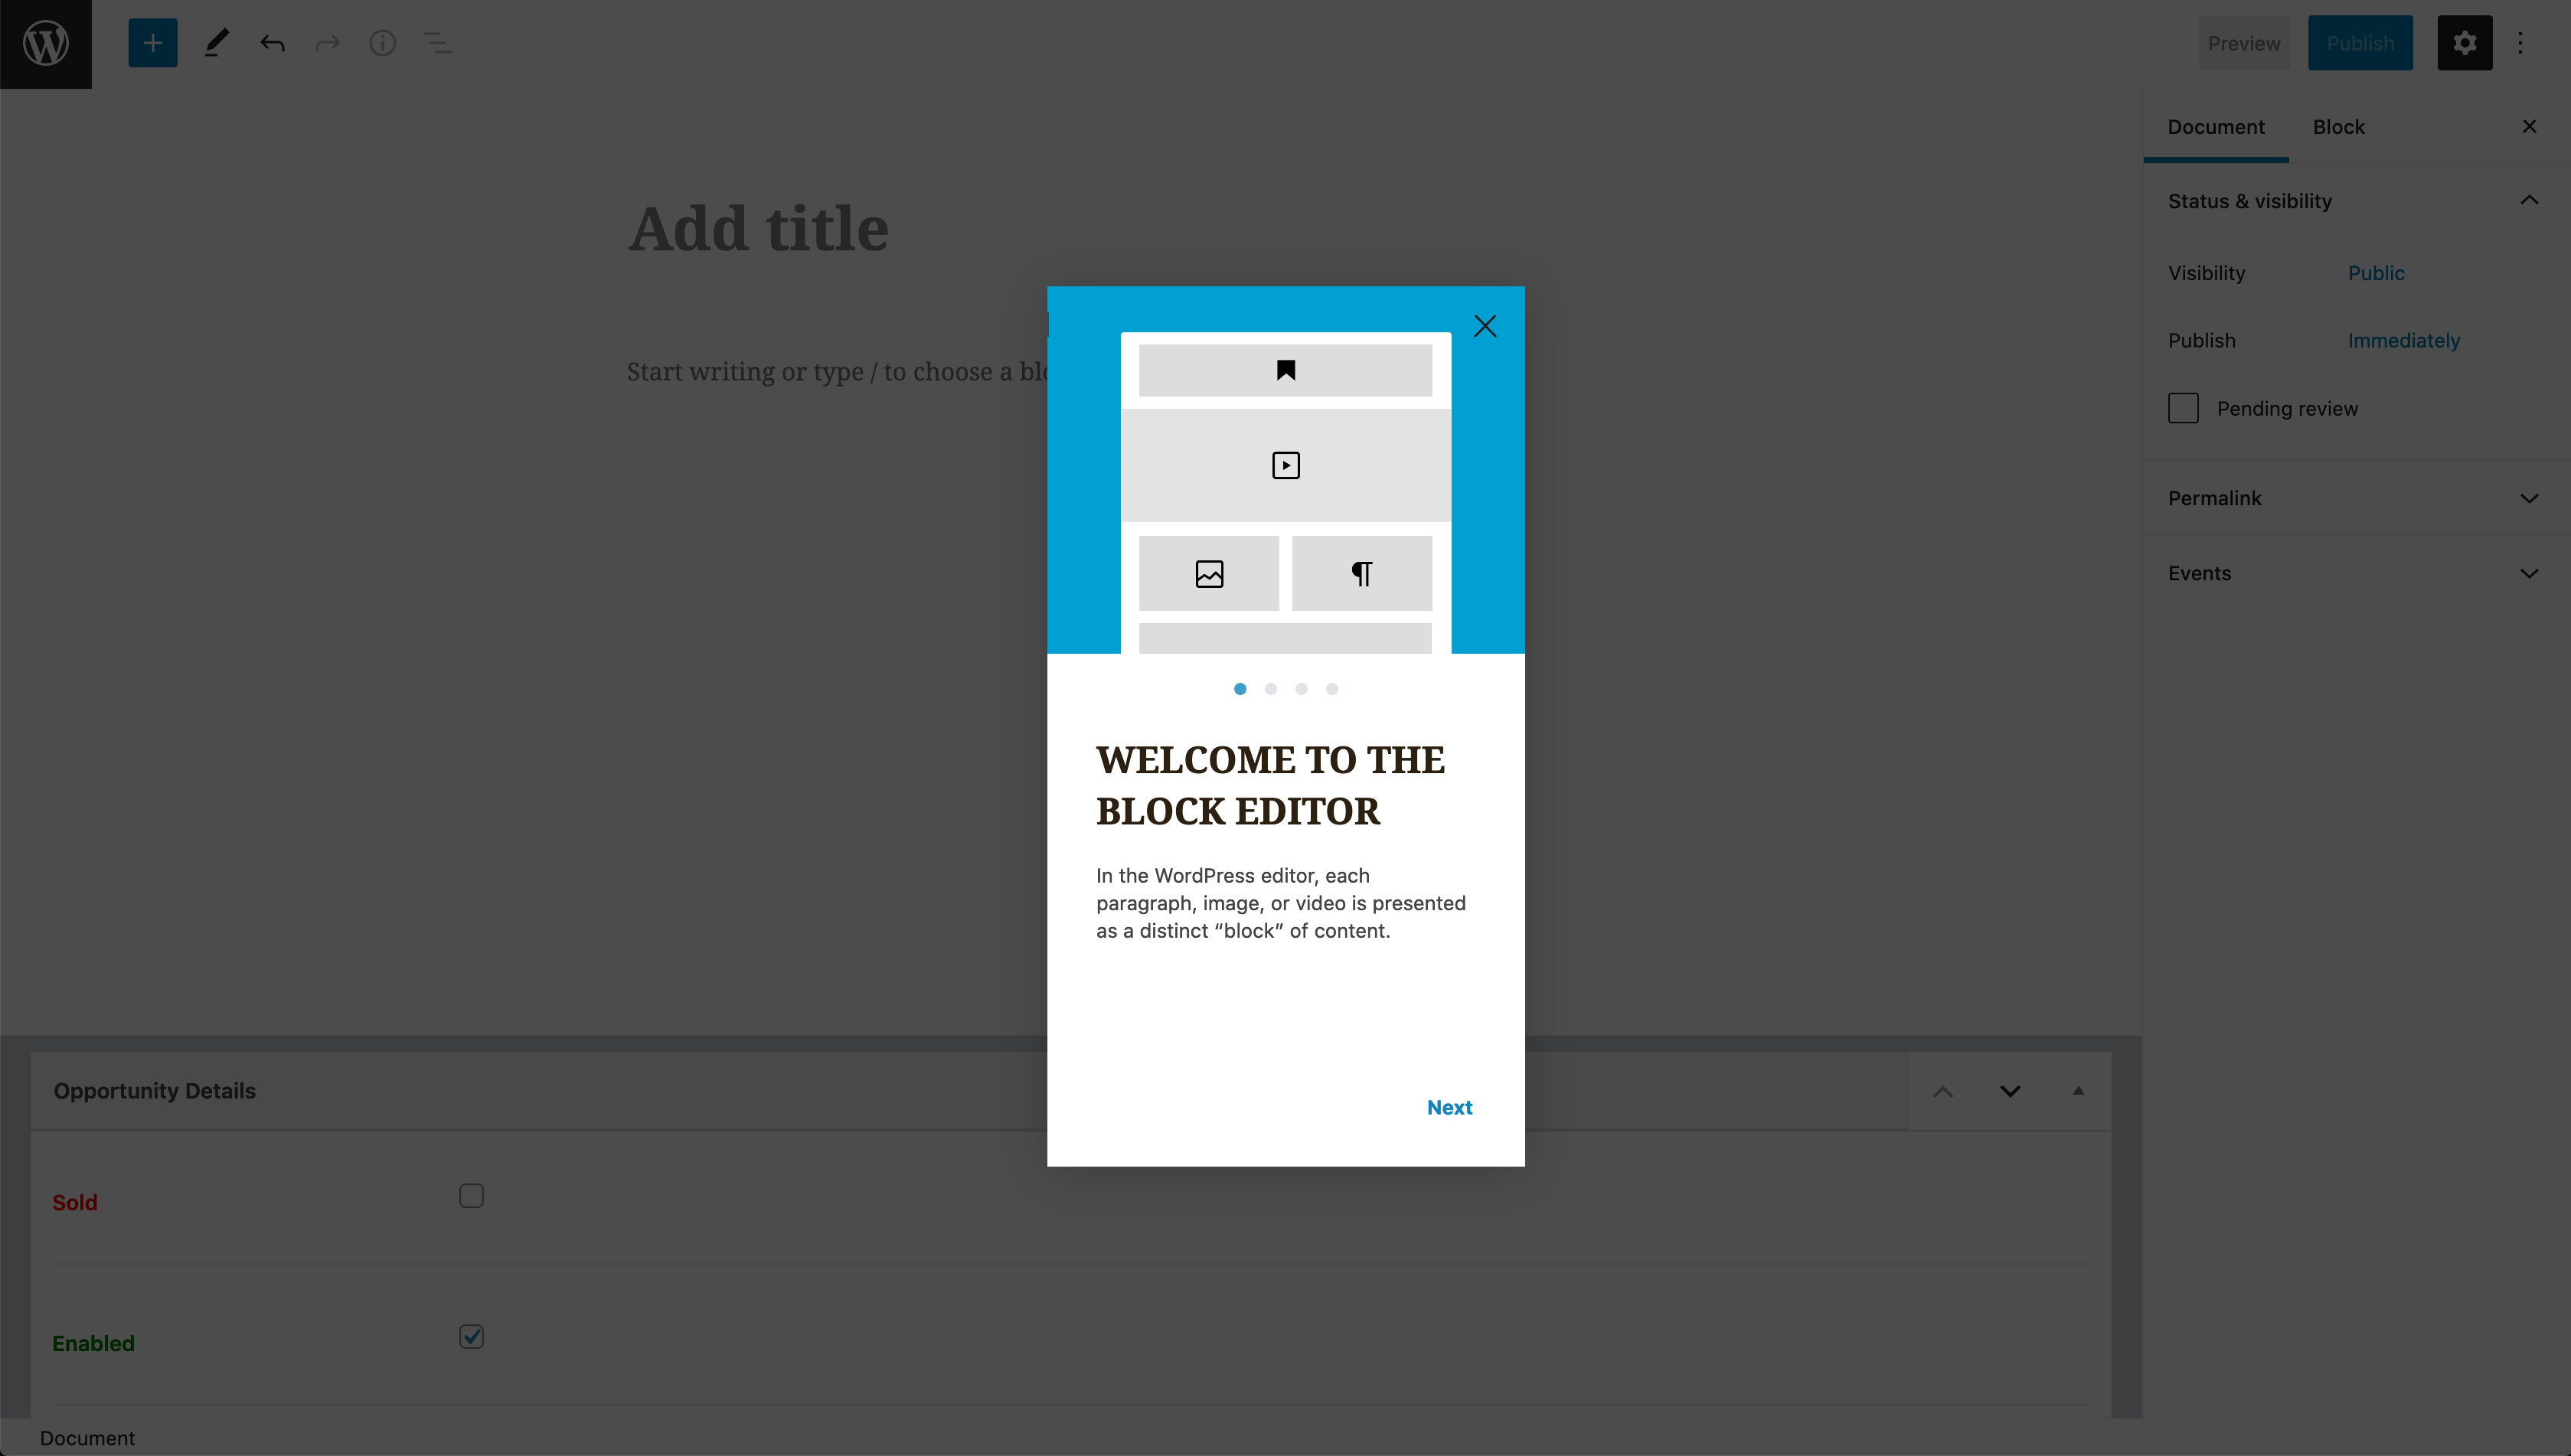 but for the best view, it is recommended (and to interact with more comprehensive features) that you turn on the following fields straight away. Click on the three dots in the top right hand corner:
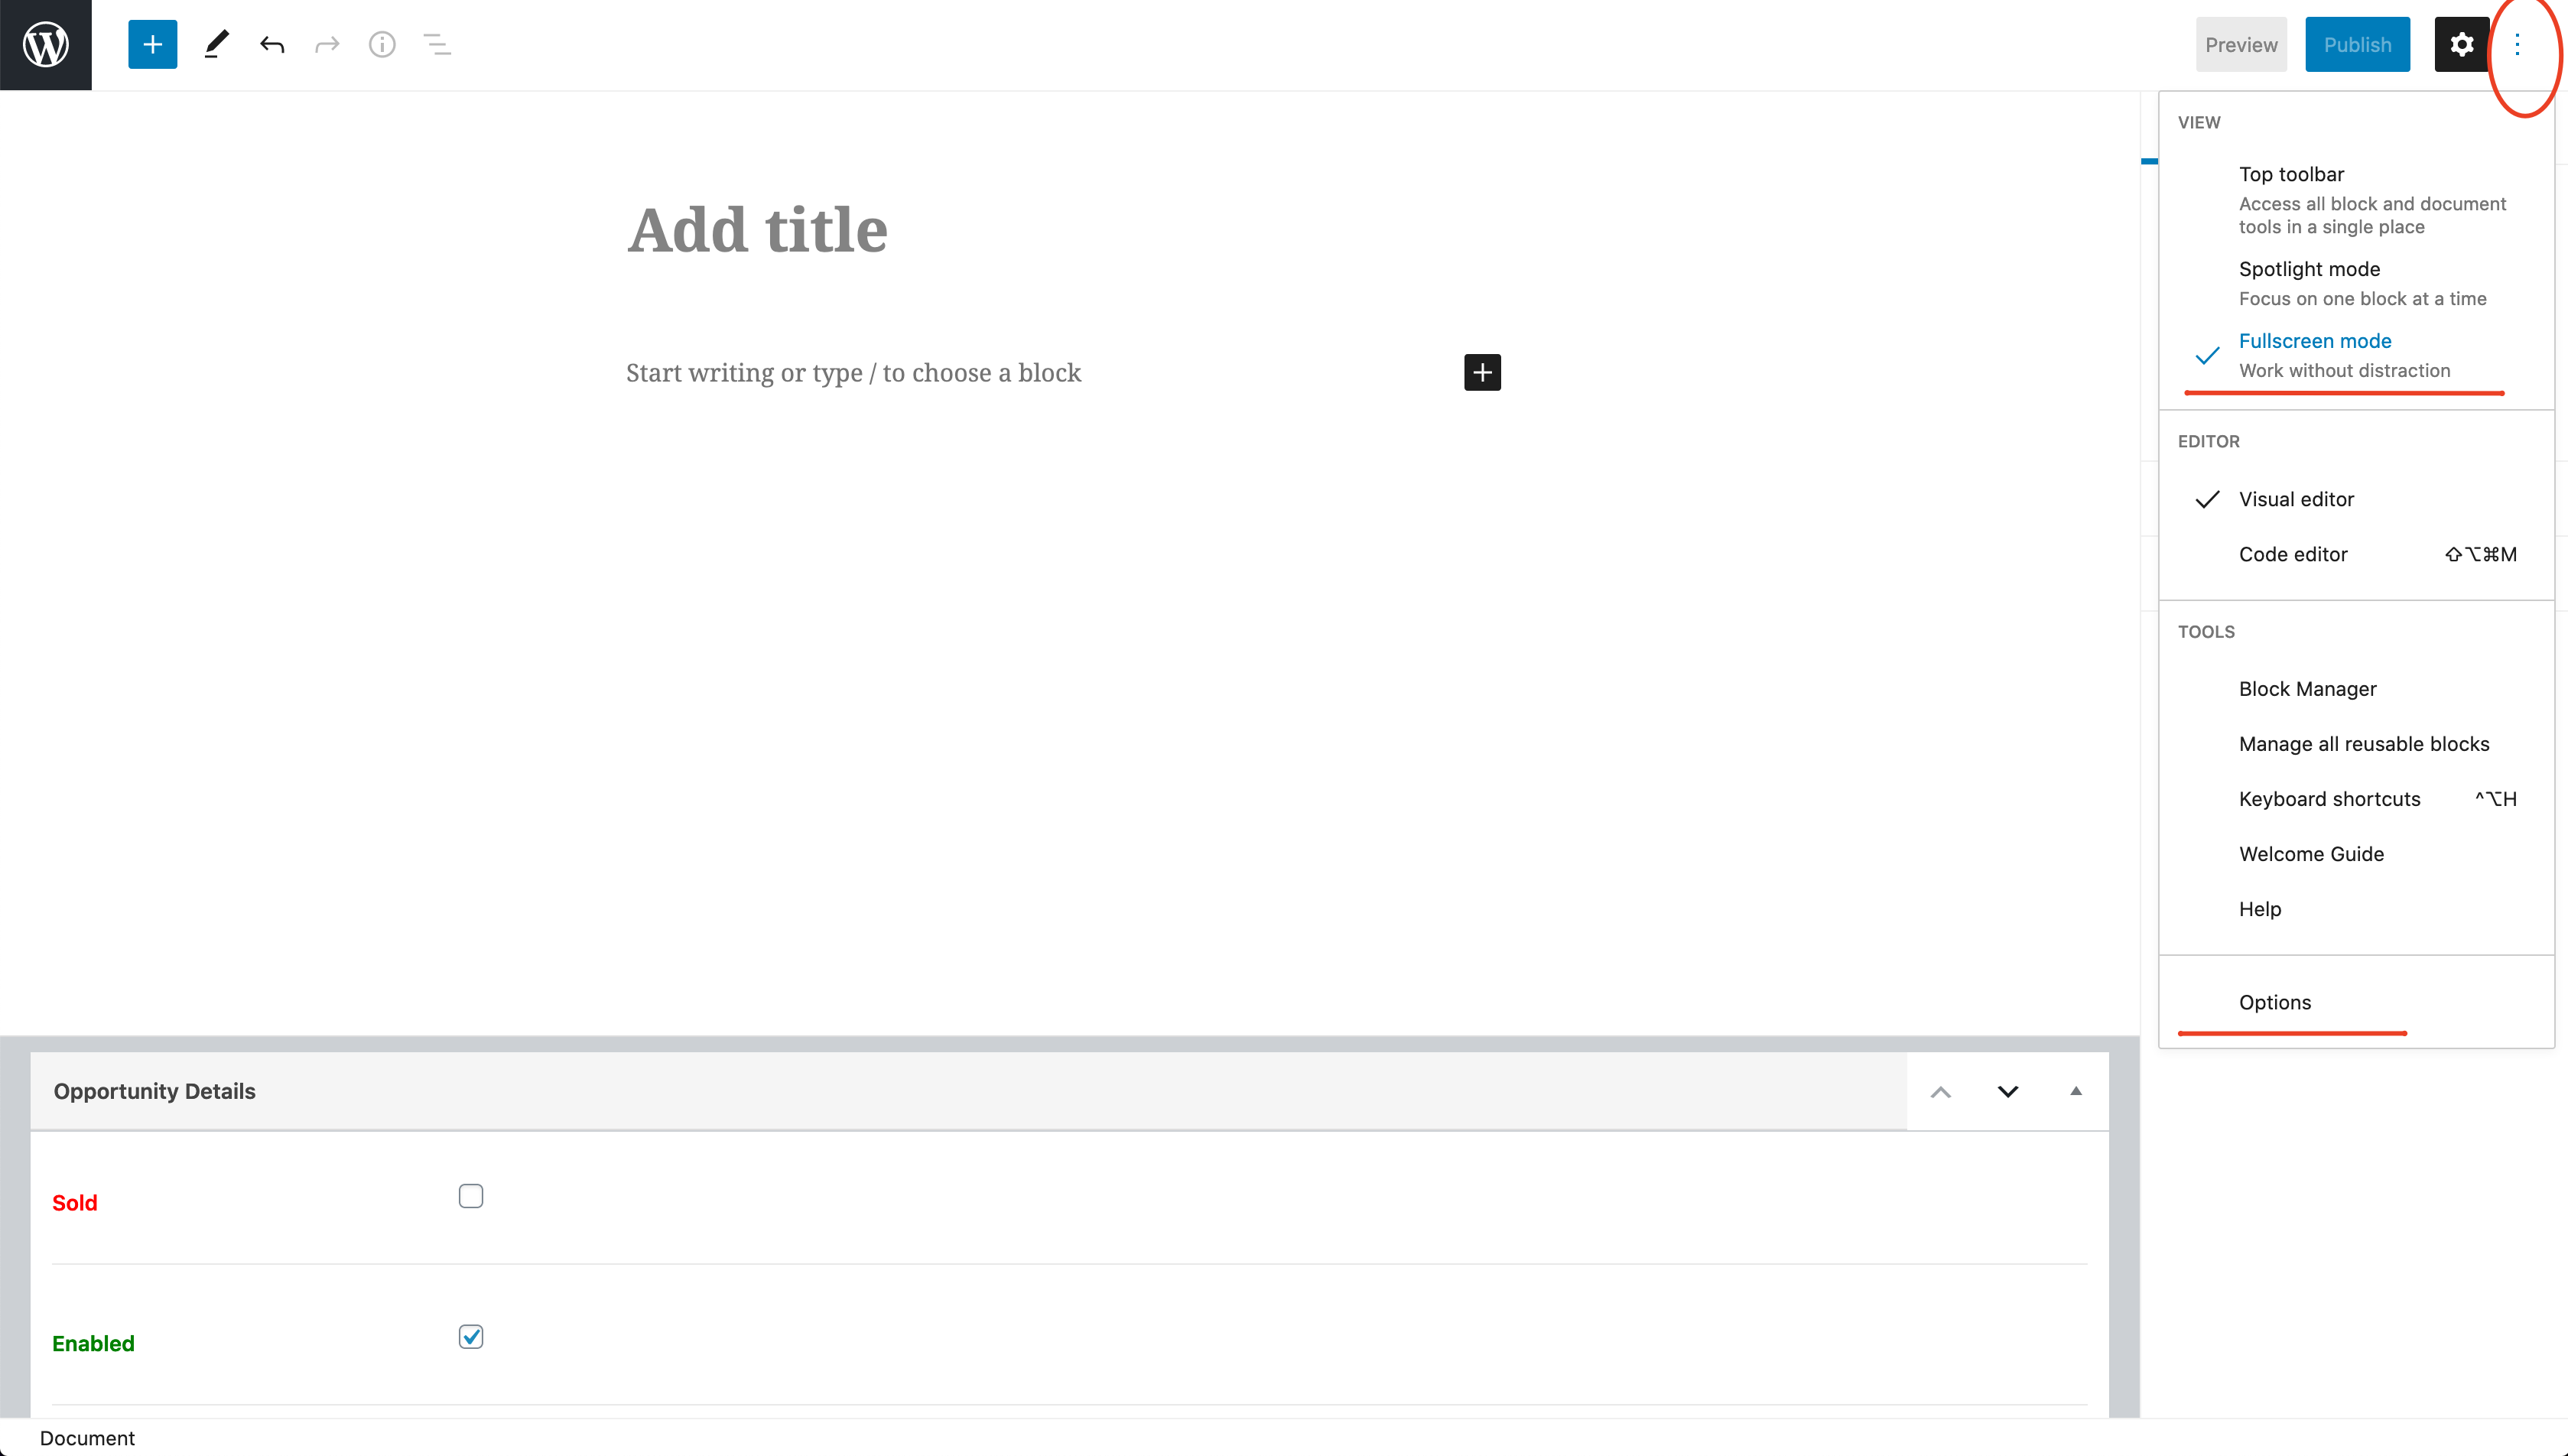
-
First, deselect the “Fullscreen mode”:
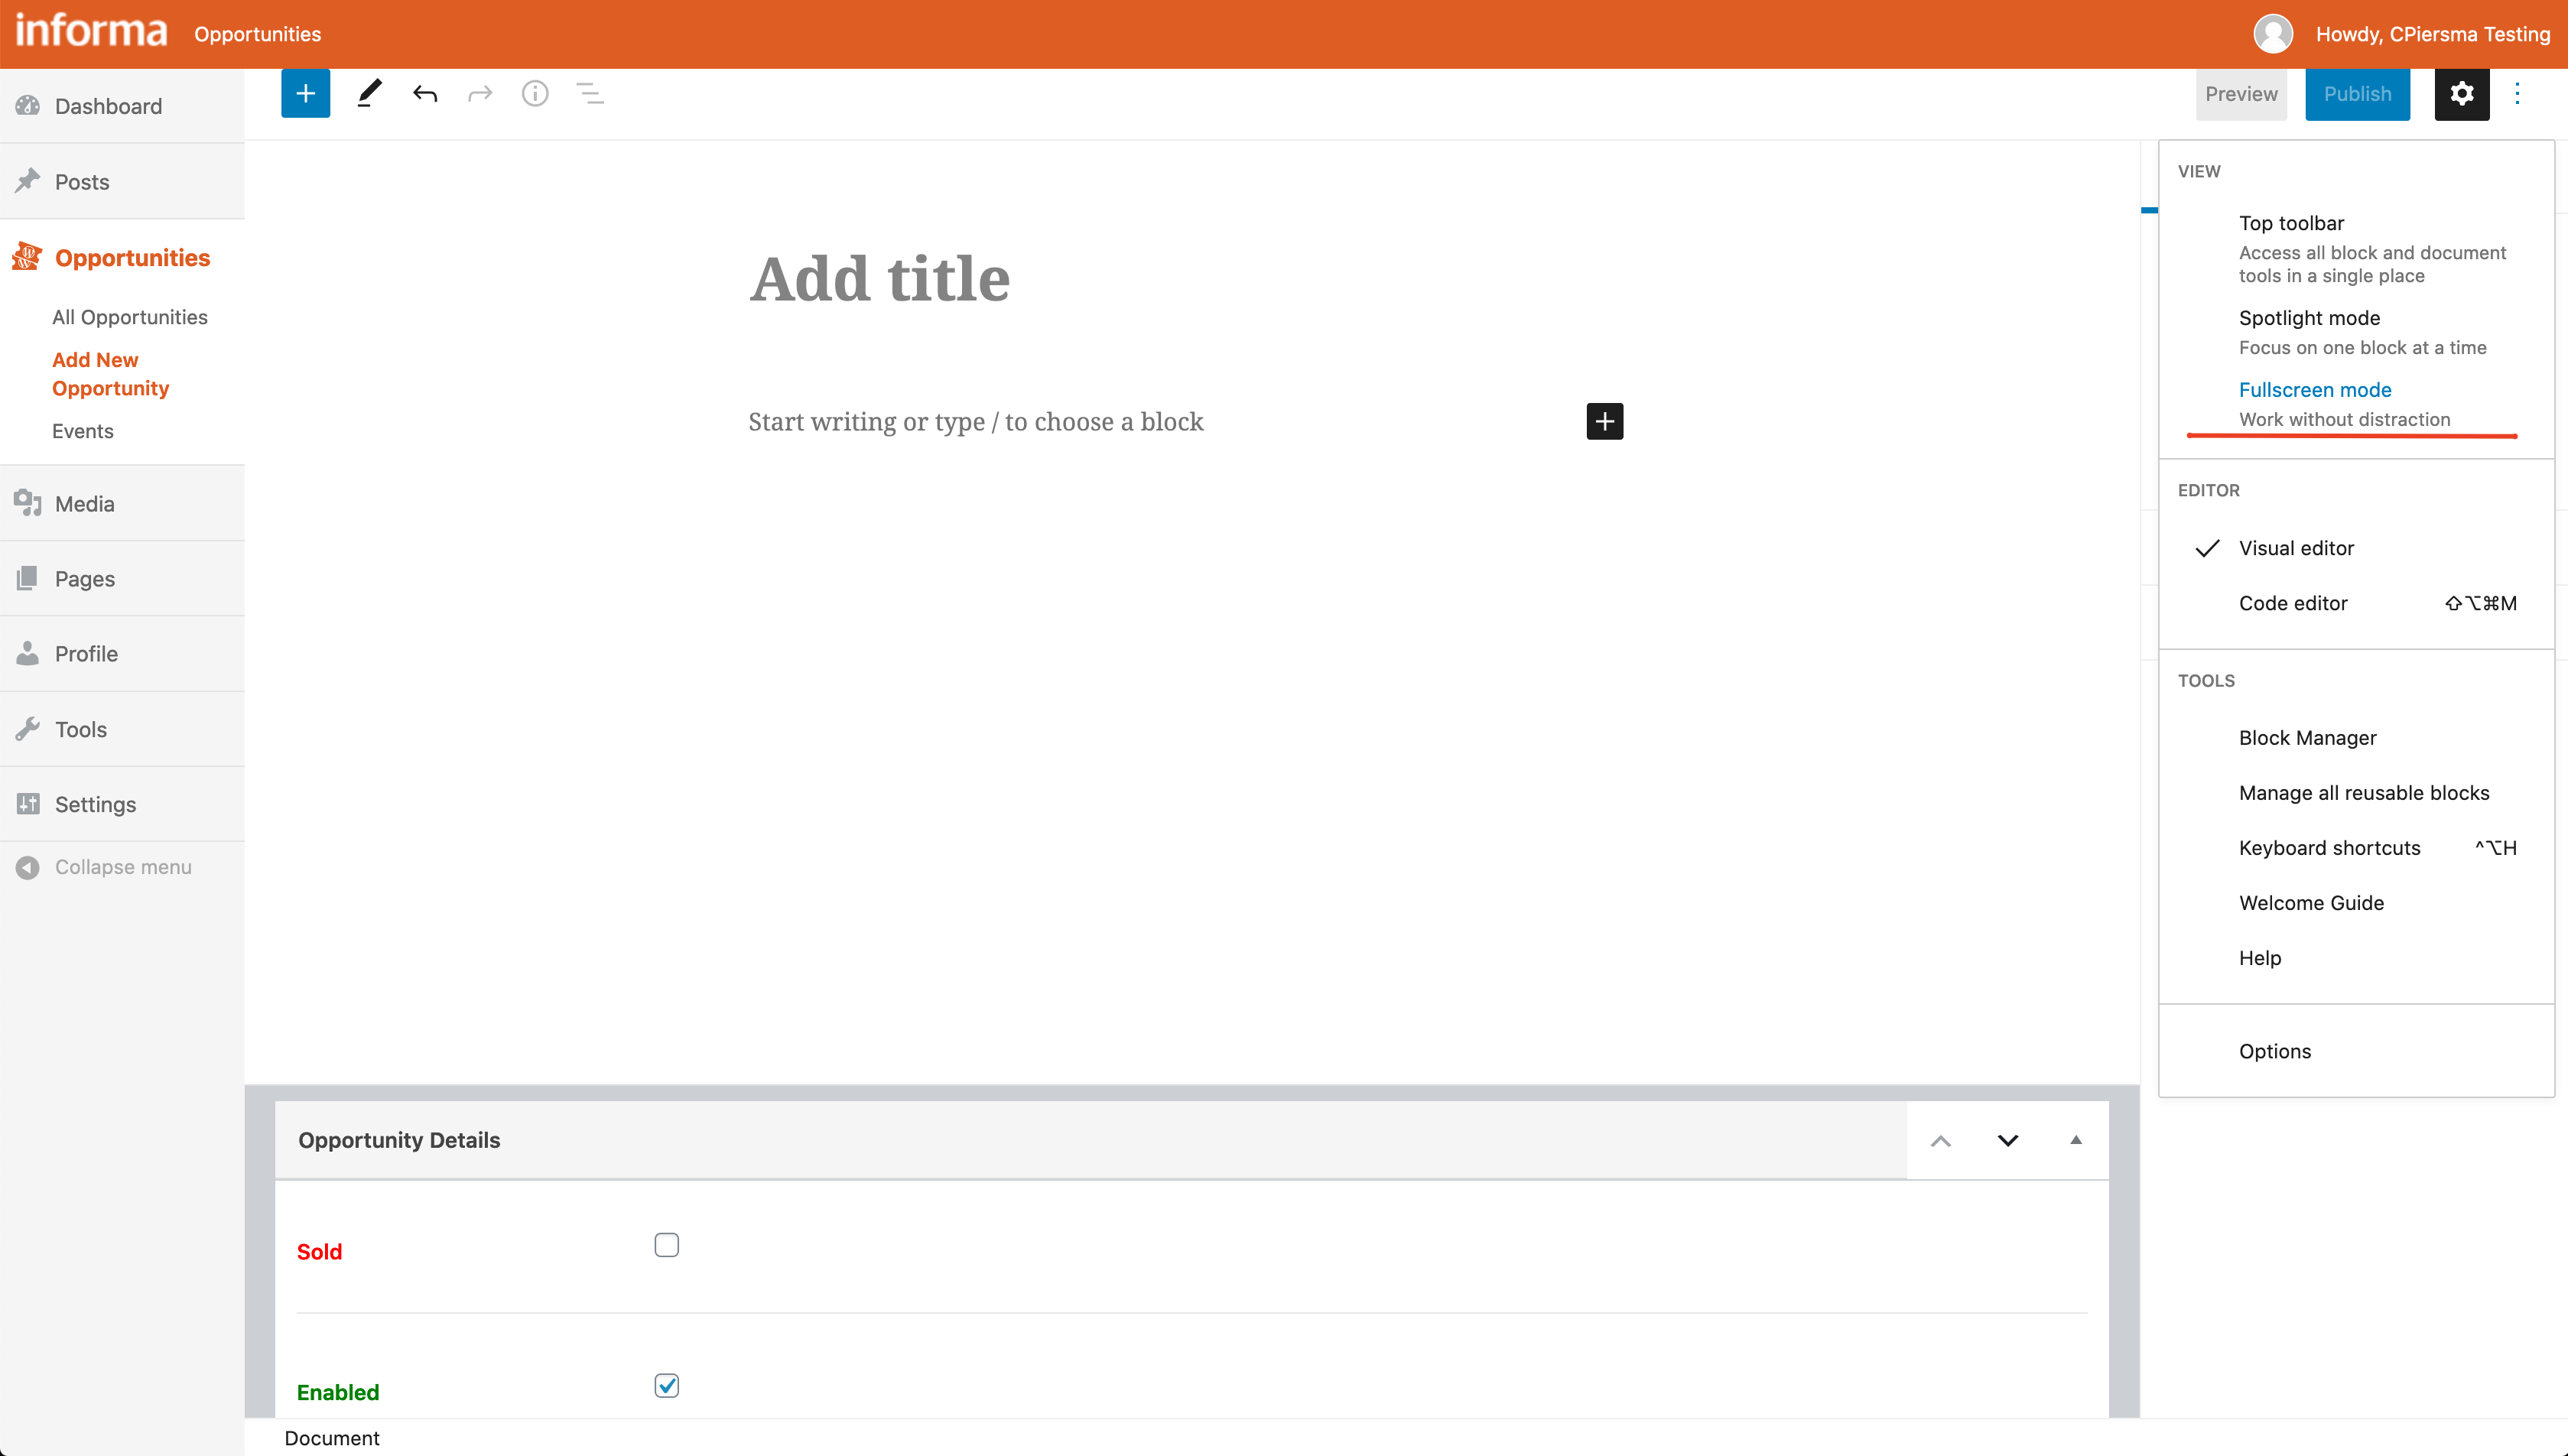 This should enable the view so that the full menu and sidebar areas show.
 -
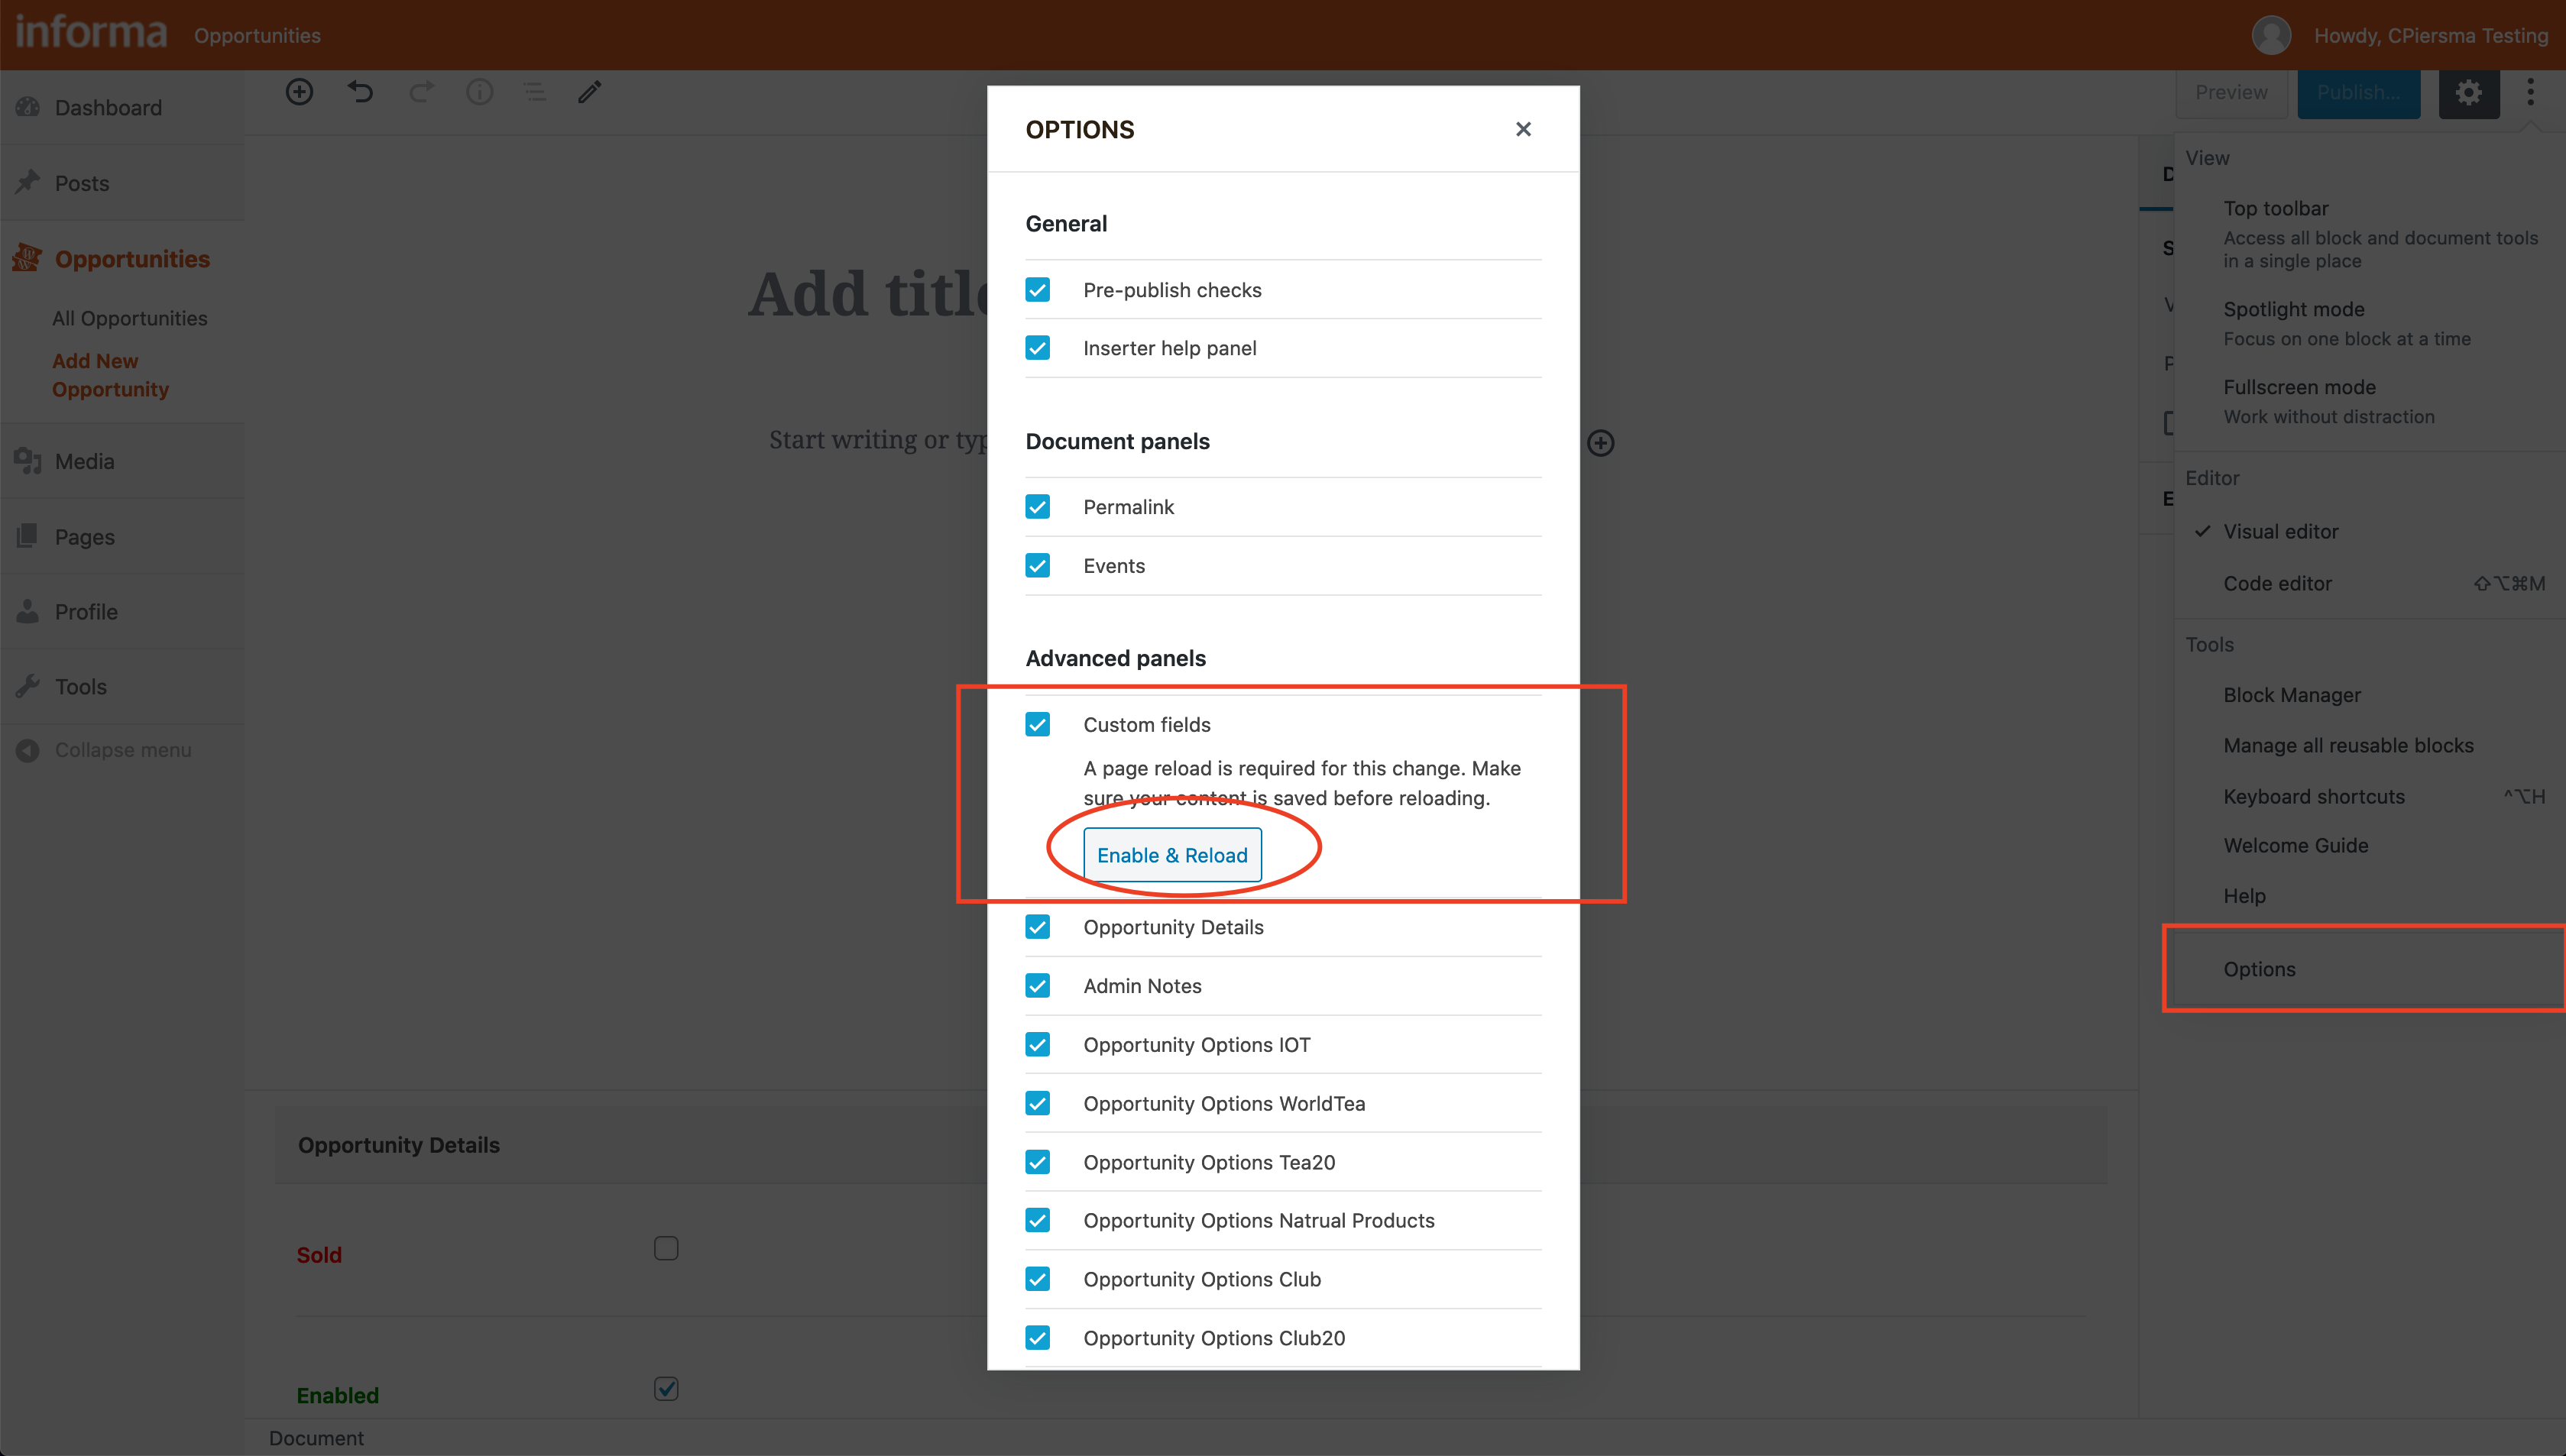
Next, following that same path again, click on “Options” from that dropdown window and check the “Custom Fields” checkbox that pops up. Then, click on the “Enable & Reload” button to turn on the custom fields block:
 and have your settings update (if it is not on already):
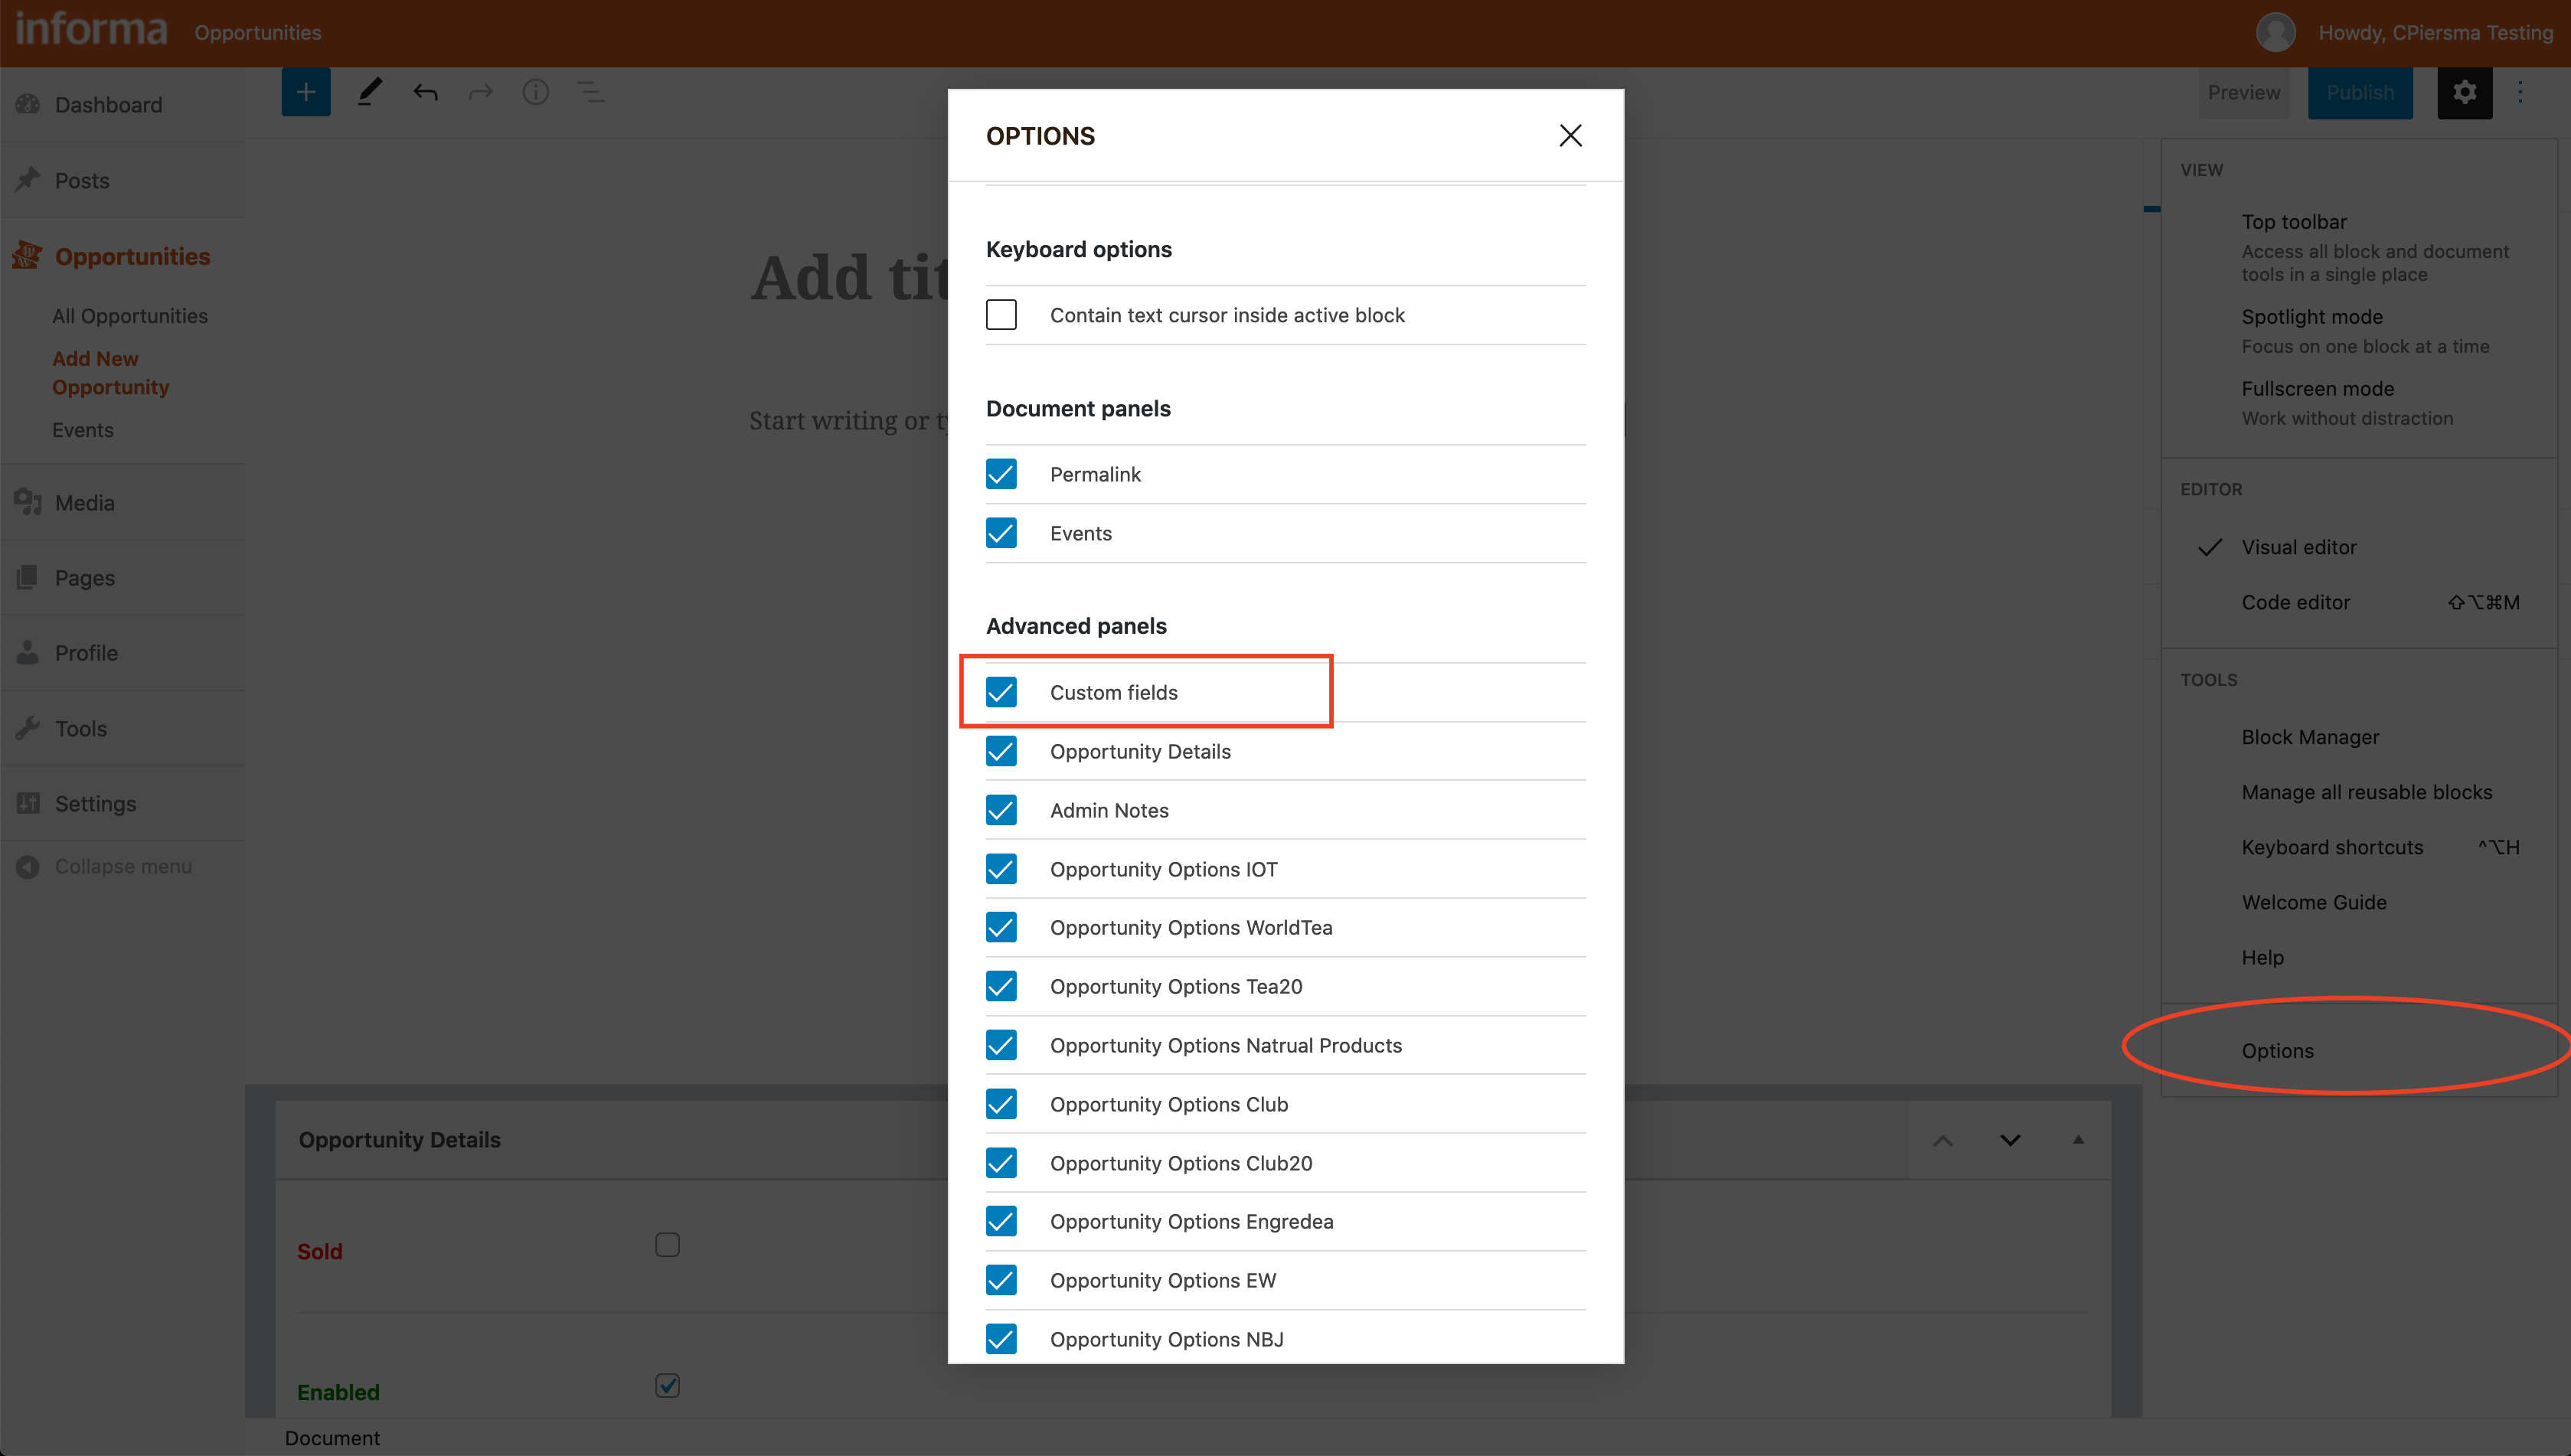
-
-
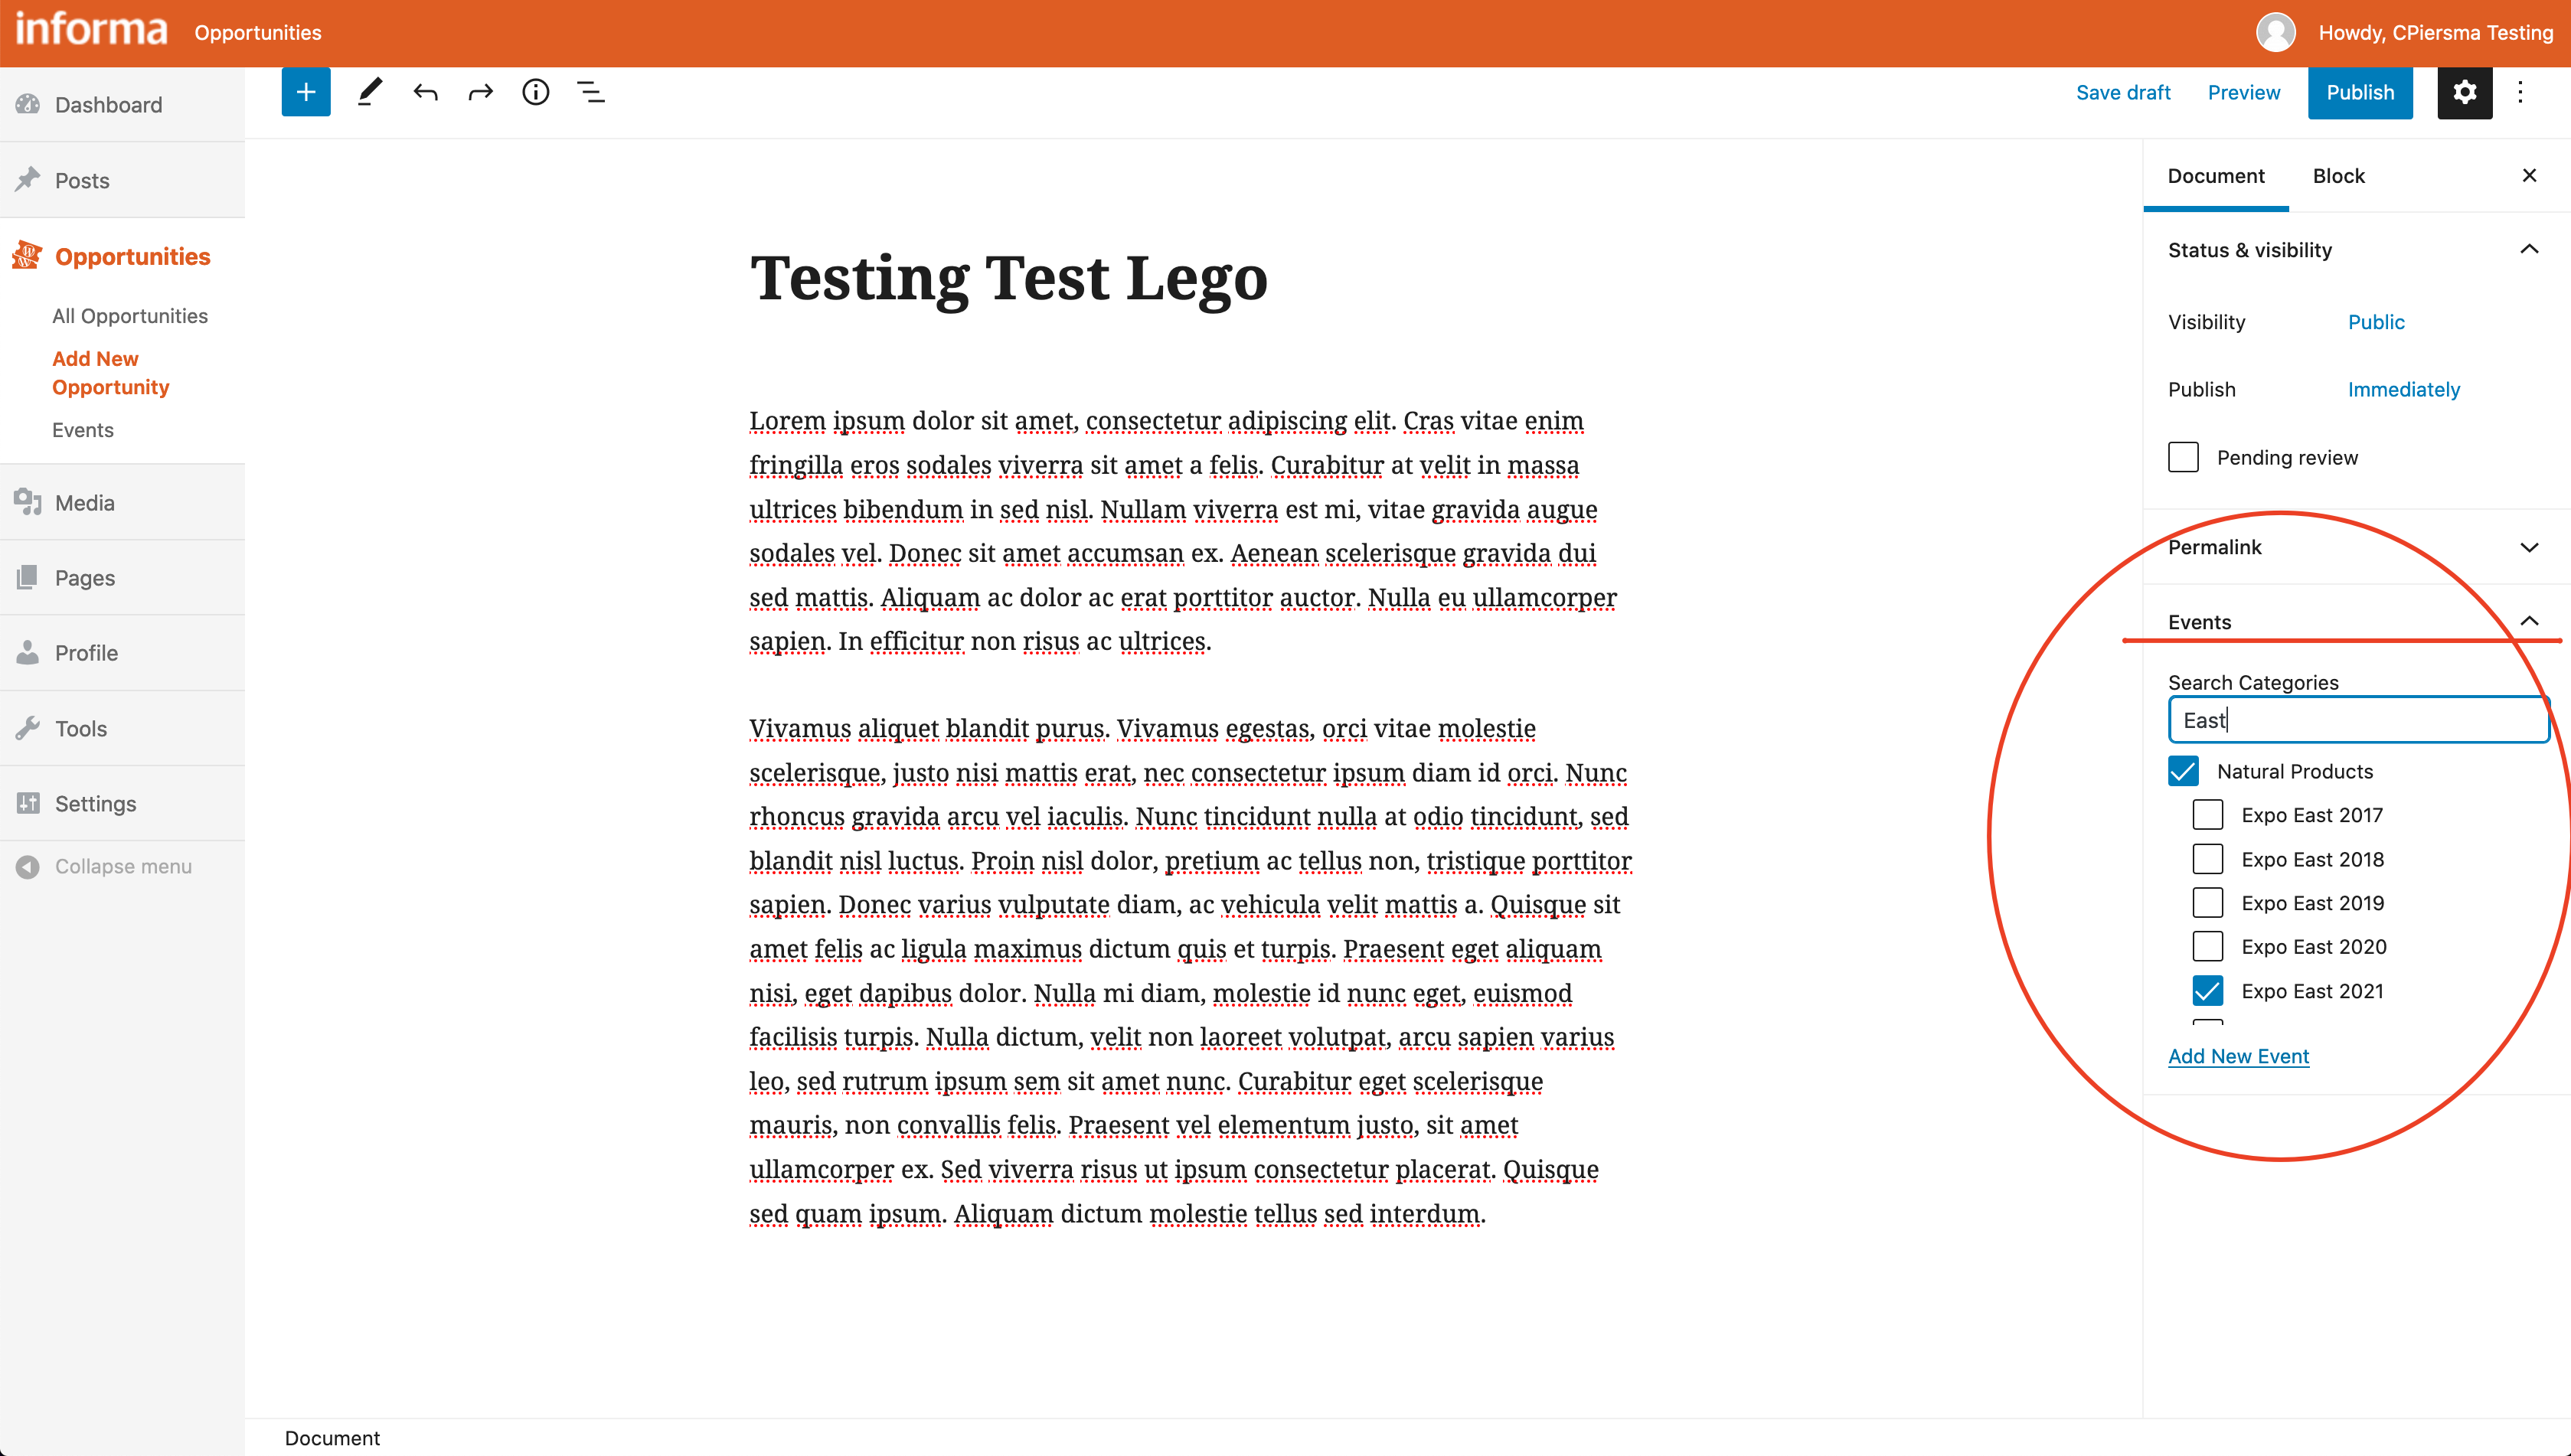
Now your page should refresh/be ready. On this new opportunity form, fill out as much information as you can. It’s recommended that you start by filling out the Events sidebar panel. Be sure to pay careful attention to select both the main Parent Event and then the year specific Event:
-
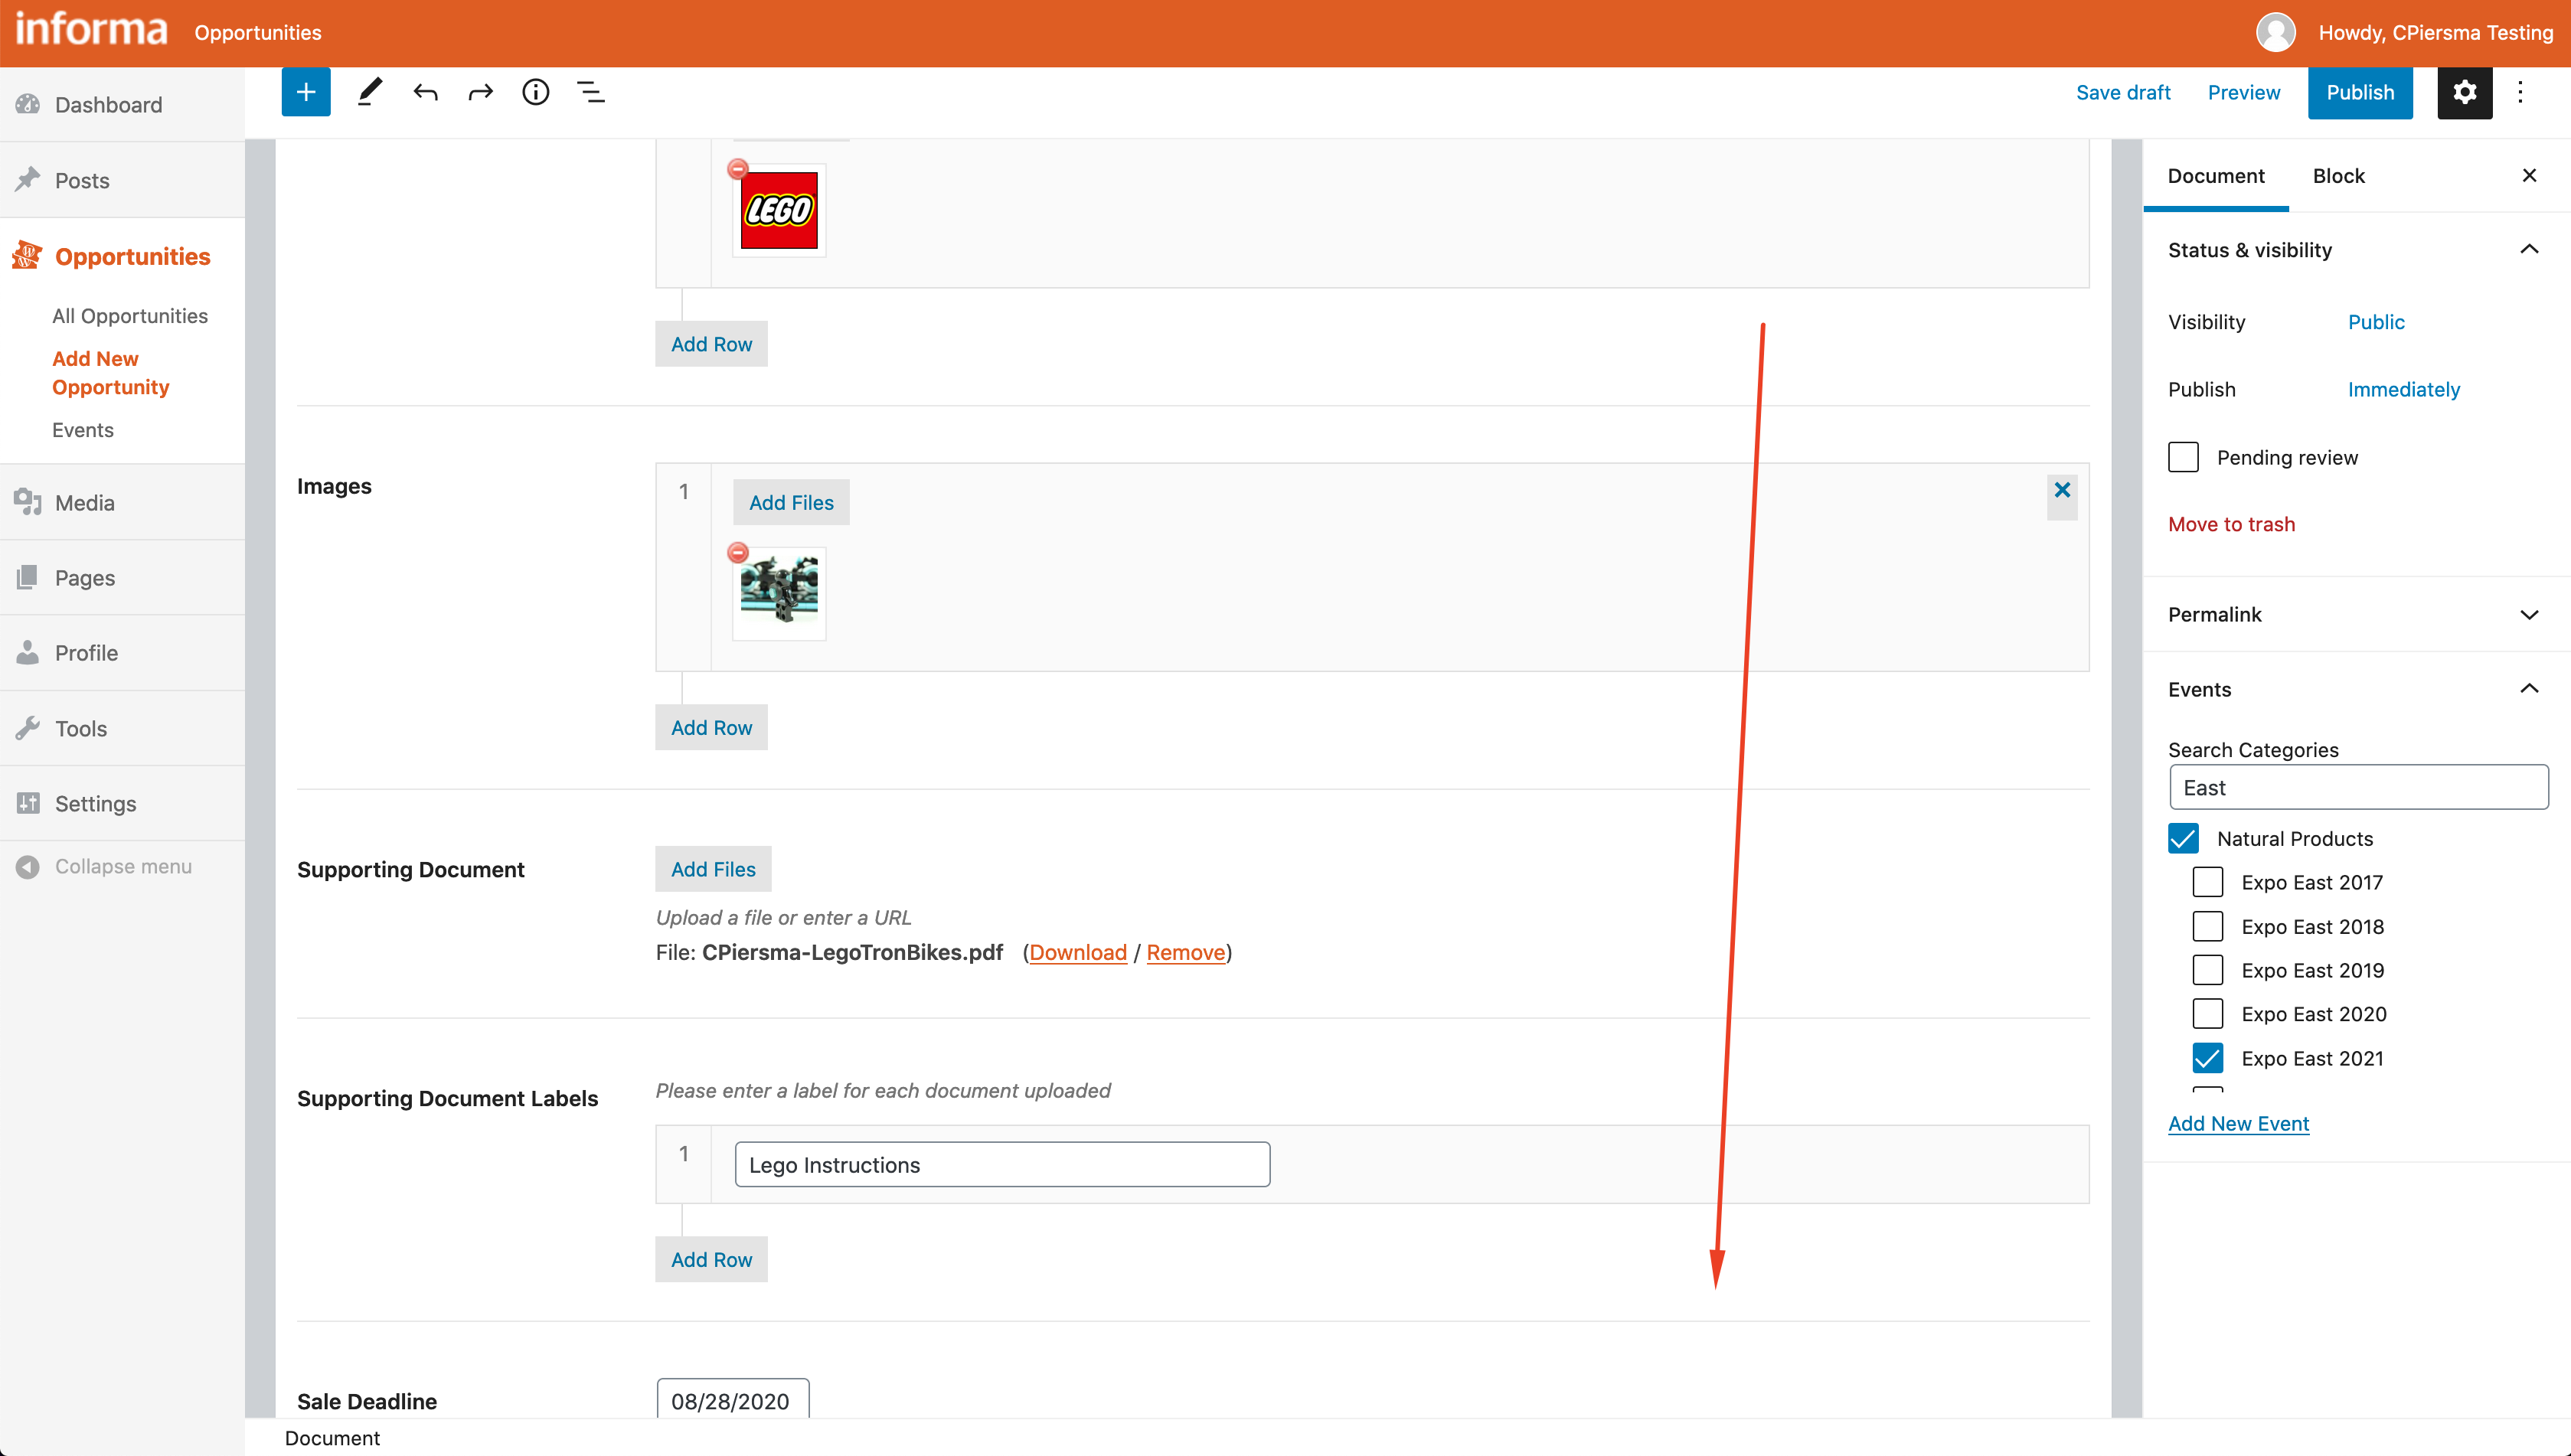
Fill out as much detail as possible. To Upload Sponsor Logos/Images/Supporting Document to an opportunity, simply click the desired field and the corresponding “Add Files” button:
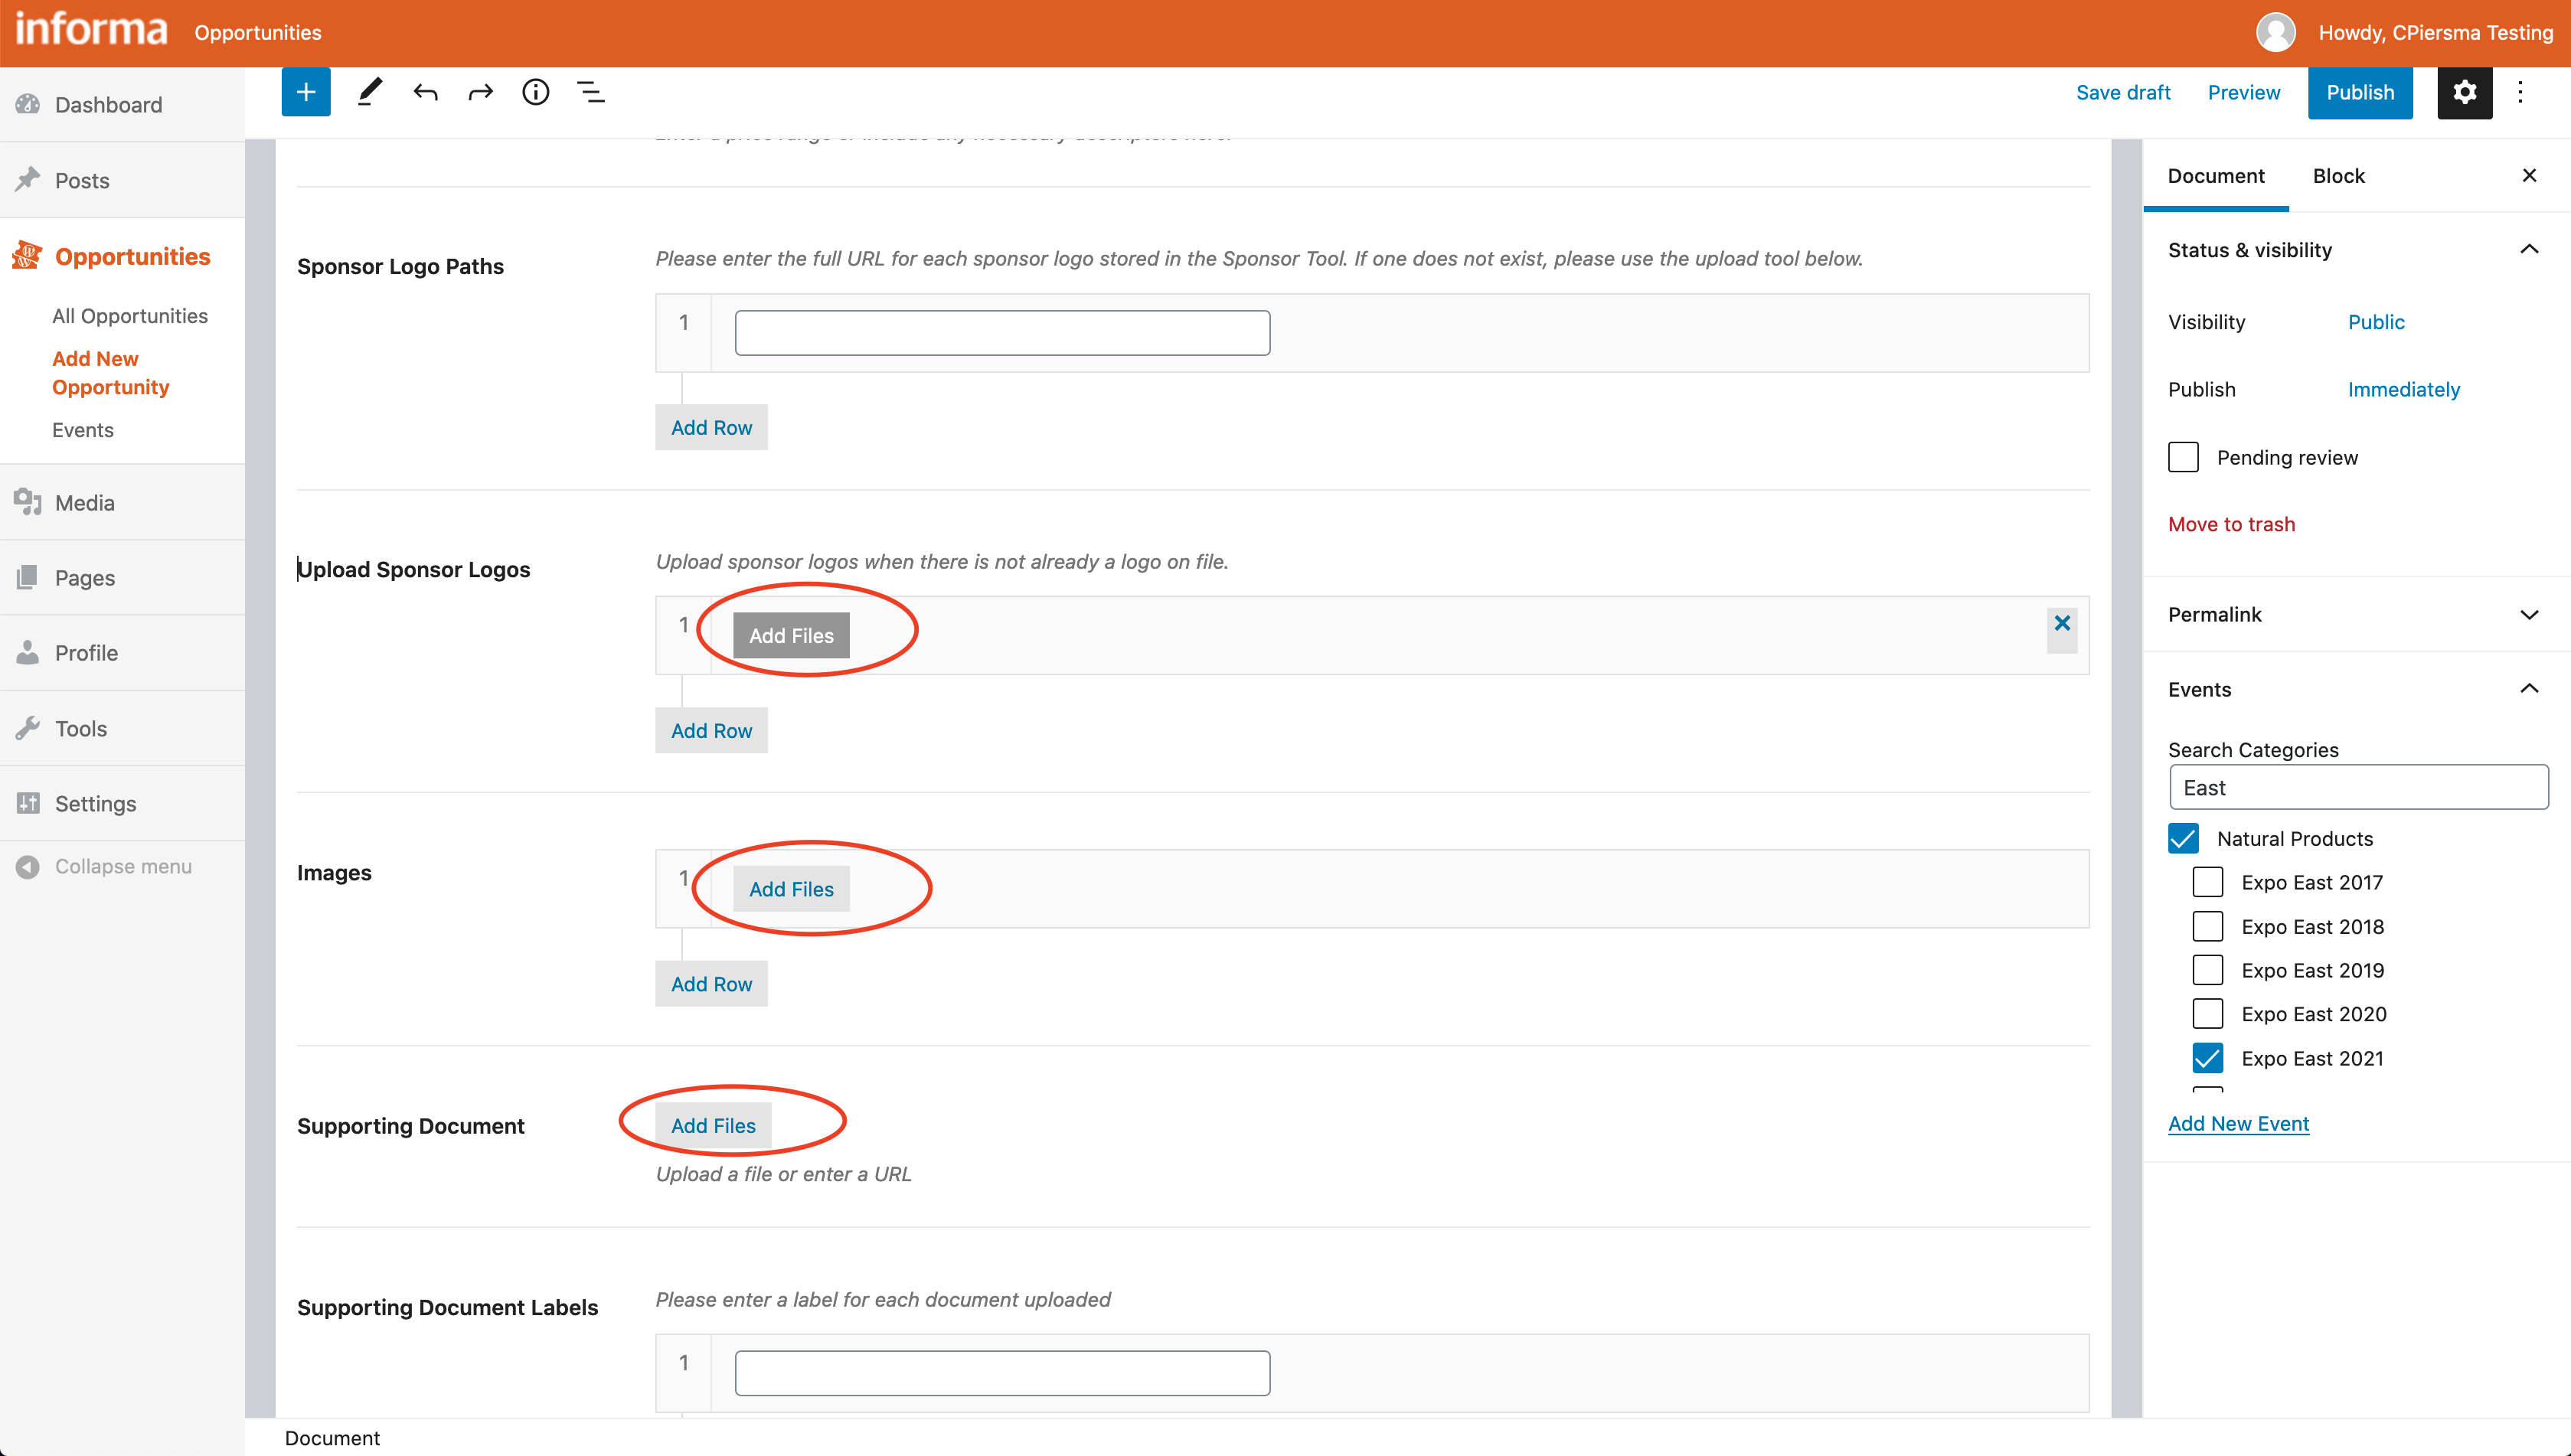 and select any file uploaded to the Media Library previously through the dialog box:
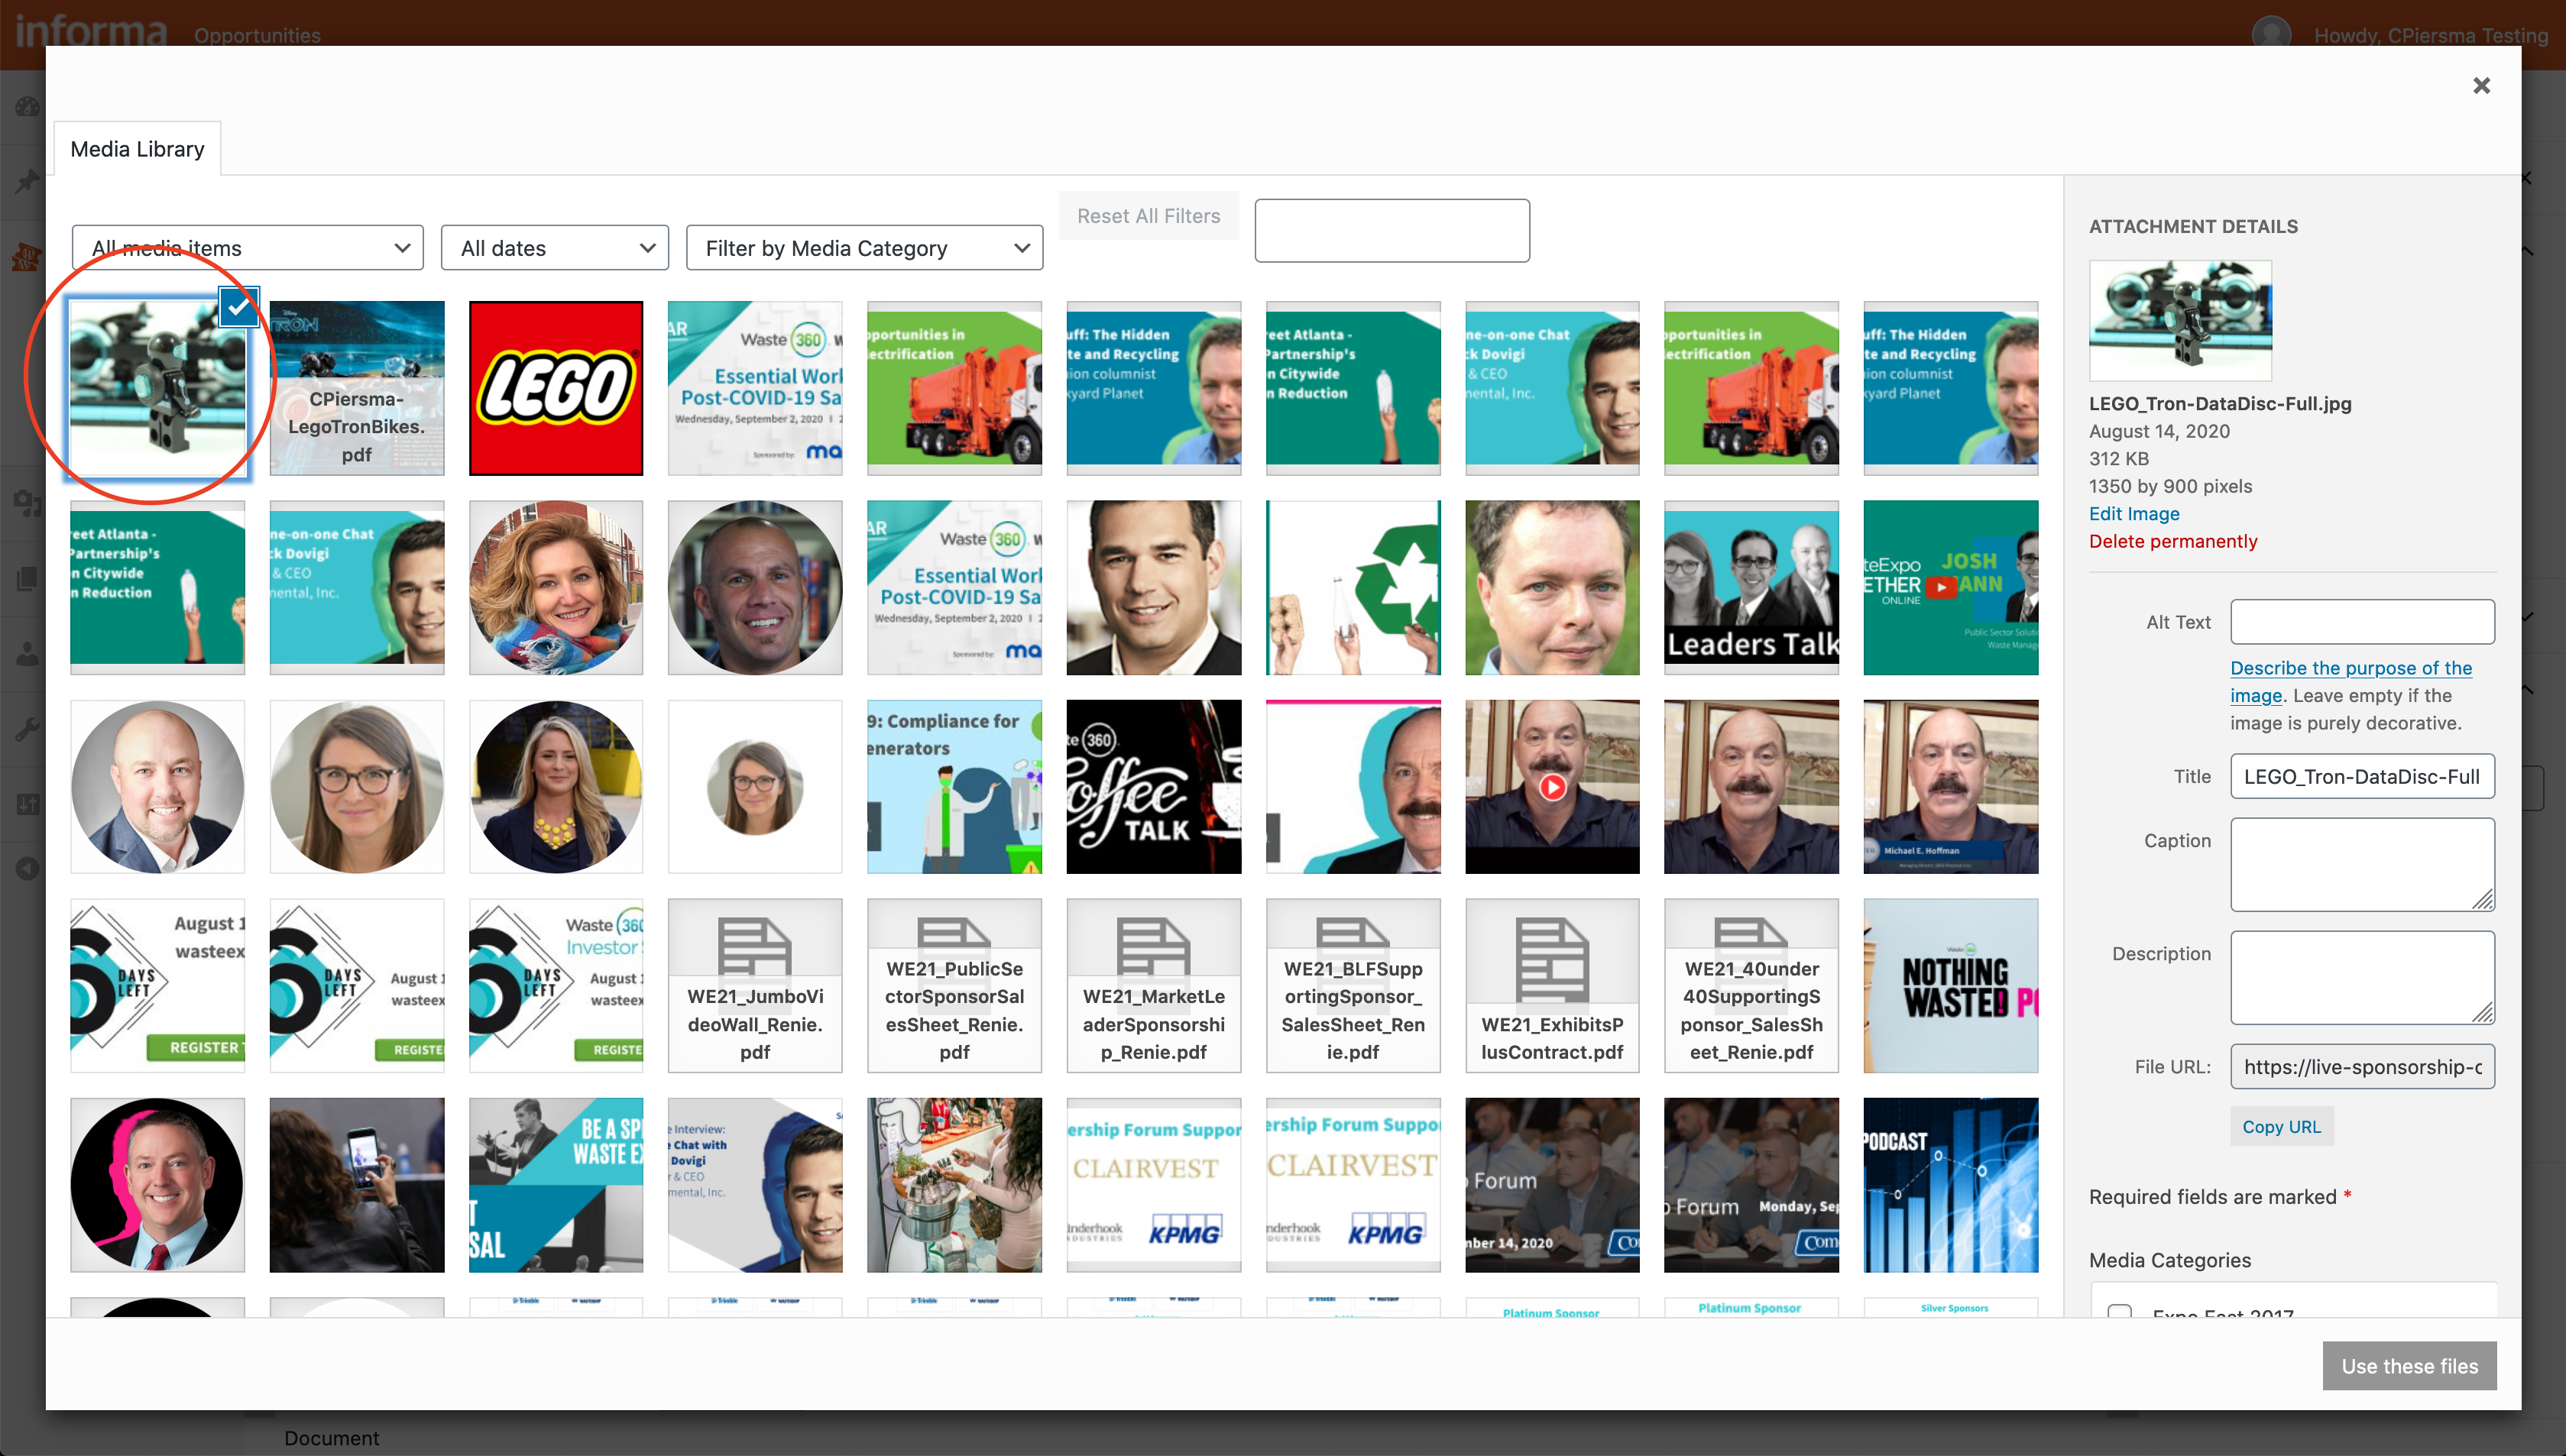
-
With all the above details in place,:
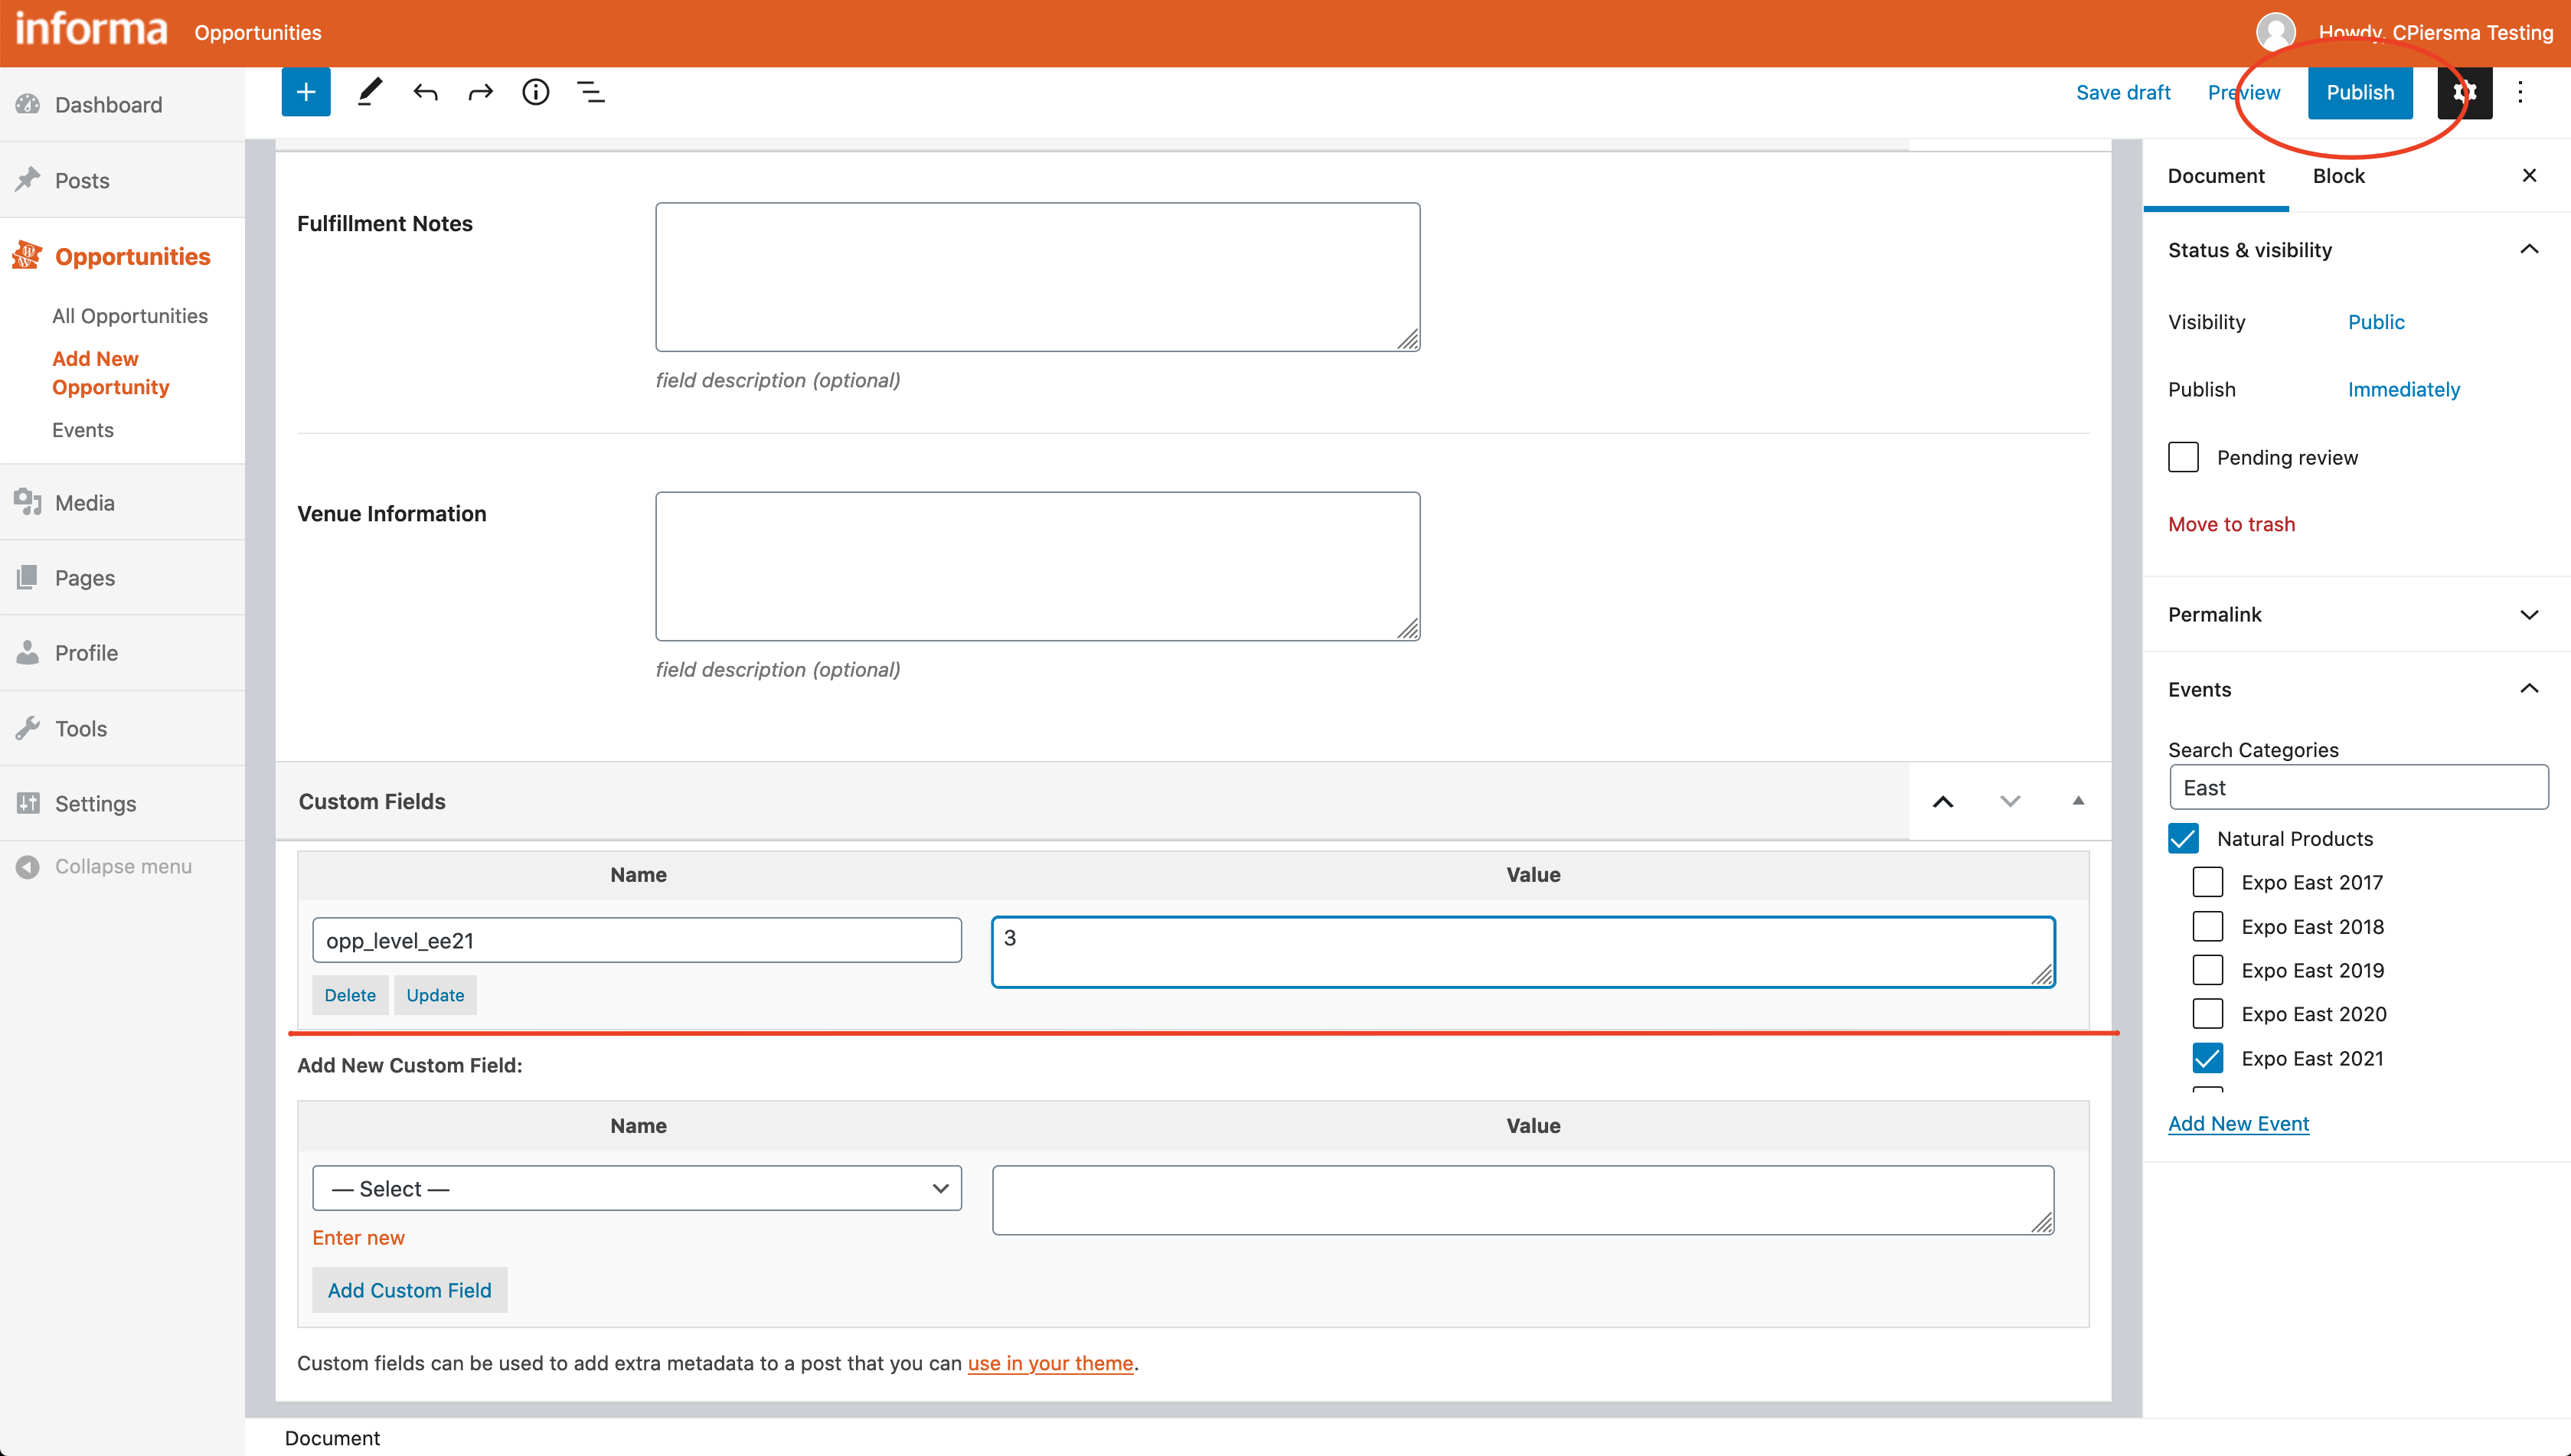
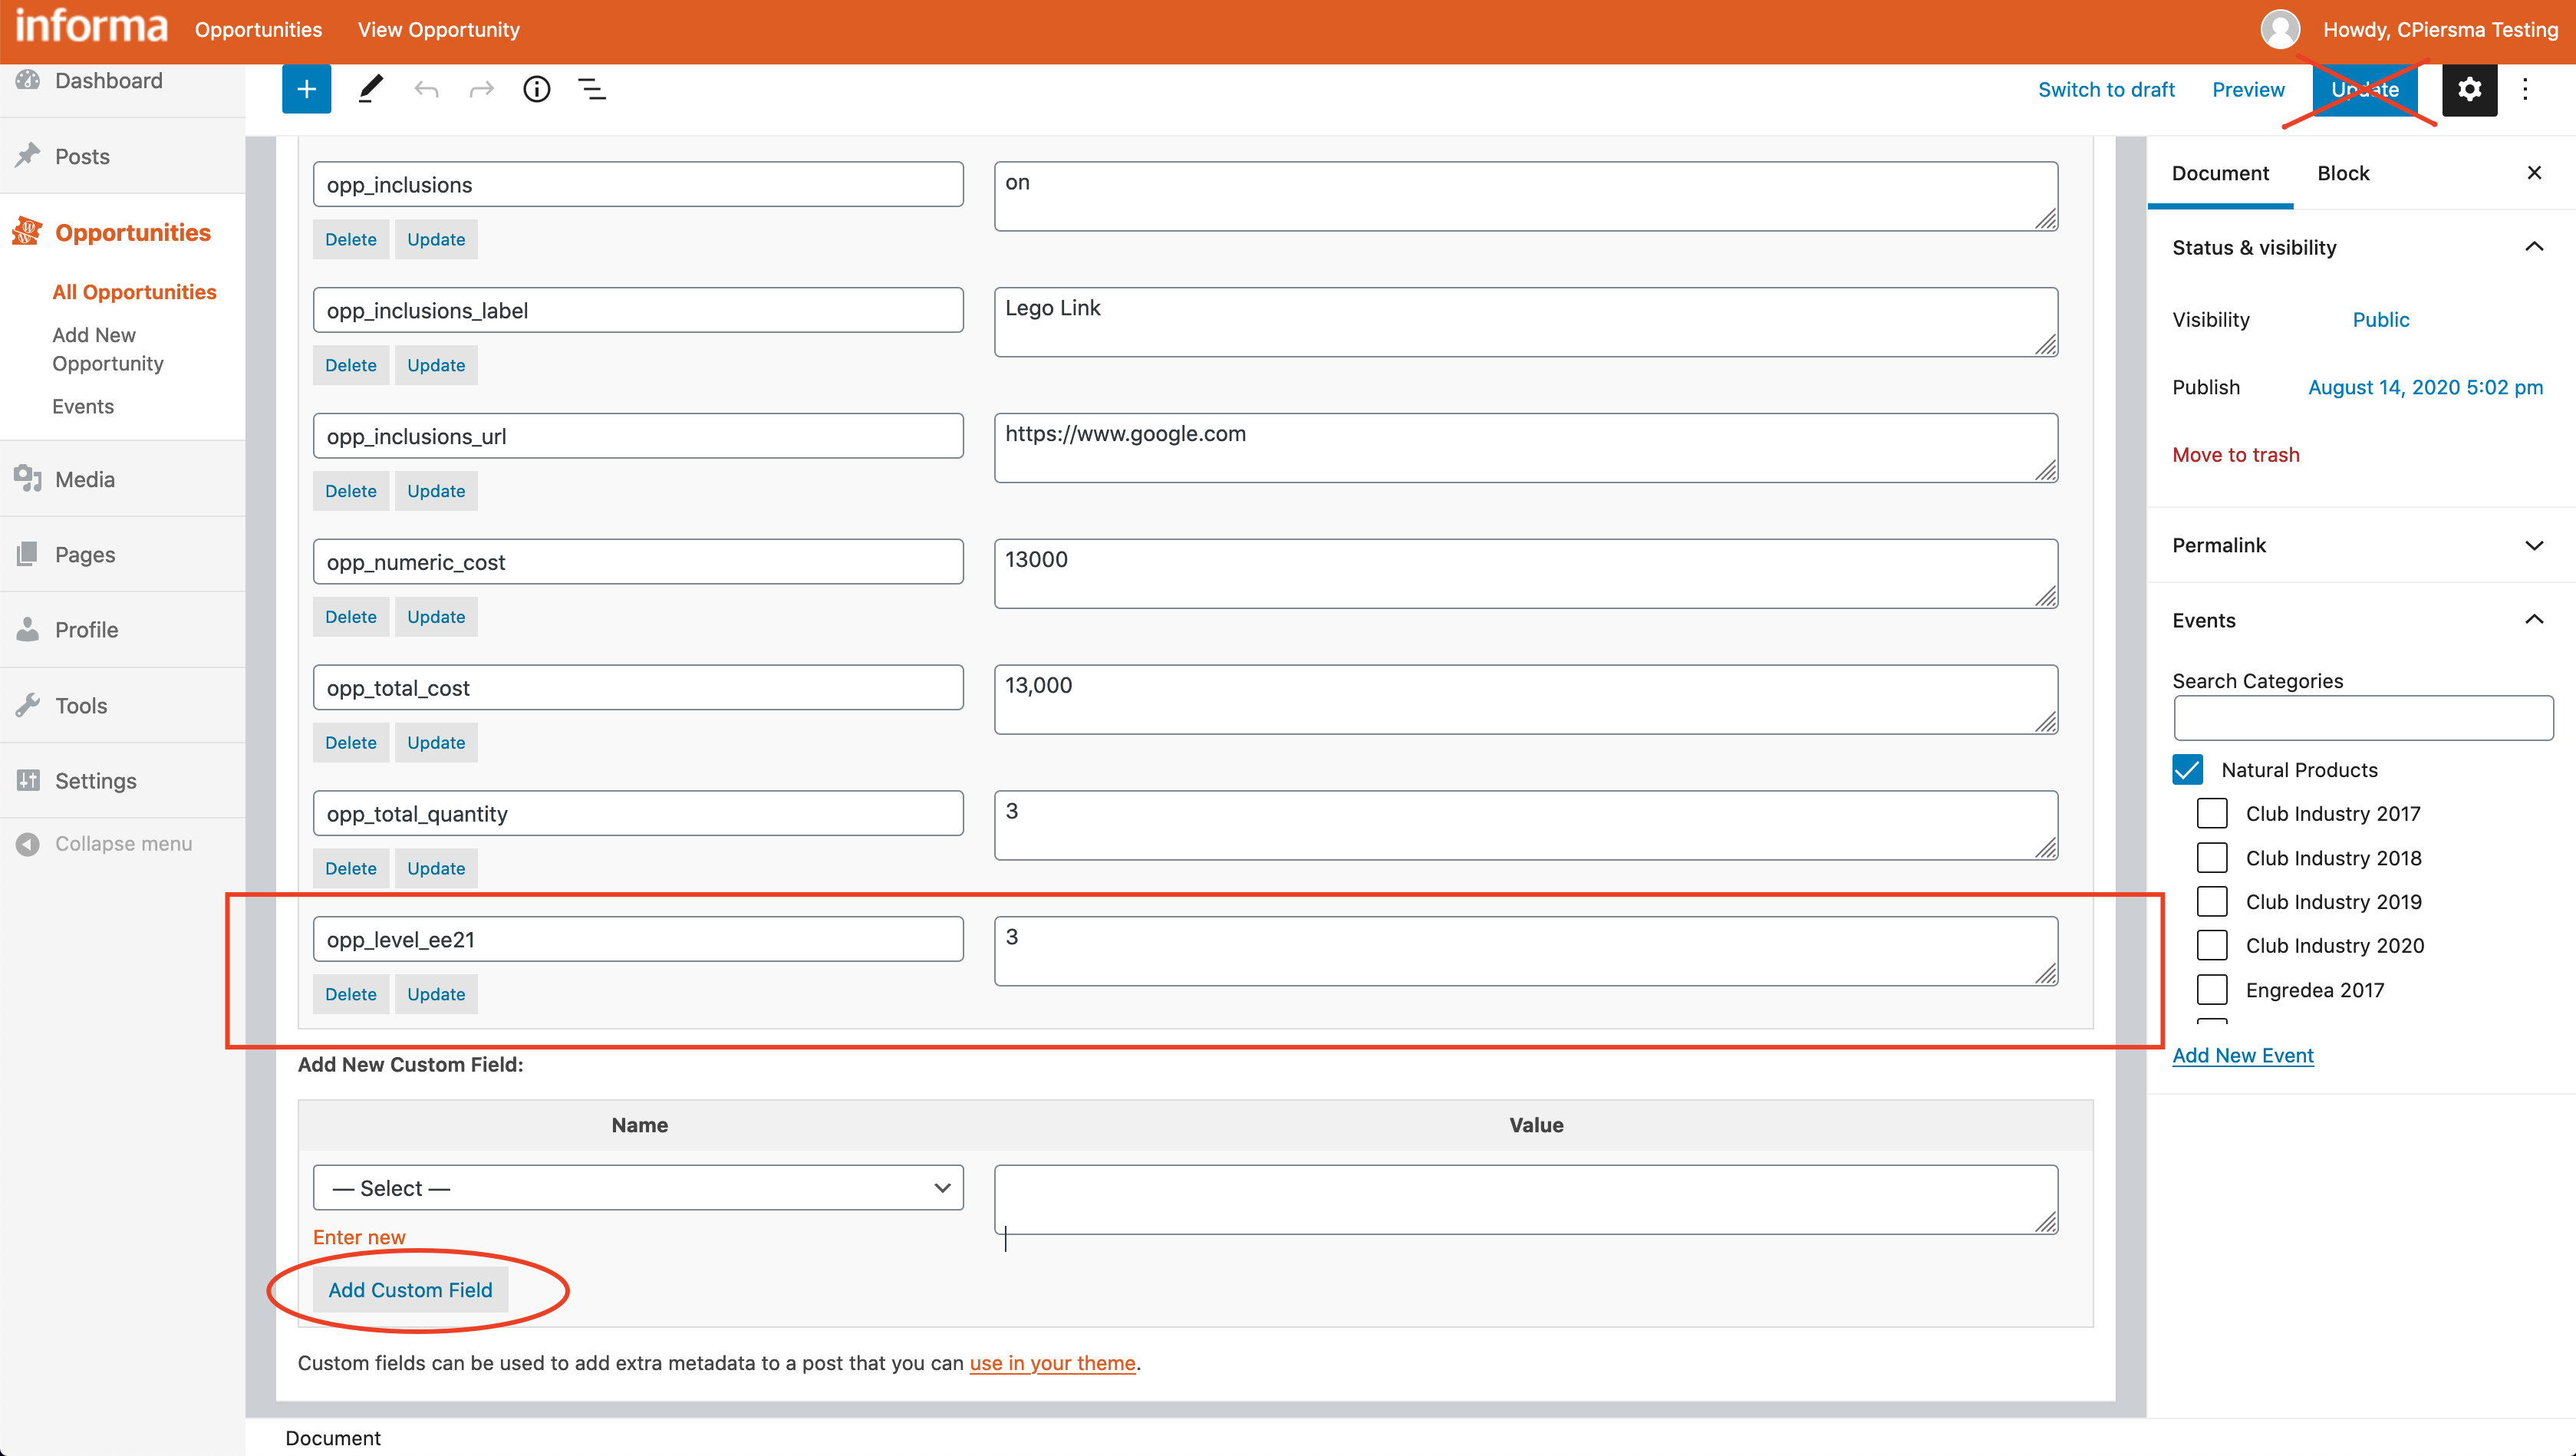
 scroll down to the Custom Fields block near the very bottom of the form:
 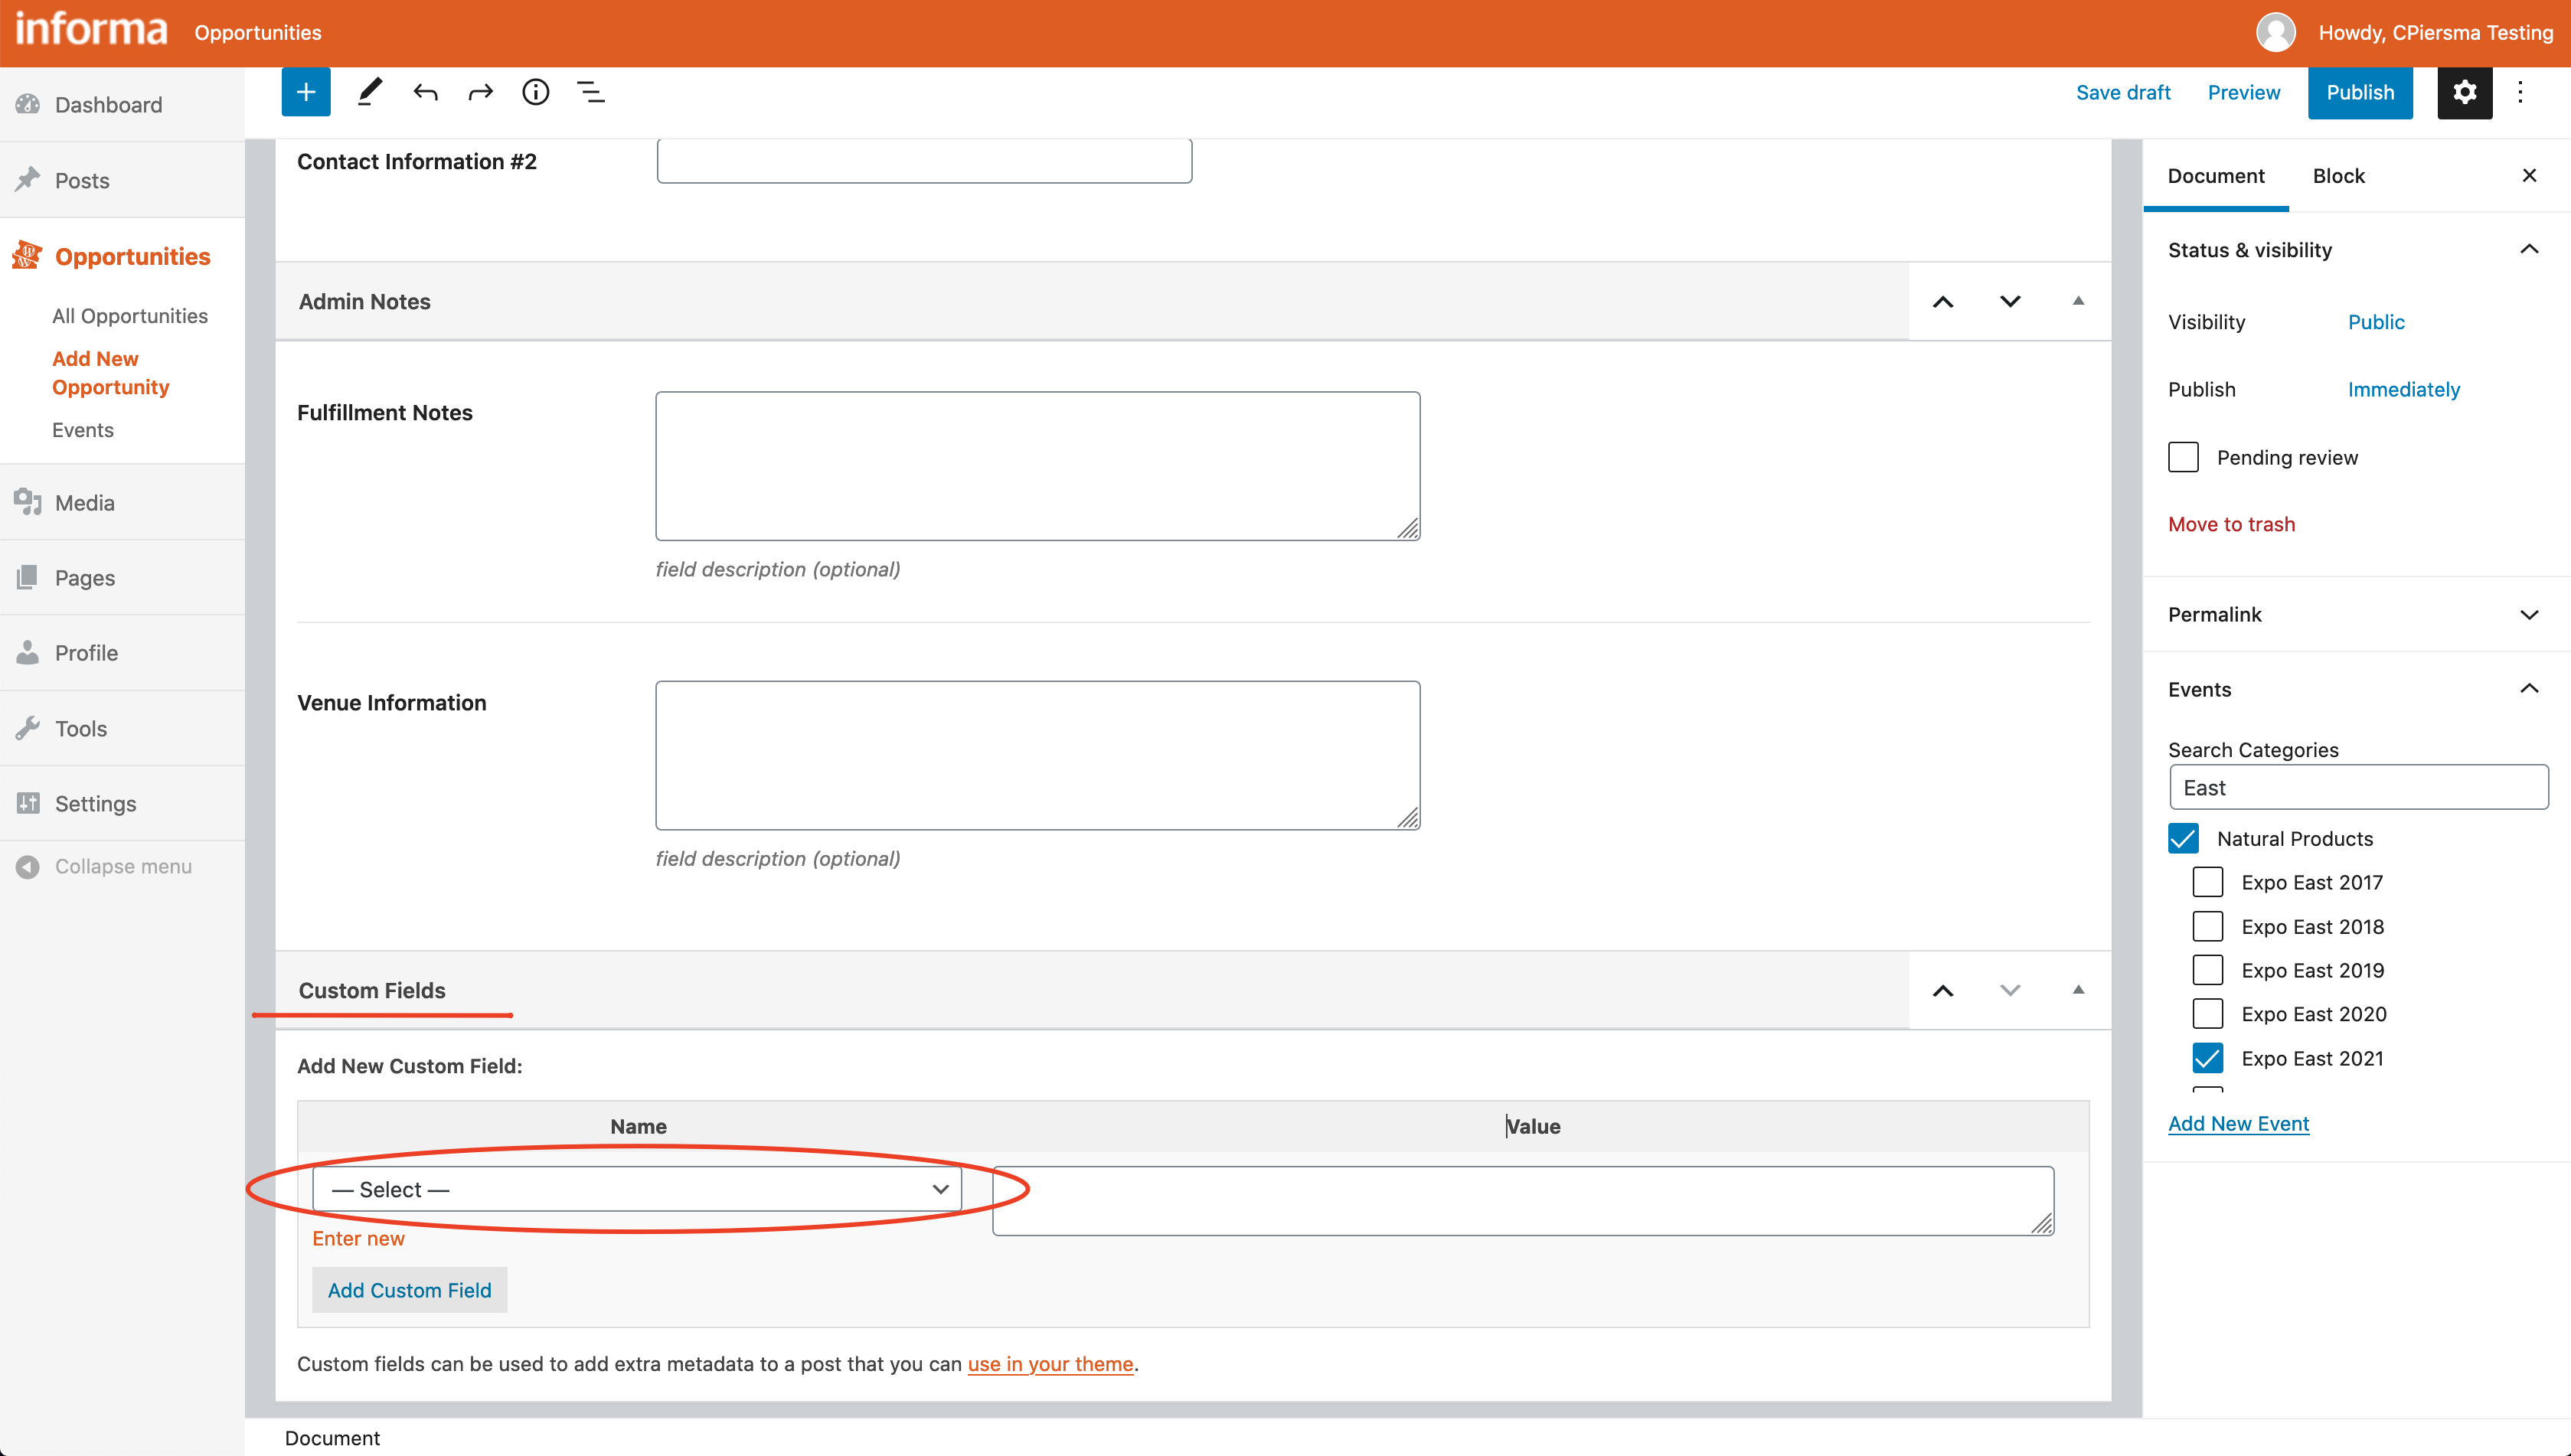 and from the selection box, choose the level or type for your opportunity’s specific event. This will be something like opp_level_ee21 and/or opp_type_ssw20 and need a corresponding number. The numbers will most typically be 1-4 (or more) and match the sponsorship levels the marketing team directed the web department to enable:
- A general example of opportunity levels (type level would be very similar) and their corresponding numbers would be as follows:
* 1 => "Platinum" * 2 => "Gold", * 3 => "Silver", * 4 => "Marketing Opportunity"- A number value is needed for the Add Custom Field button to work properly
- Please note:
- If you do not see your corresponding event custom field in the dropdown, and know what it should be (such as opp_level_ee22 and the related values), please feel free to add it through the “Enter new” link.
- Otherwise, if you do not see your corresponding event custom field in the dropdown, please contact the web department.
-
Once these custom fields are added (a flash of yellow should confirm it’s submission) then be sure to publish your New Opportunity by clicking the “Publish” button:
-
You might get asked to confirm the publish status again here, but please proceed. As this tool feeds your AEM site, and it is the AEM site that will control the public view settings. As a result, it’s advised you publish your opportunity immediately for review:
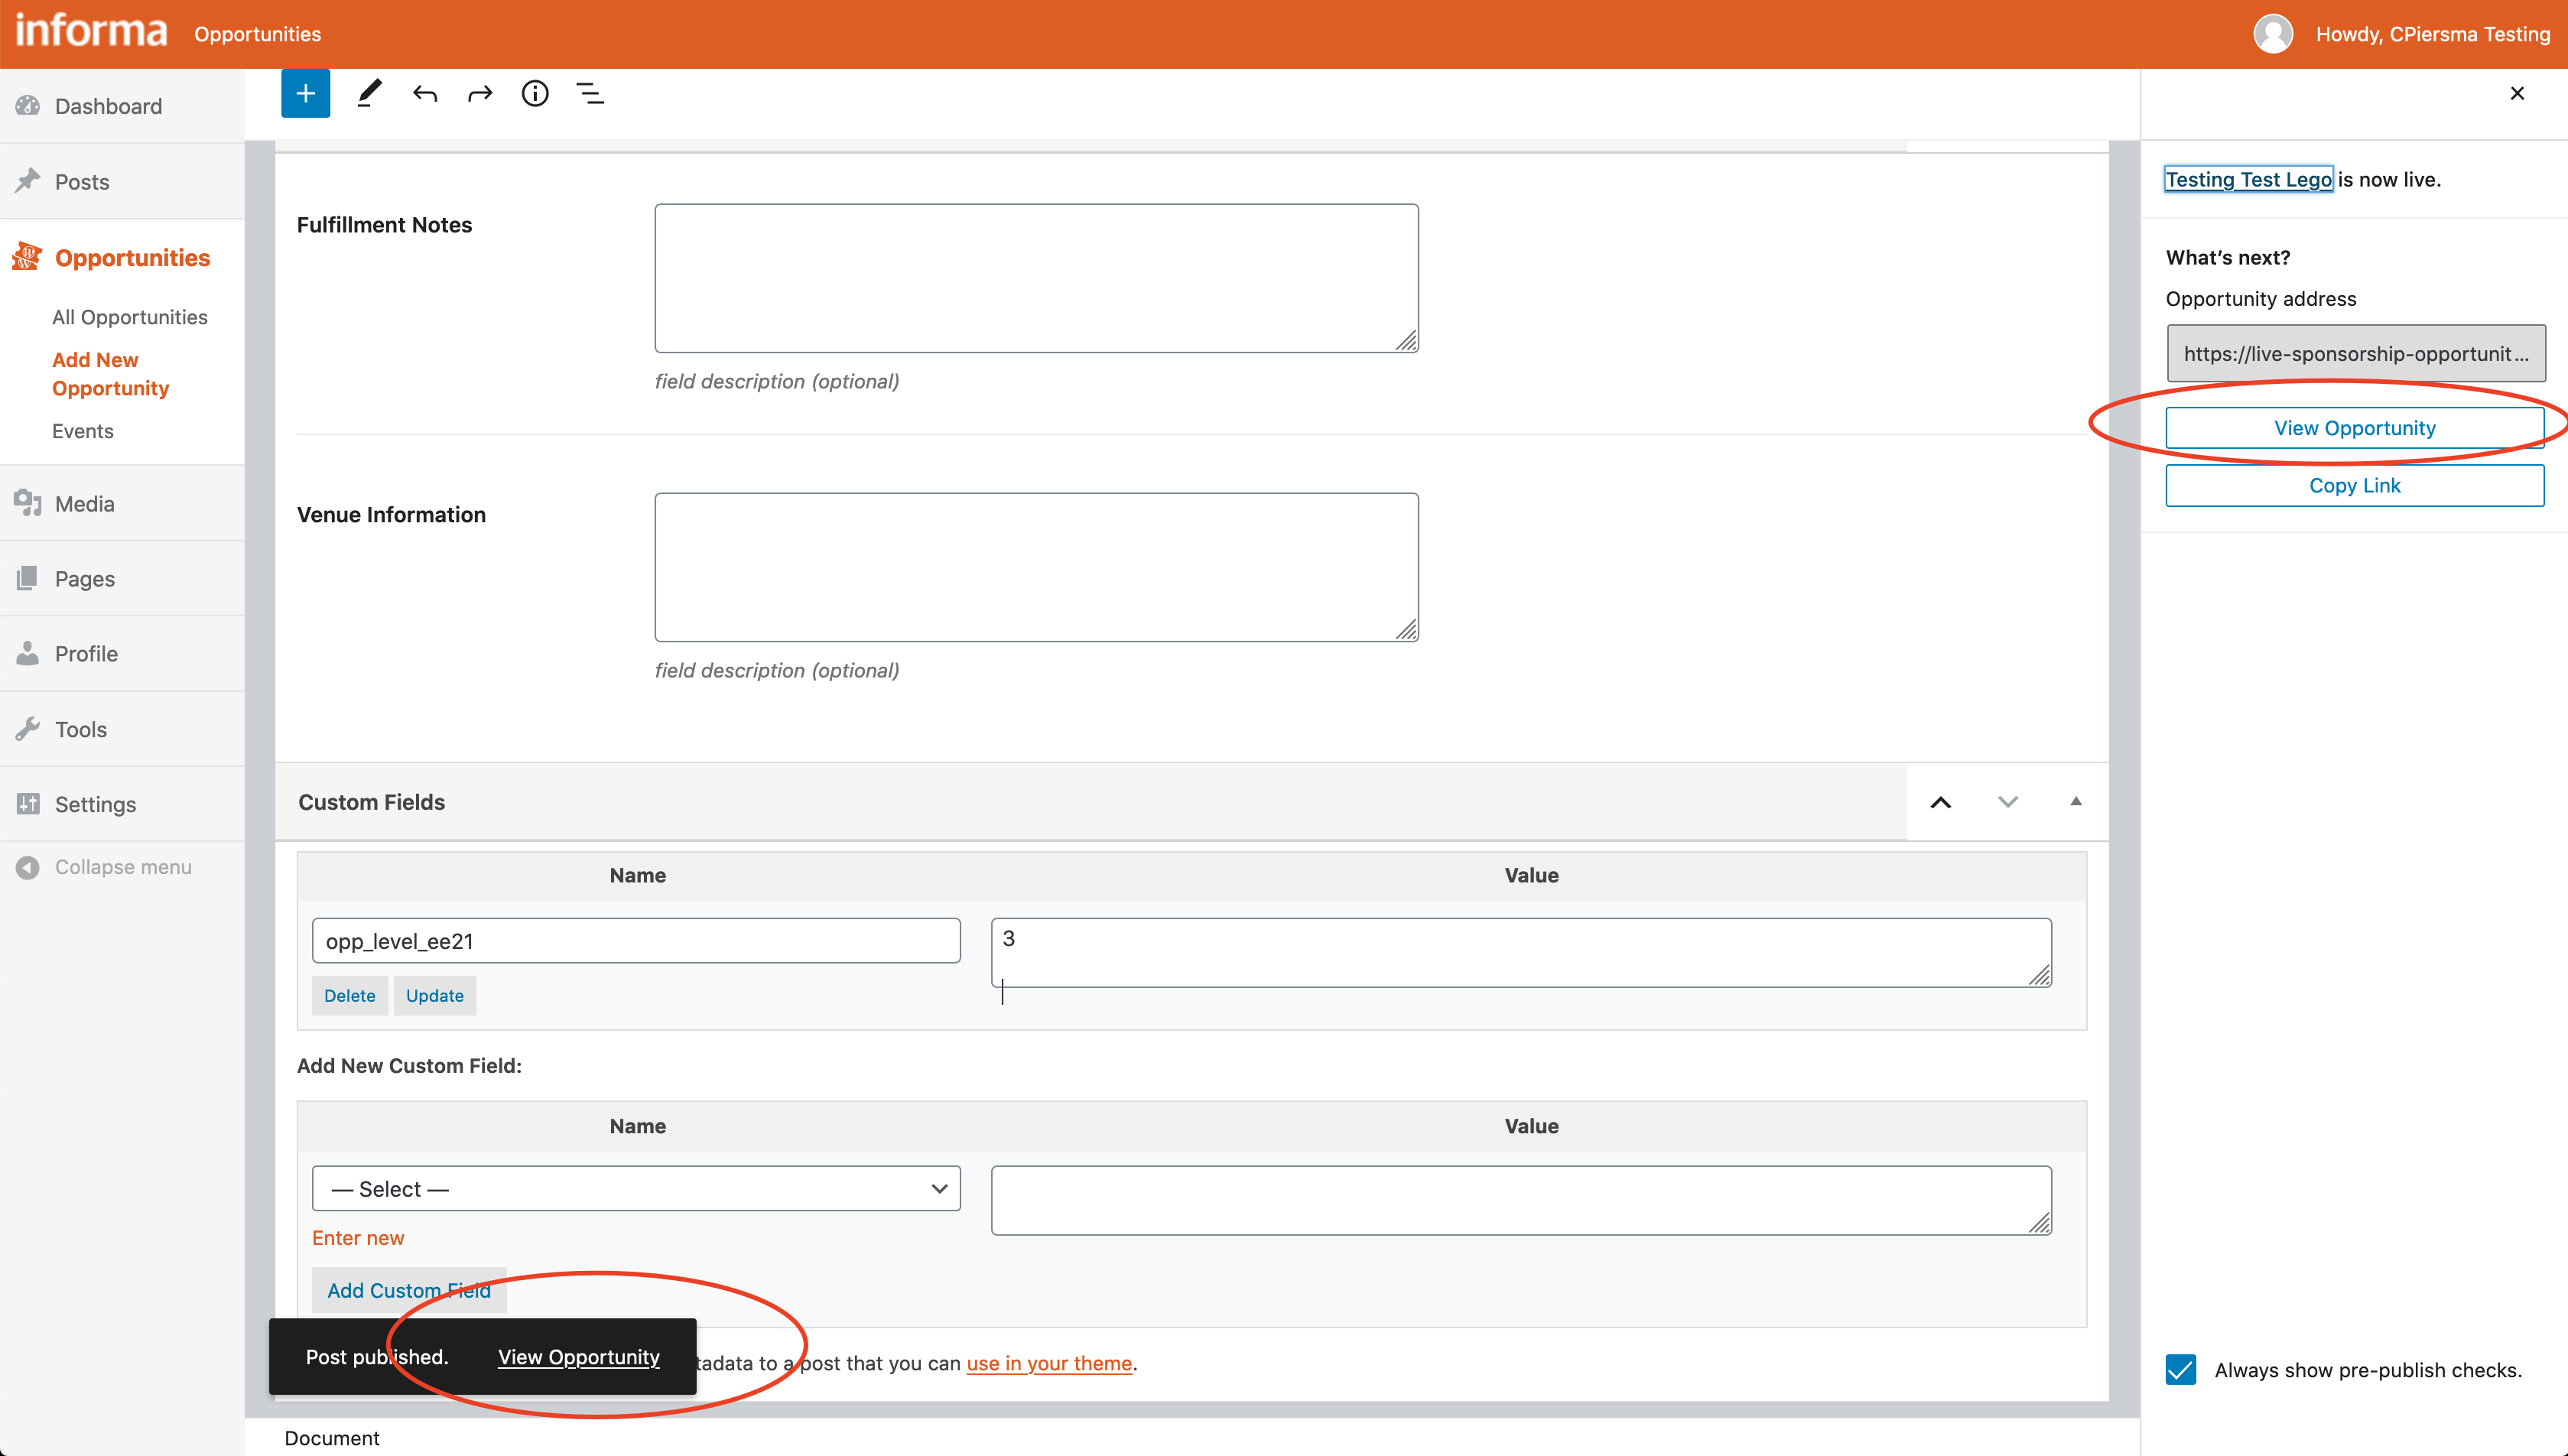 By this same logic if your Opportunities page is live in AEM, this new opportunity will show immediately there, otherwise, it is still ready to be reviewed as long as it’s published:
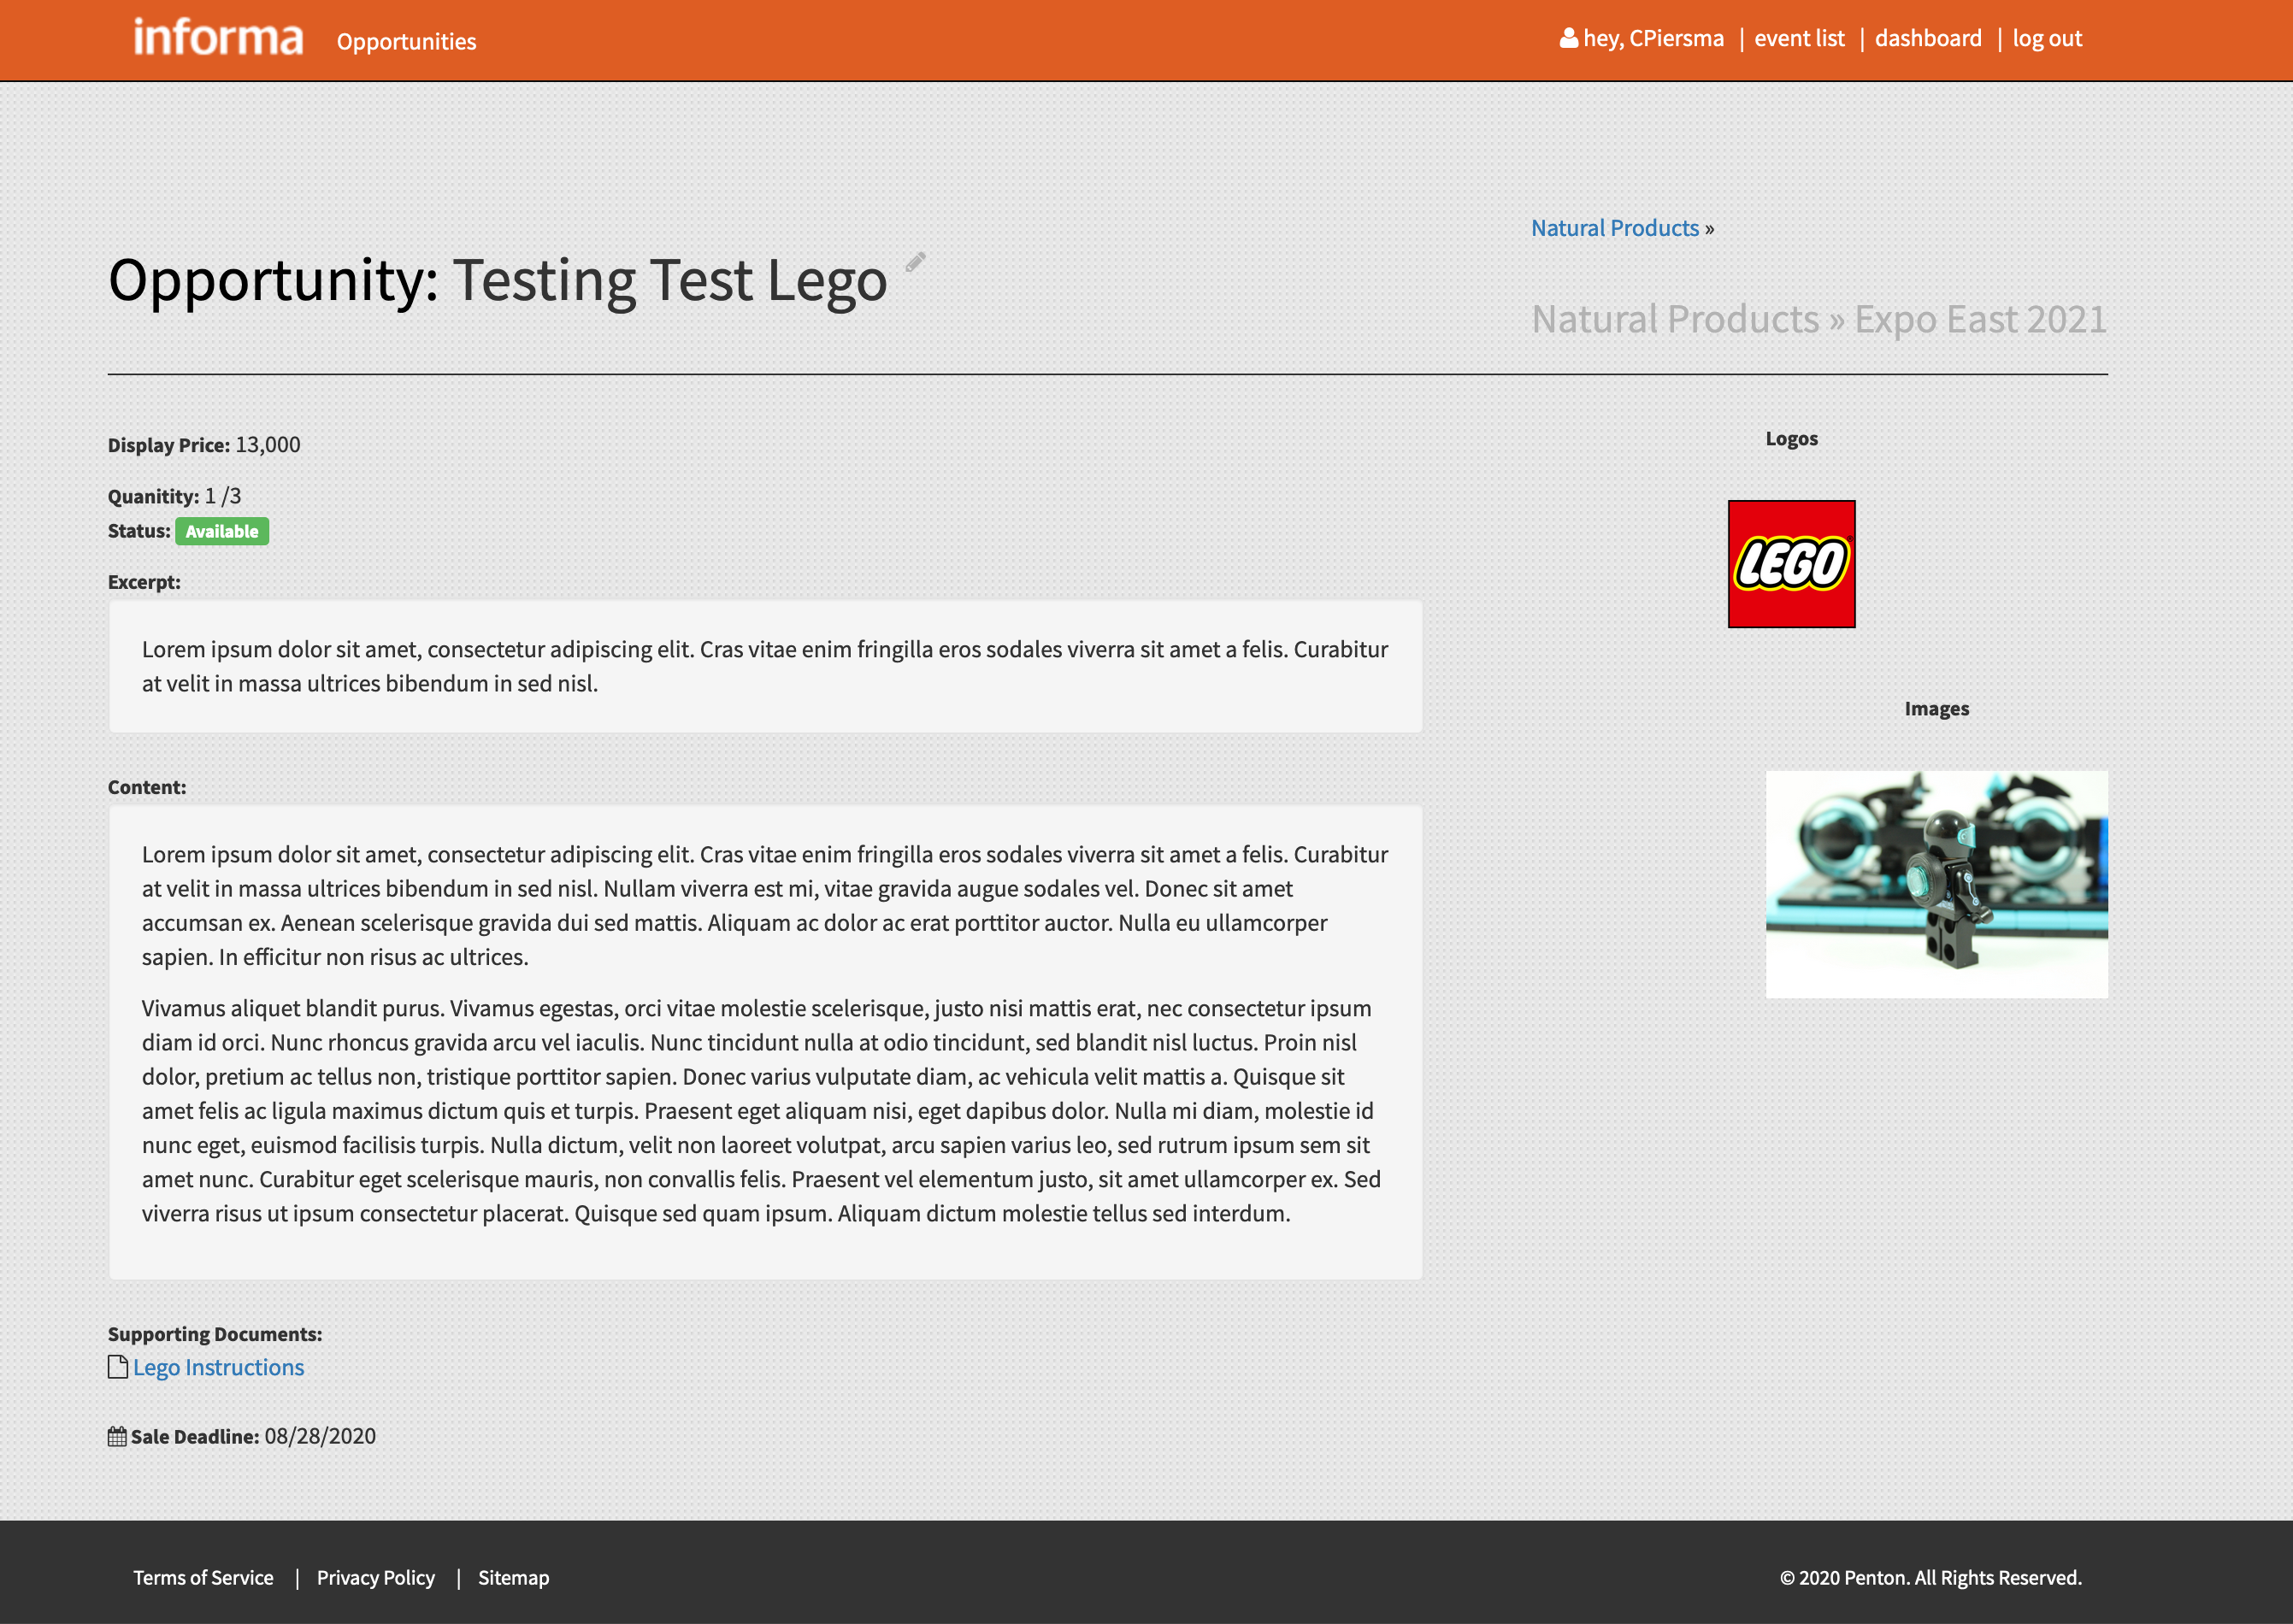
-
Often times, only after saving/publishing this new opportunity can the custom Level and Type fields appear. Thus it is always recommended that you review your published opportunity after creating it (be sure to edit the Custom Fields container at the bottom as needed:):
-
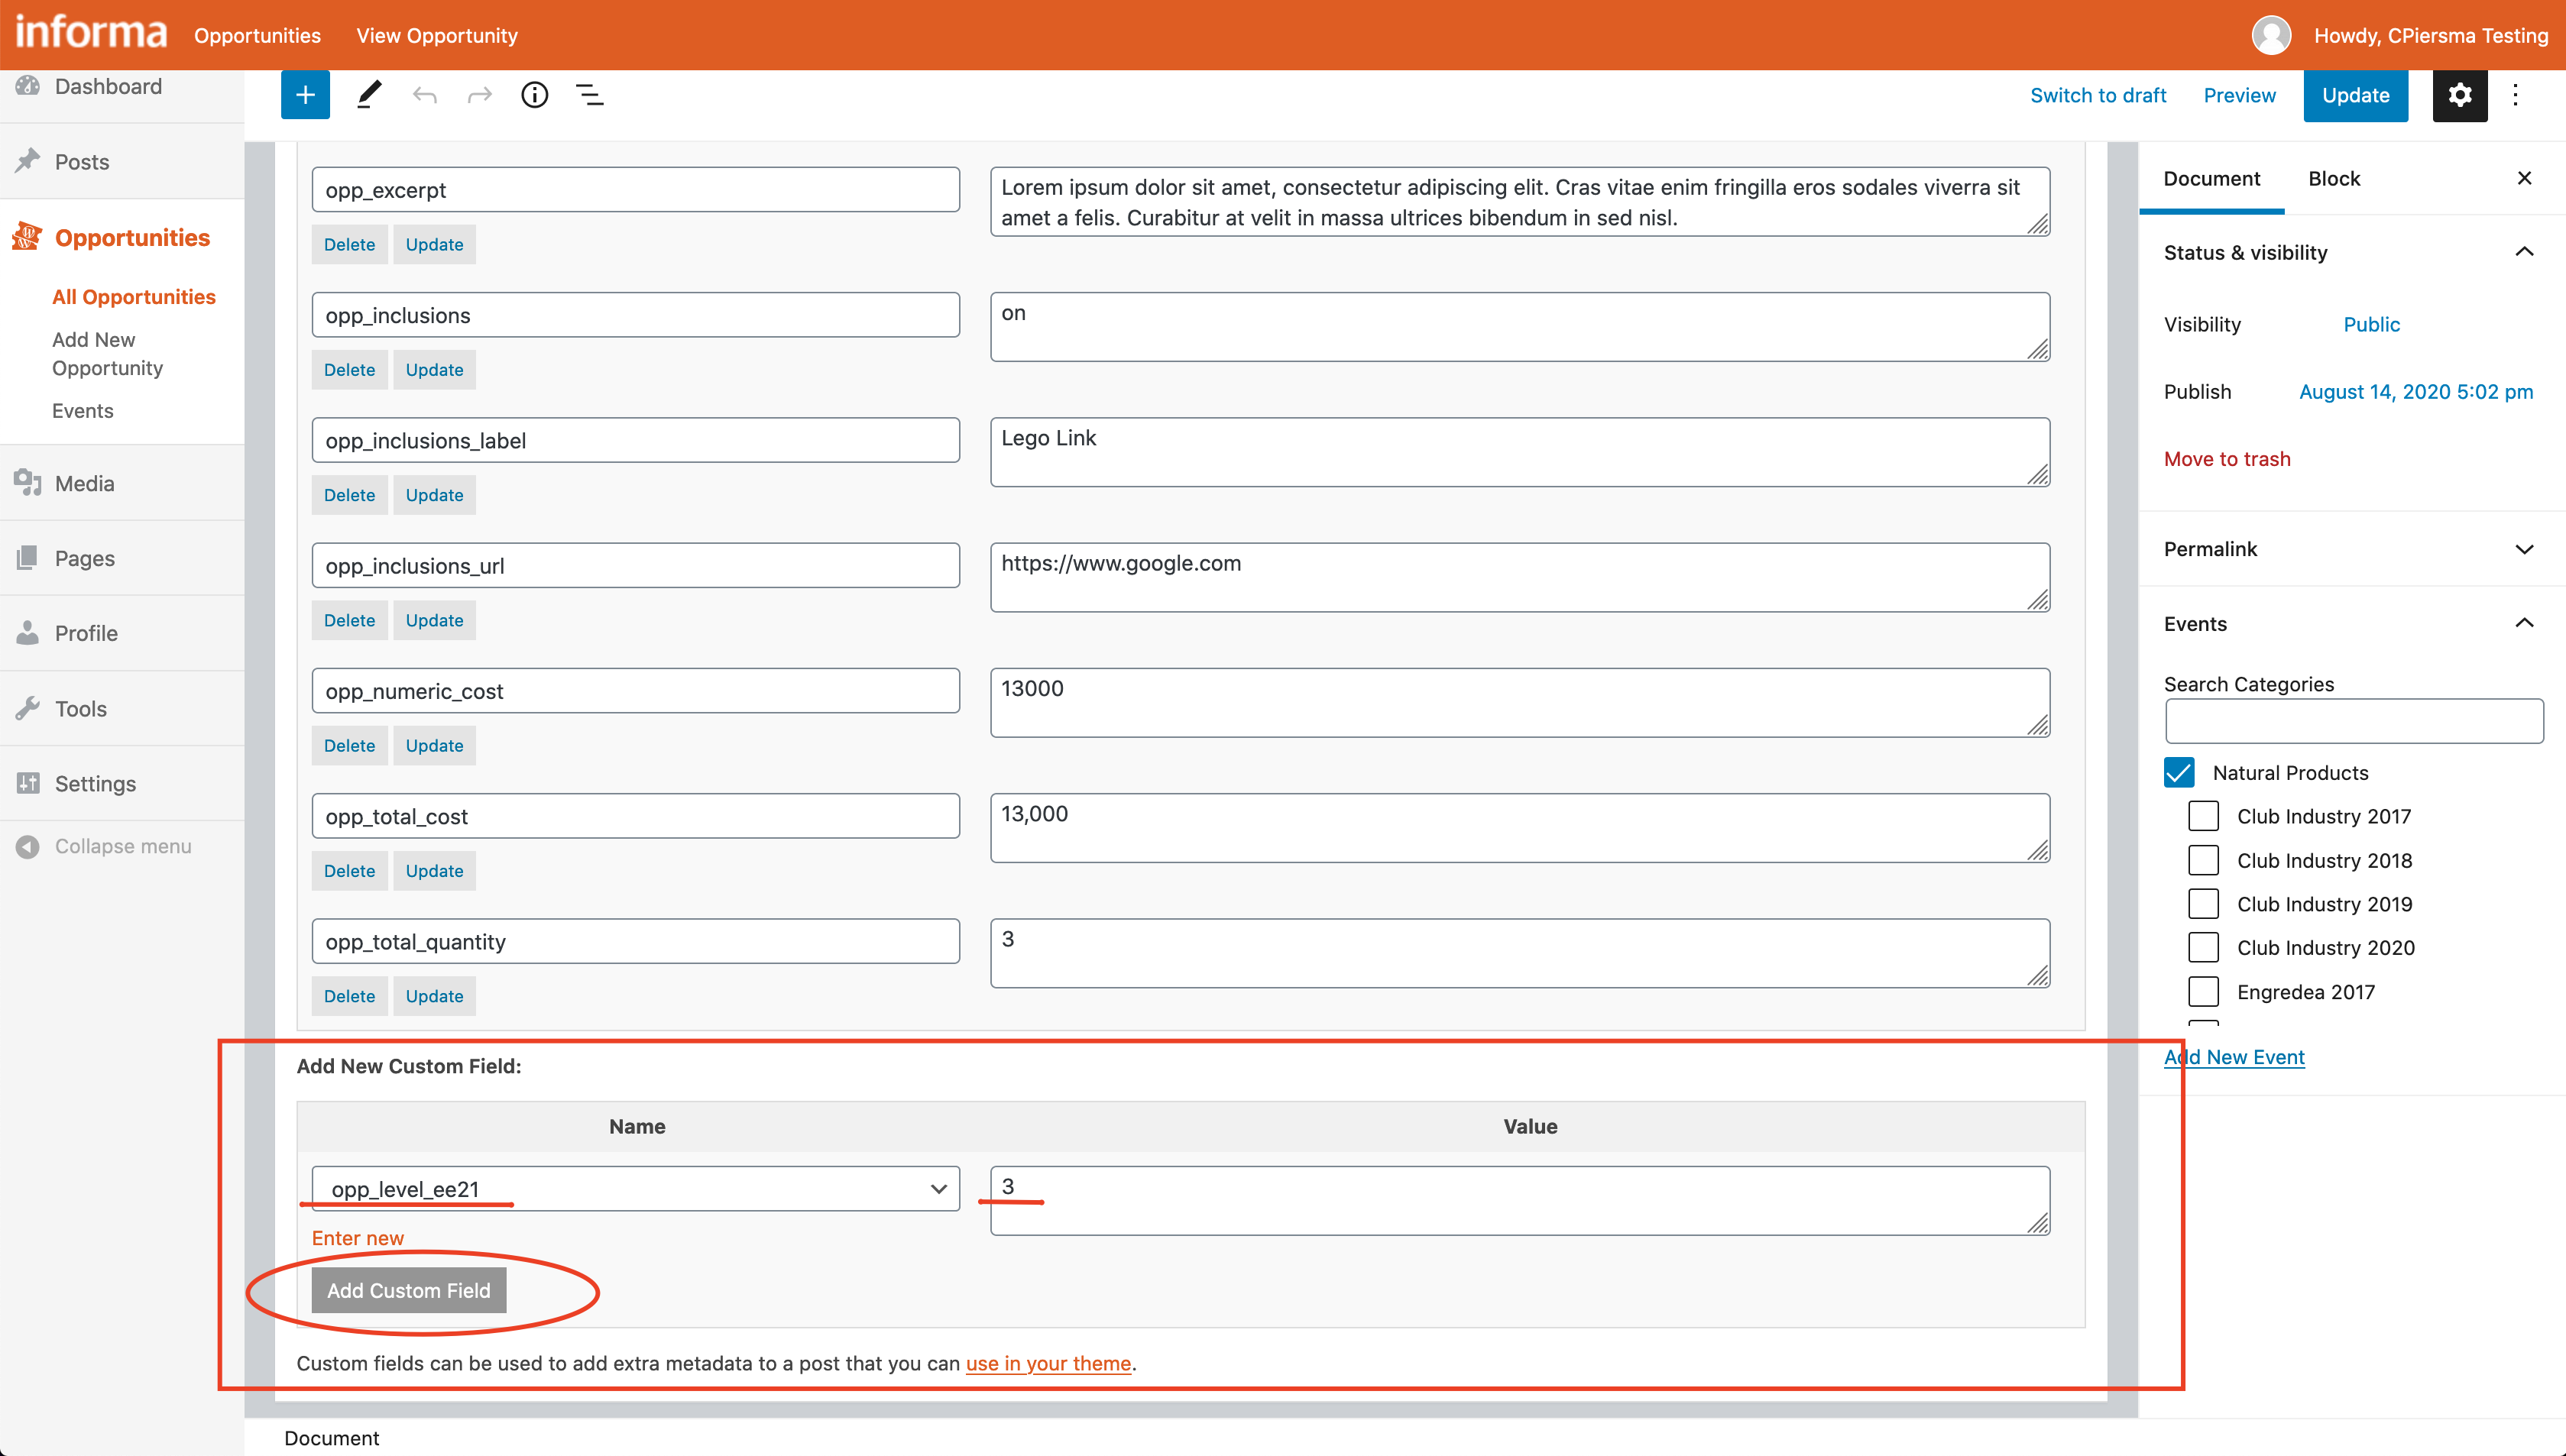
If the type or level custom field does not appear, return to your opportunity and add it as you would normally, using the Add Custom Field block. Adding/updating the fields here work independently of the main “Update” button in the upper right, so it is not necessary to use/hit this top blue button:
 Again, confirm your changes by reviewing your opportunity:
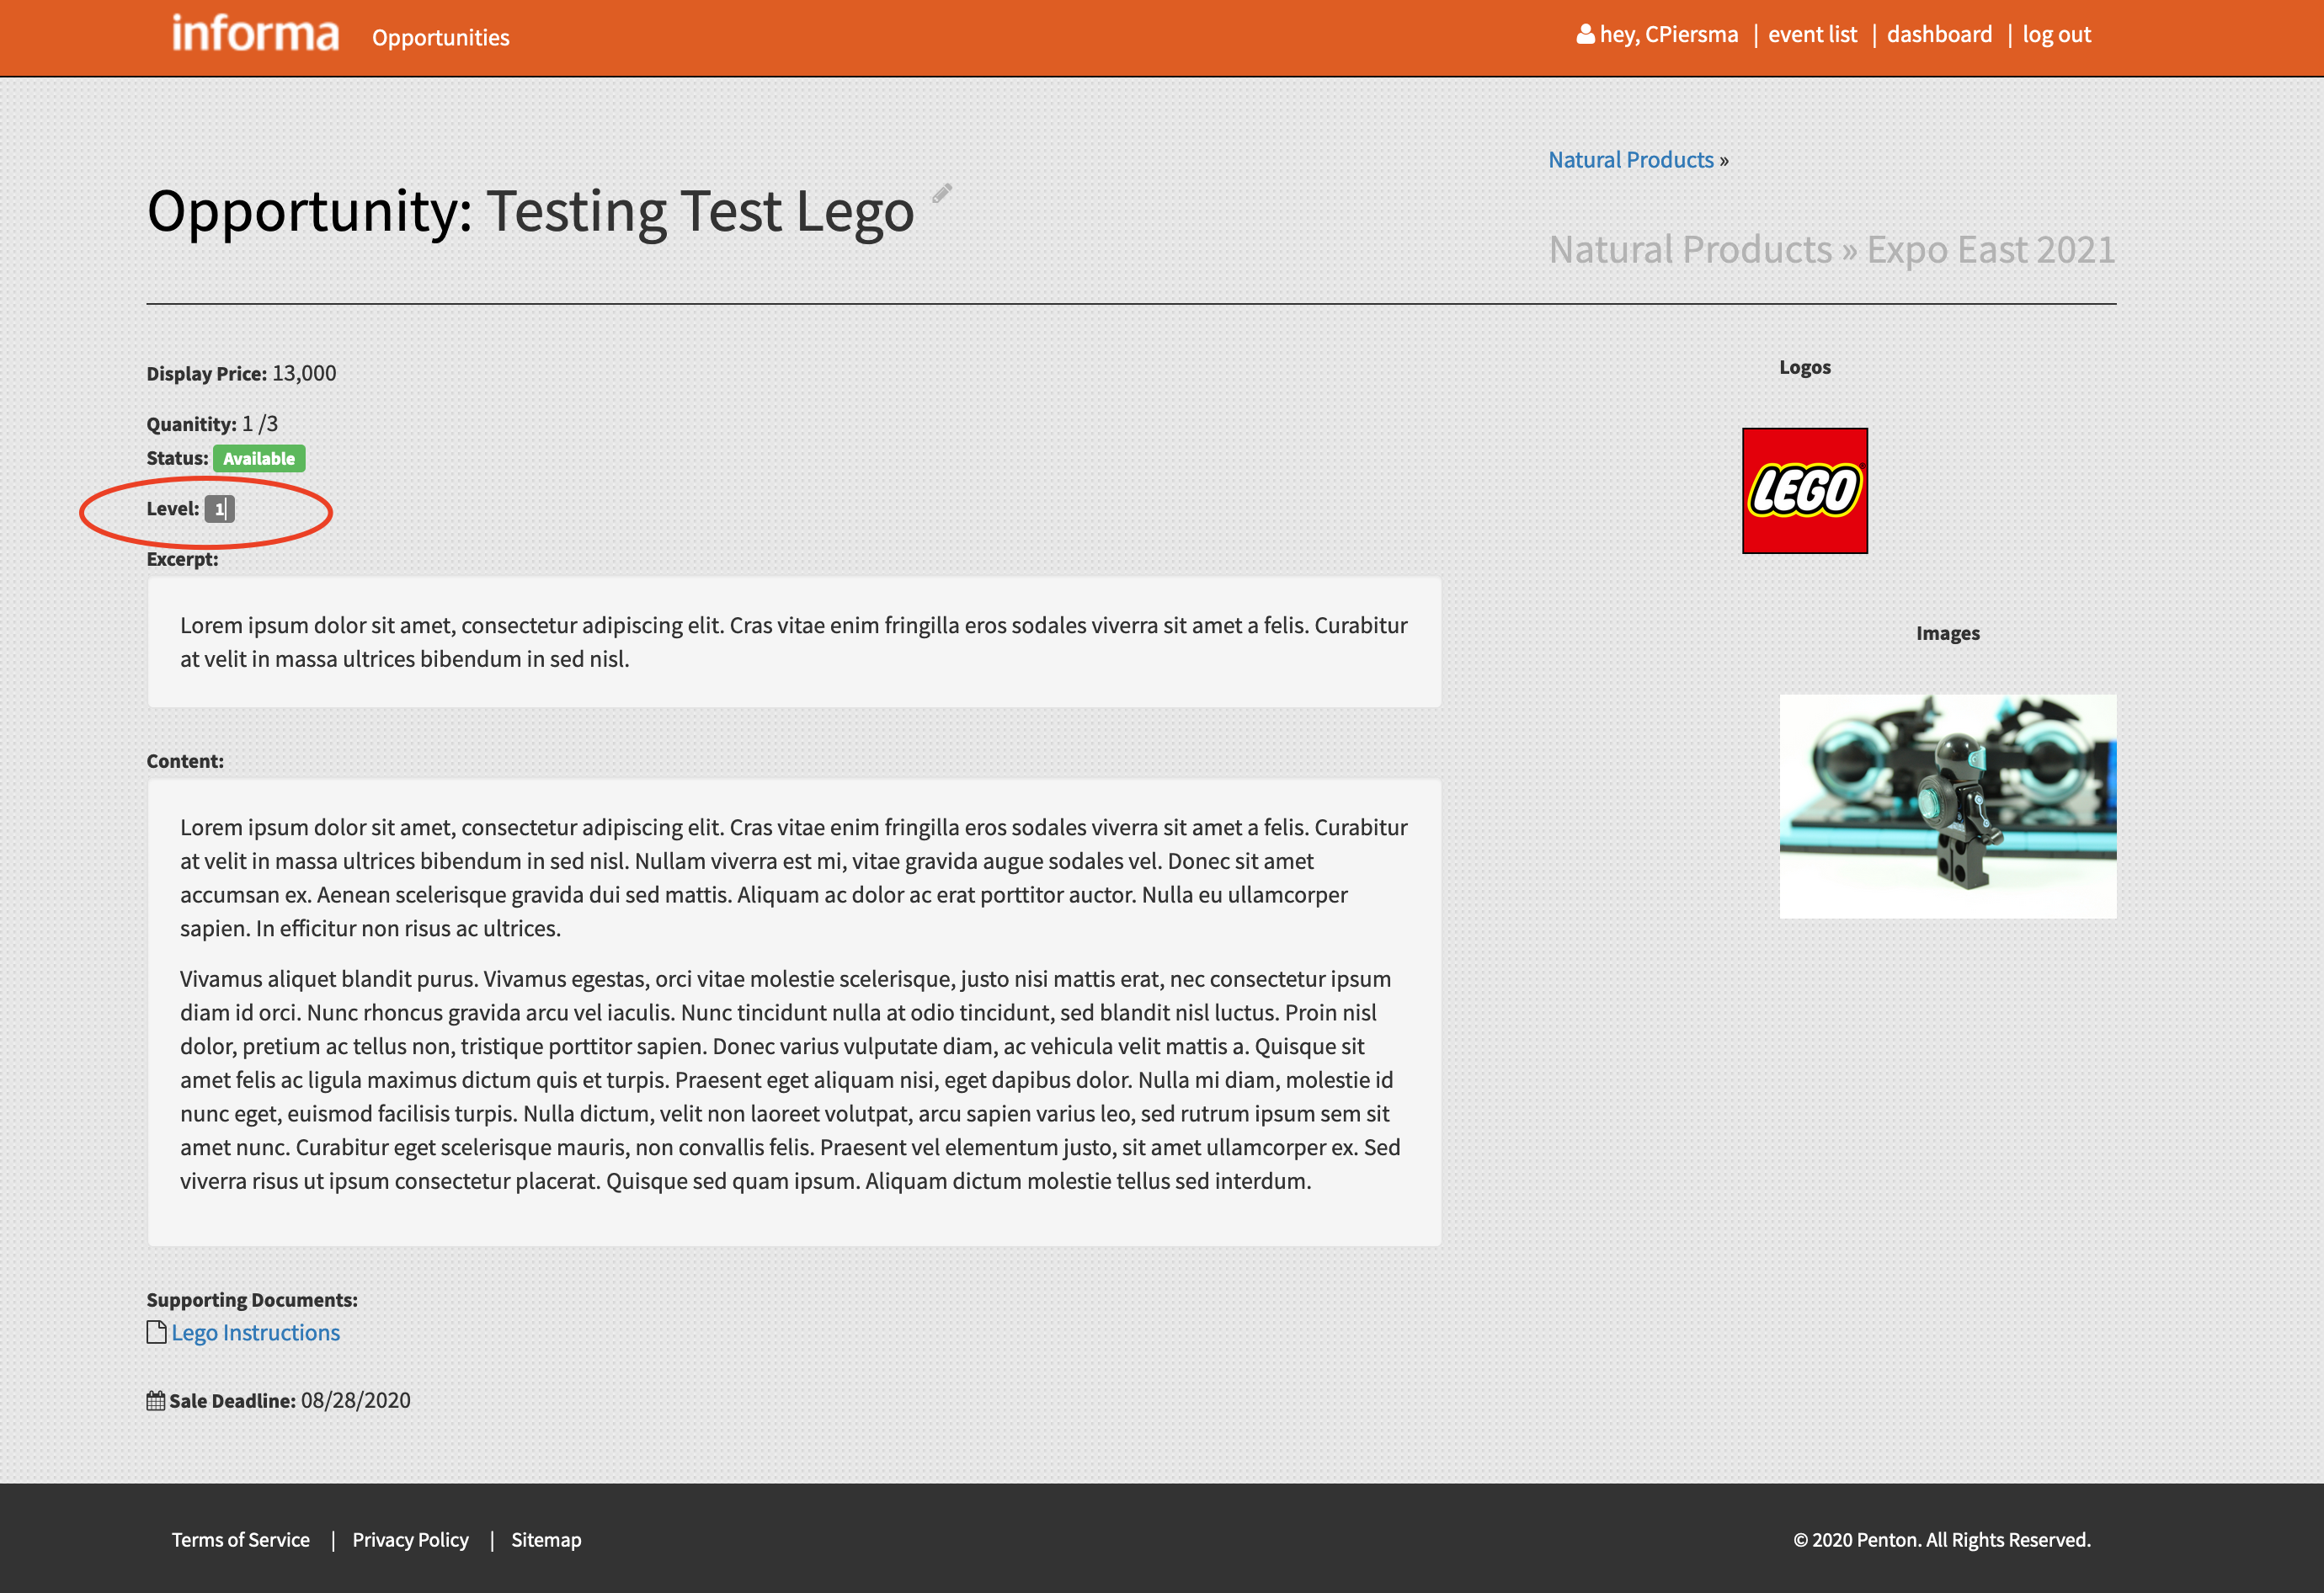
-
After all your Opportunities are ready:
 contact the Marketing Content Team to publish the AEM Sponsorship and Marketing Opportunities page live (or review again it in AEM author):
  for final review and full functionality test.
Option 2 - Copy and Update Opportunities:
- INDIVIDUAL Copy Opportunity:
-
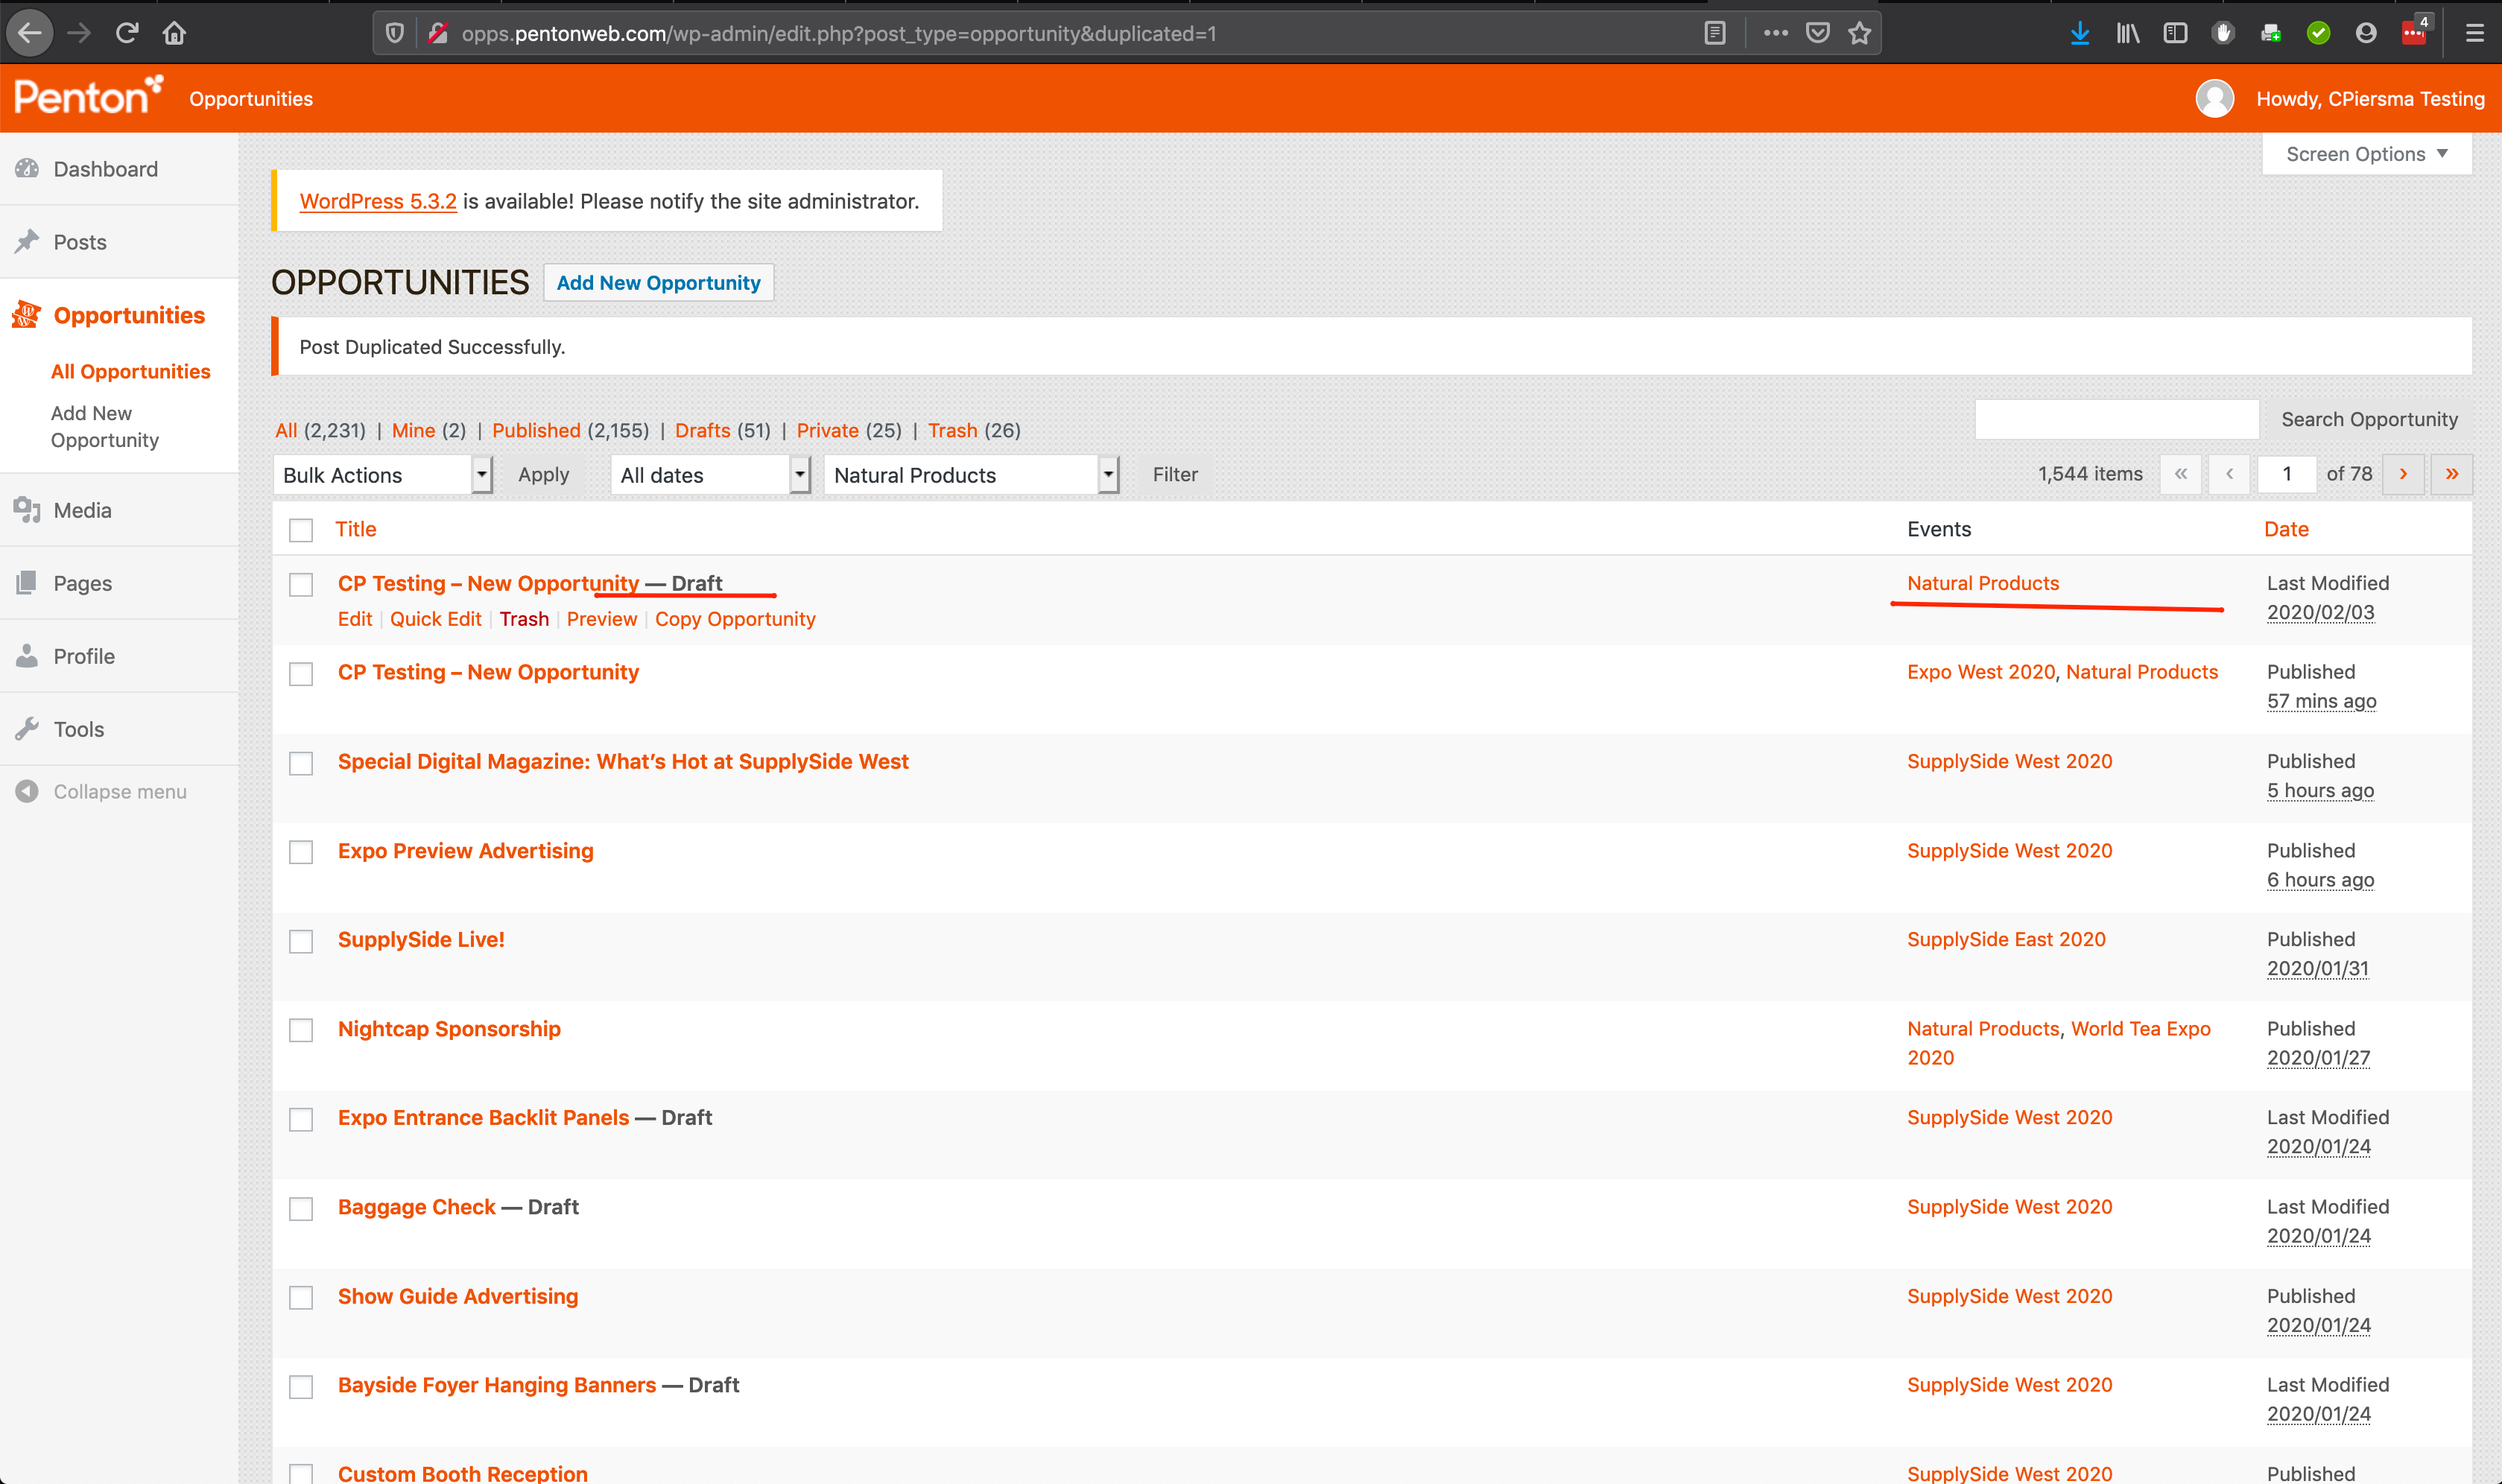
Find the Opportunity you’d like to copy and select it. Click on the “Copy Opportunity” link that appears:
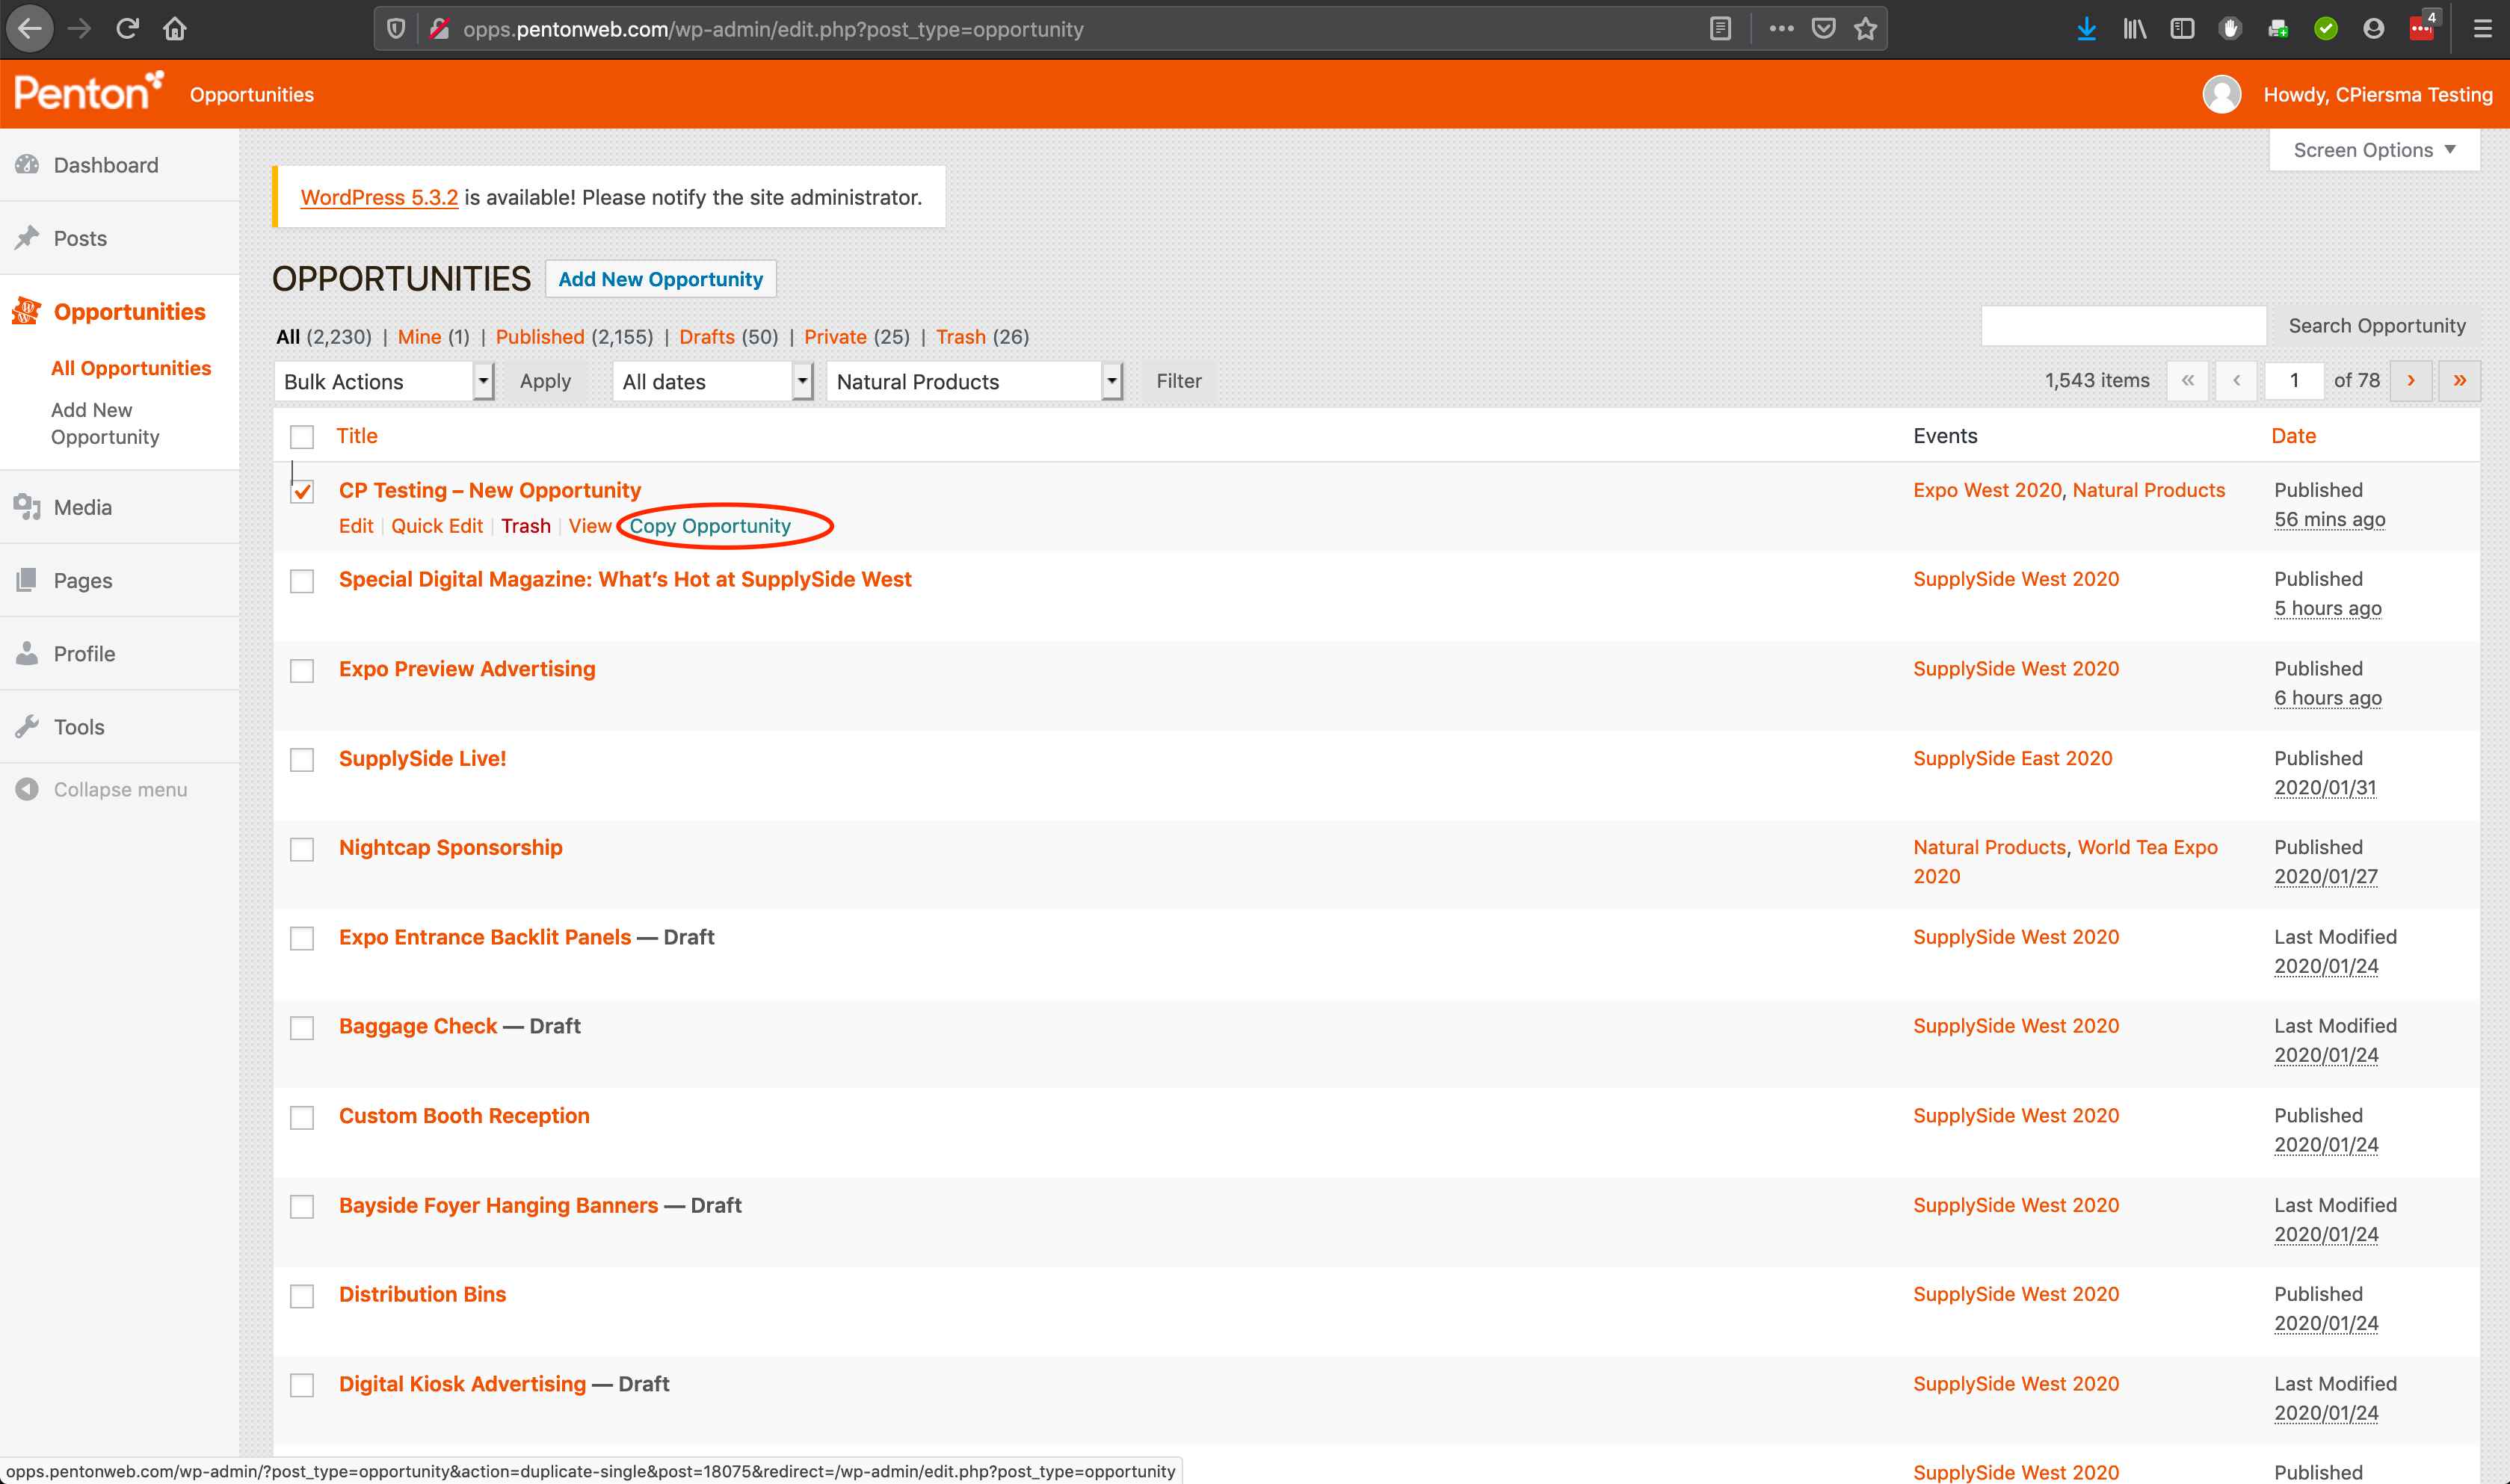 when you hover over the opportunity in question
 -
This will successfully duplicate your Opportunity and list it under the “Draft” category:
-
Edit that Opportunity and update it as much as possible
-
It’s important to “Publish” it as soon as possible, as the “Draft” category is a temporary/scratch area that is cleaned out regularly
-
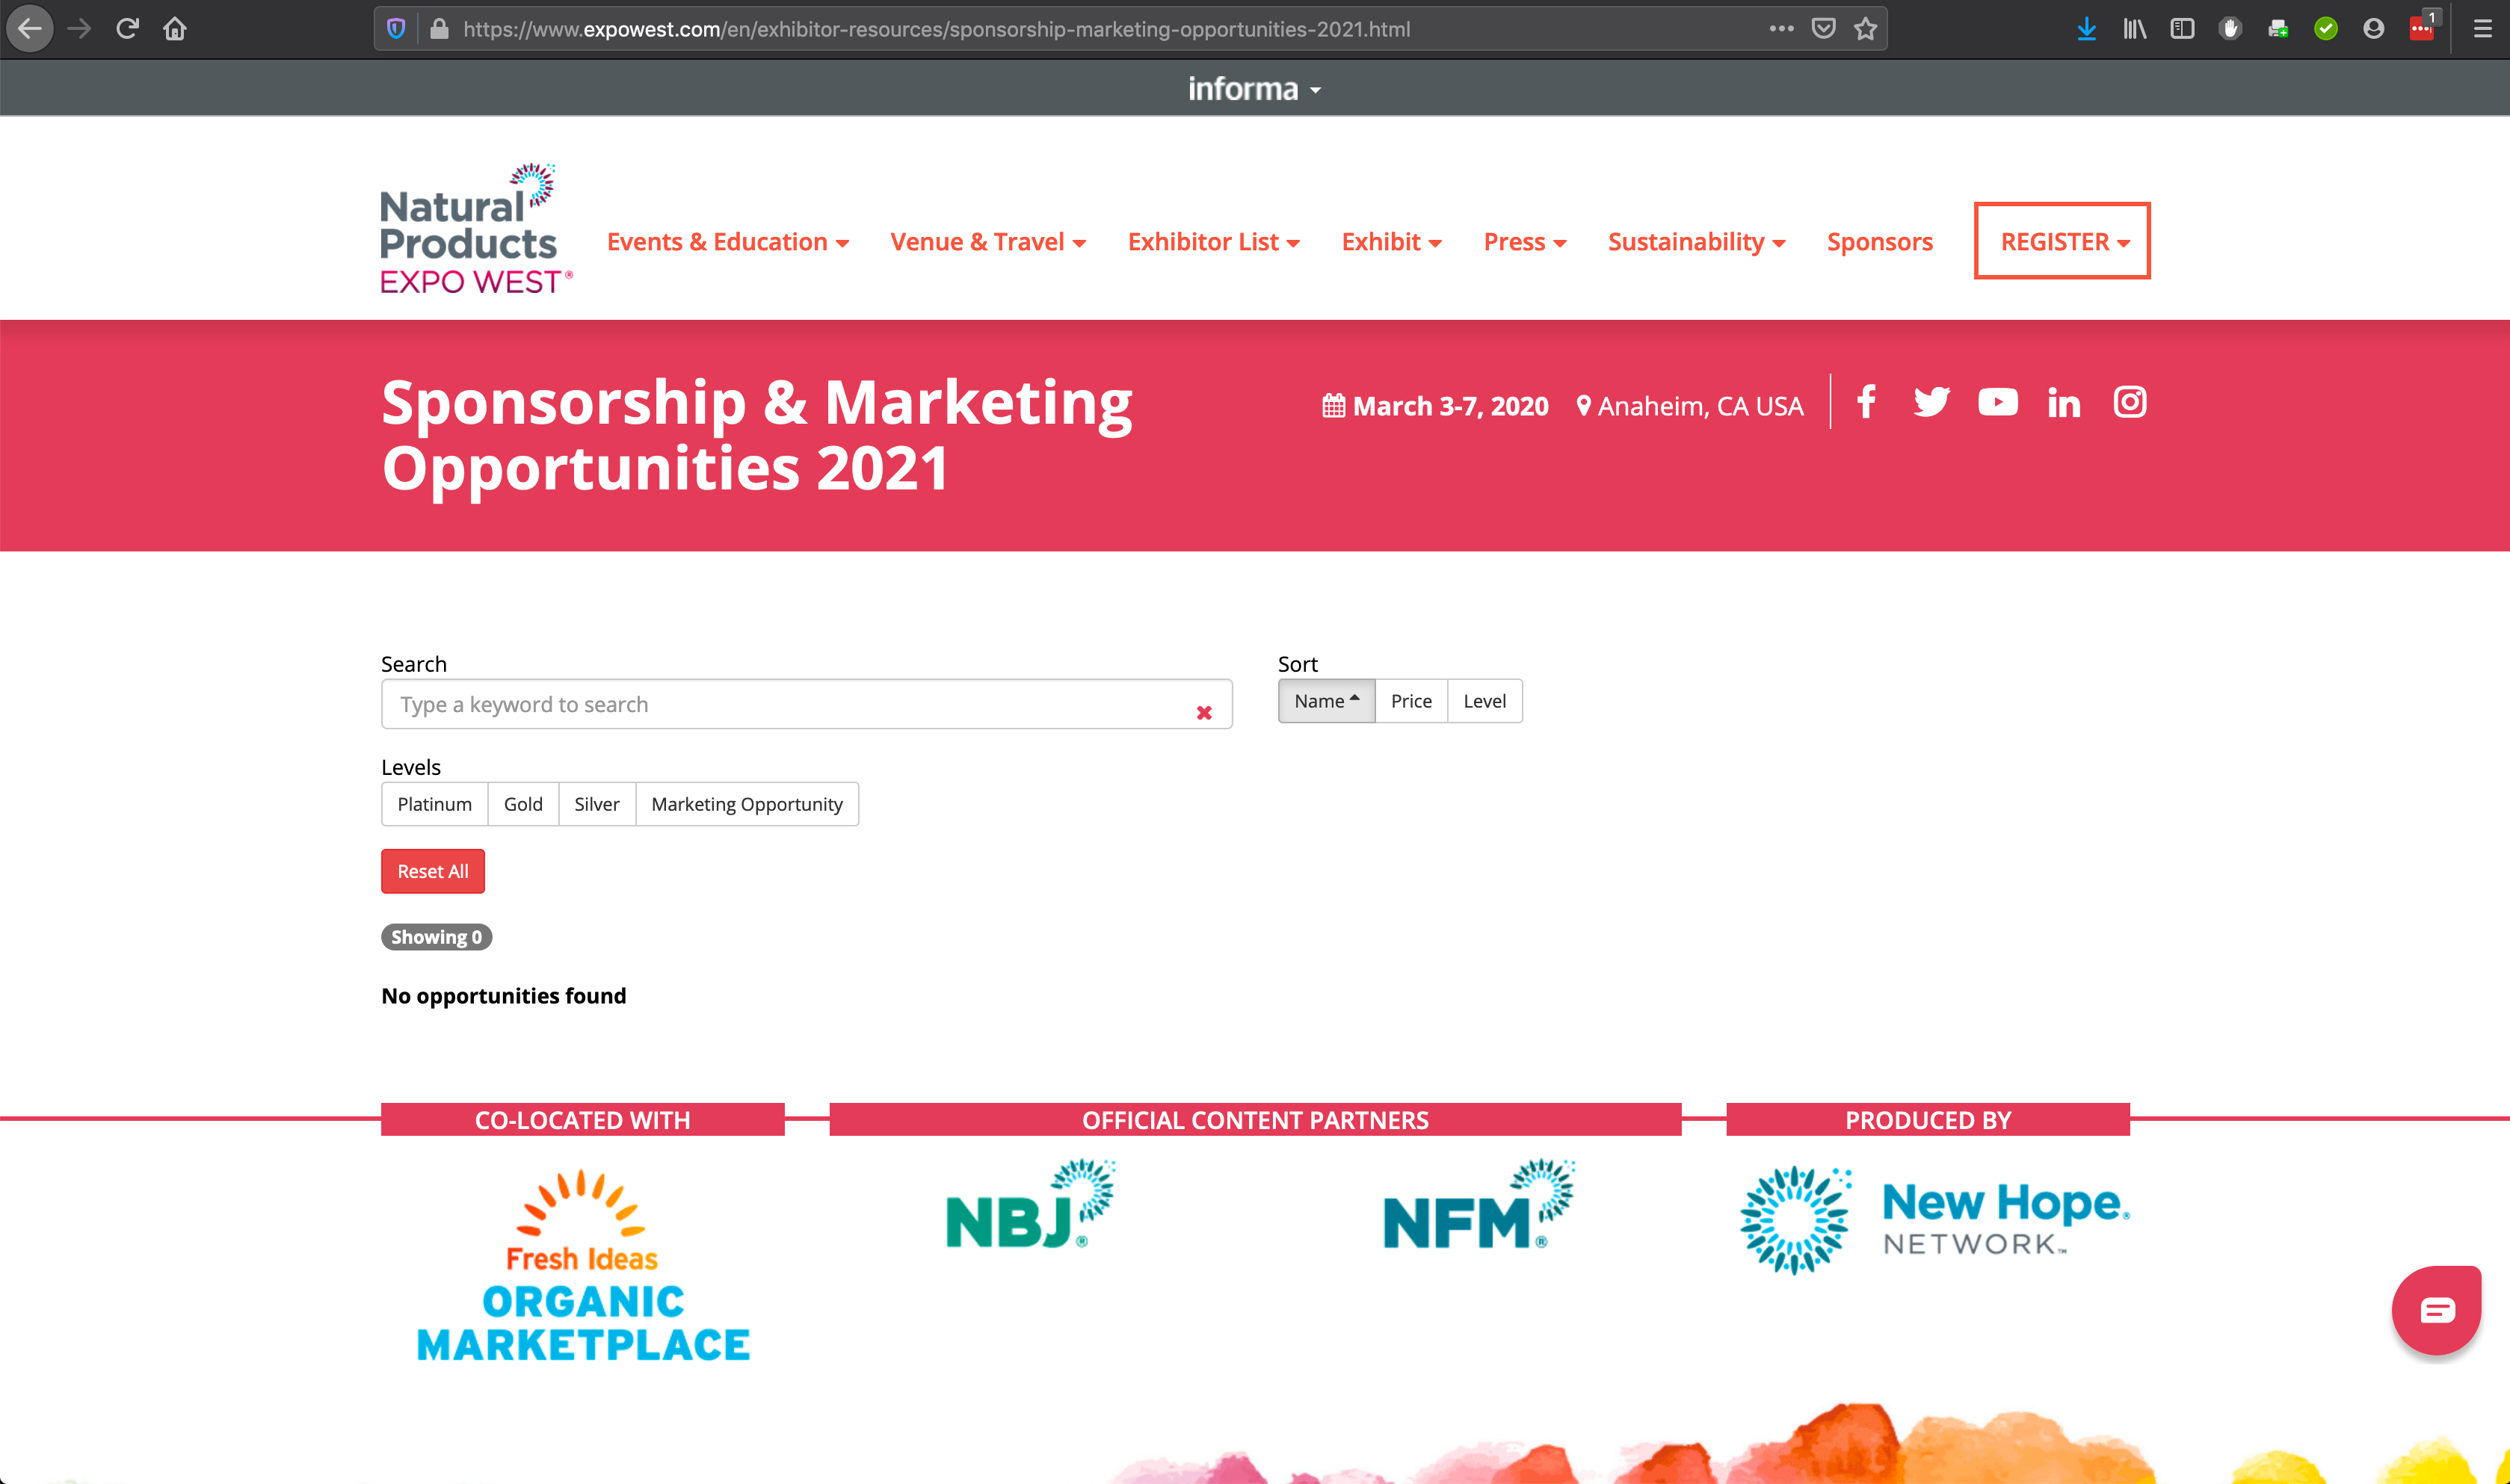
Now go to the Sponsorship and Marketing Opportunities page (on your website) and hit refresh to review the new opportunity
-
If the Opportunity is ready:
 contact the Marketing Content Team to publish the Sponsorship and Marketing Opportunities page:
 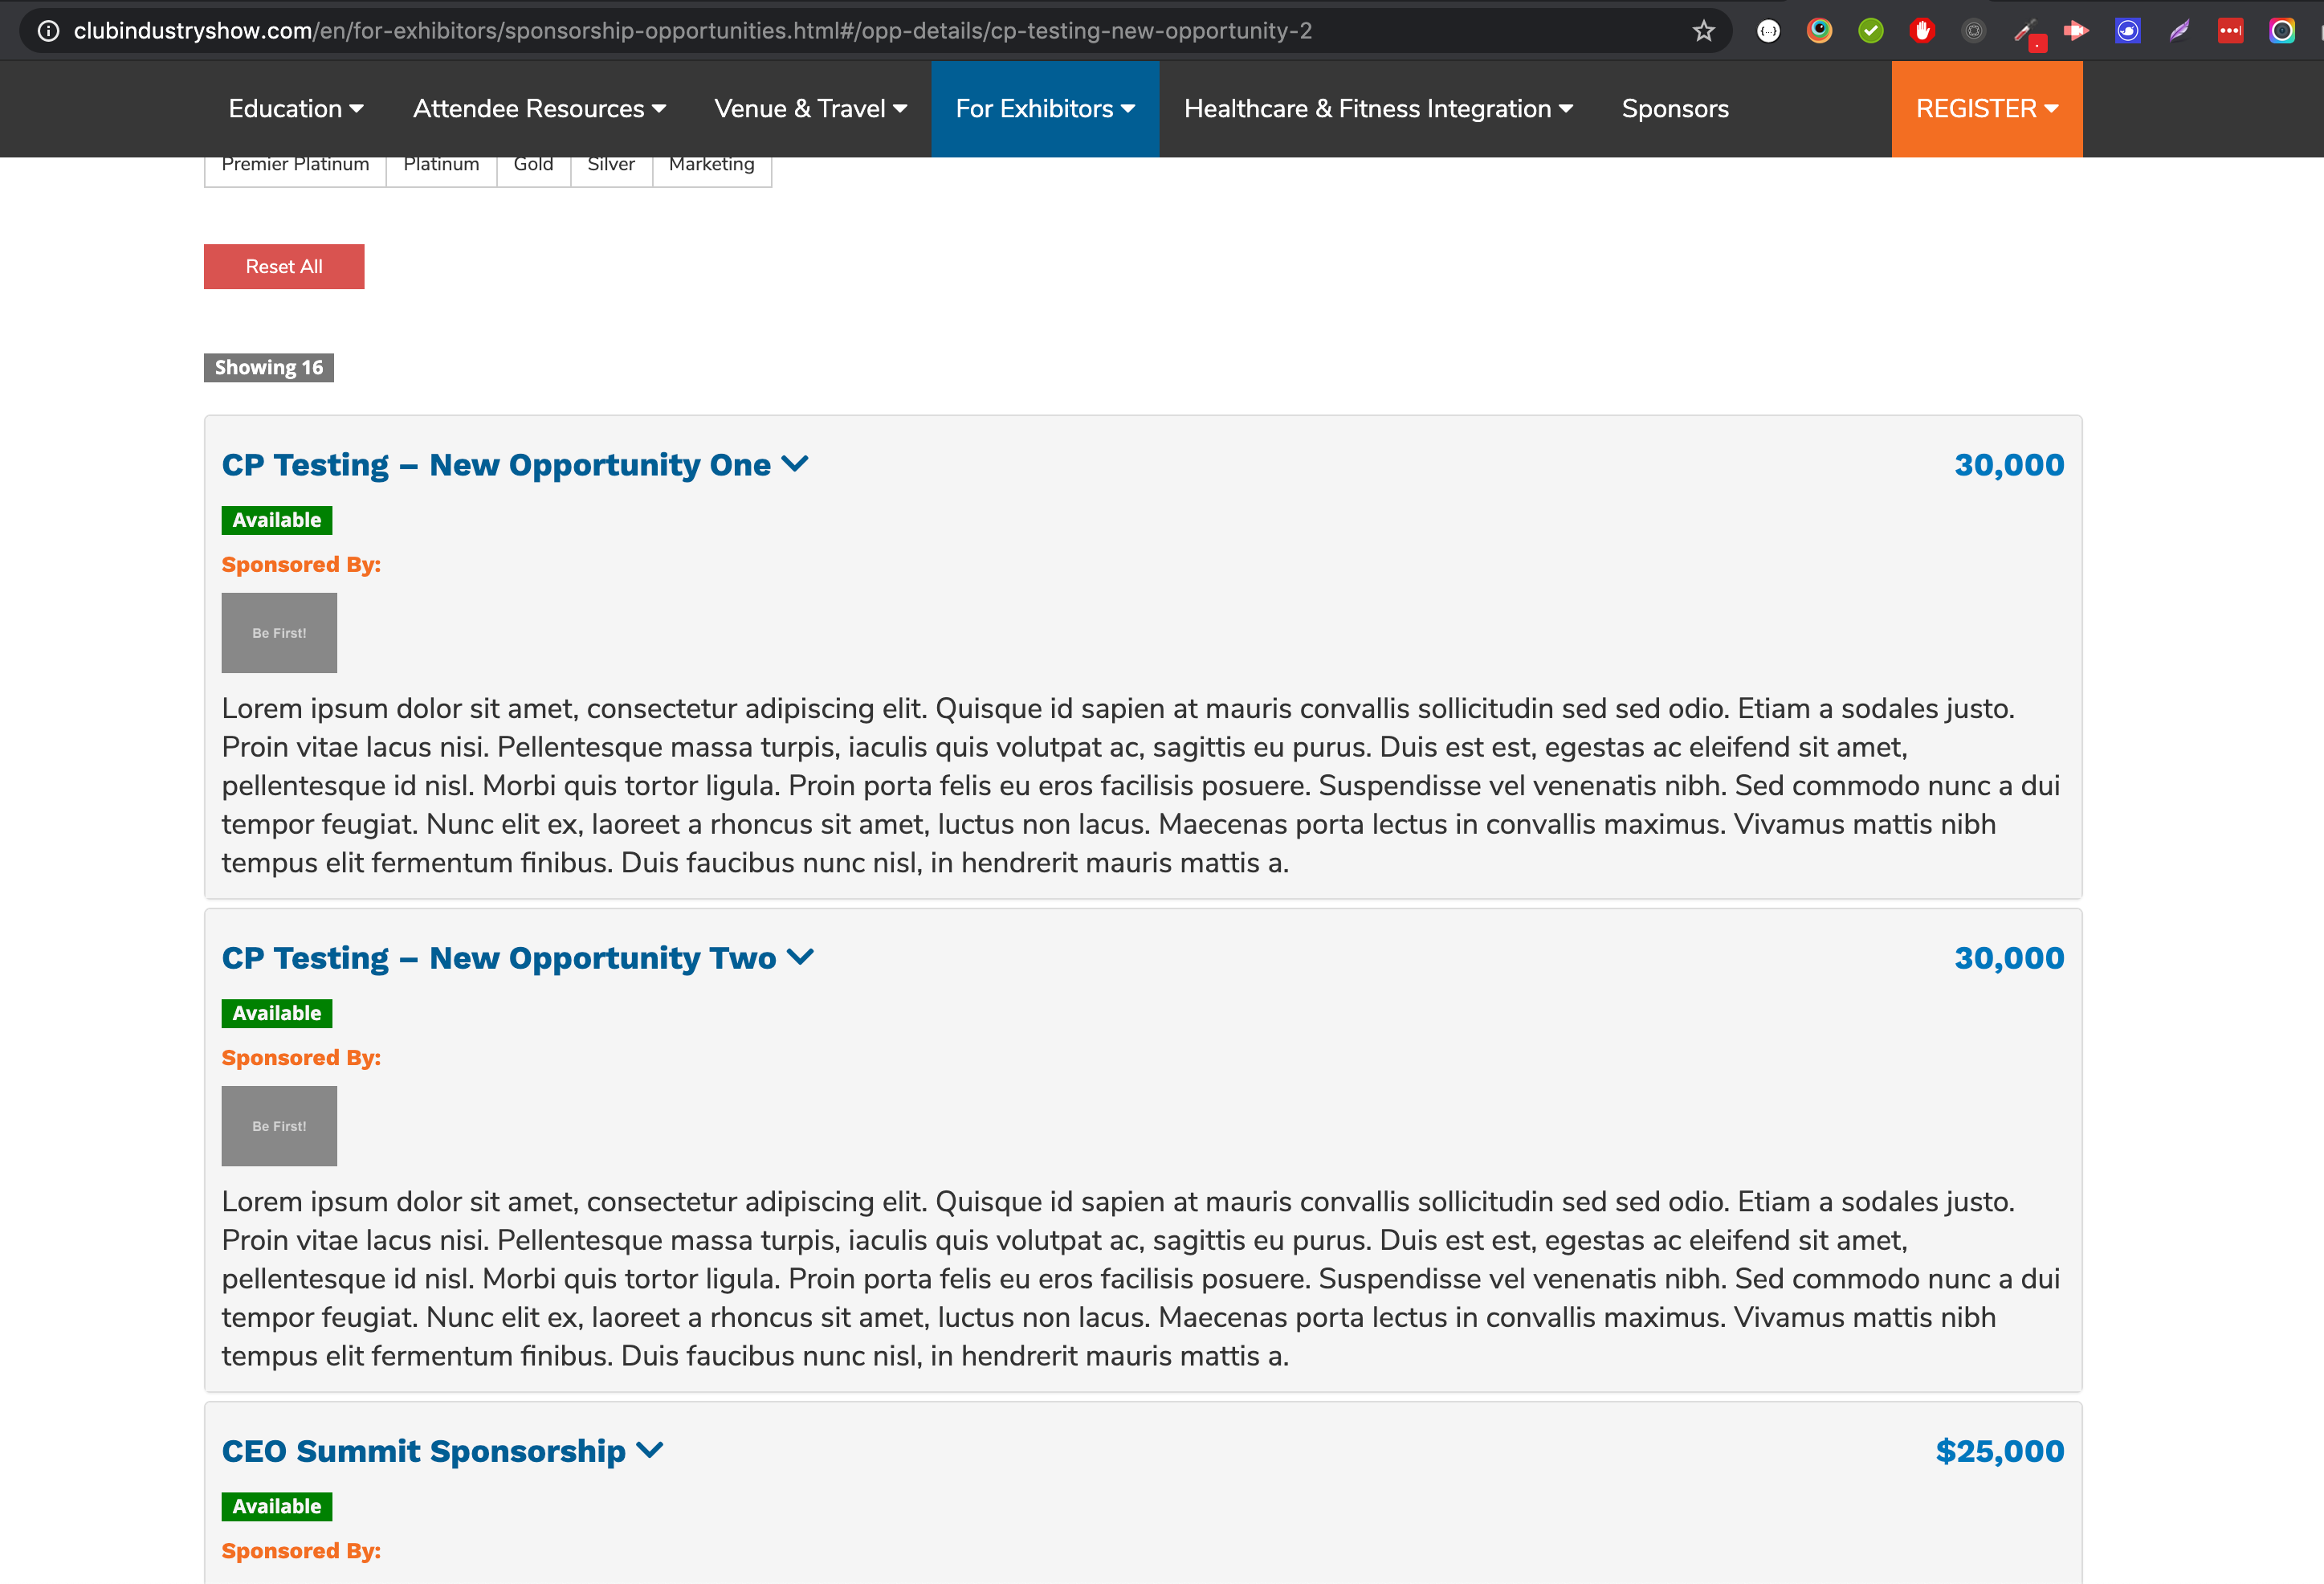 live on the site
 -
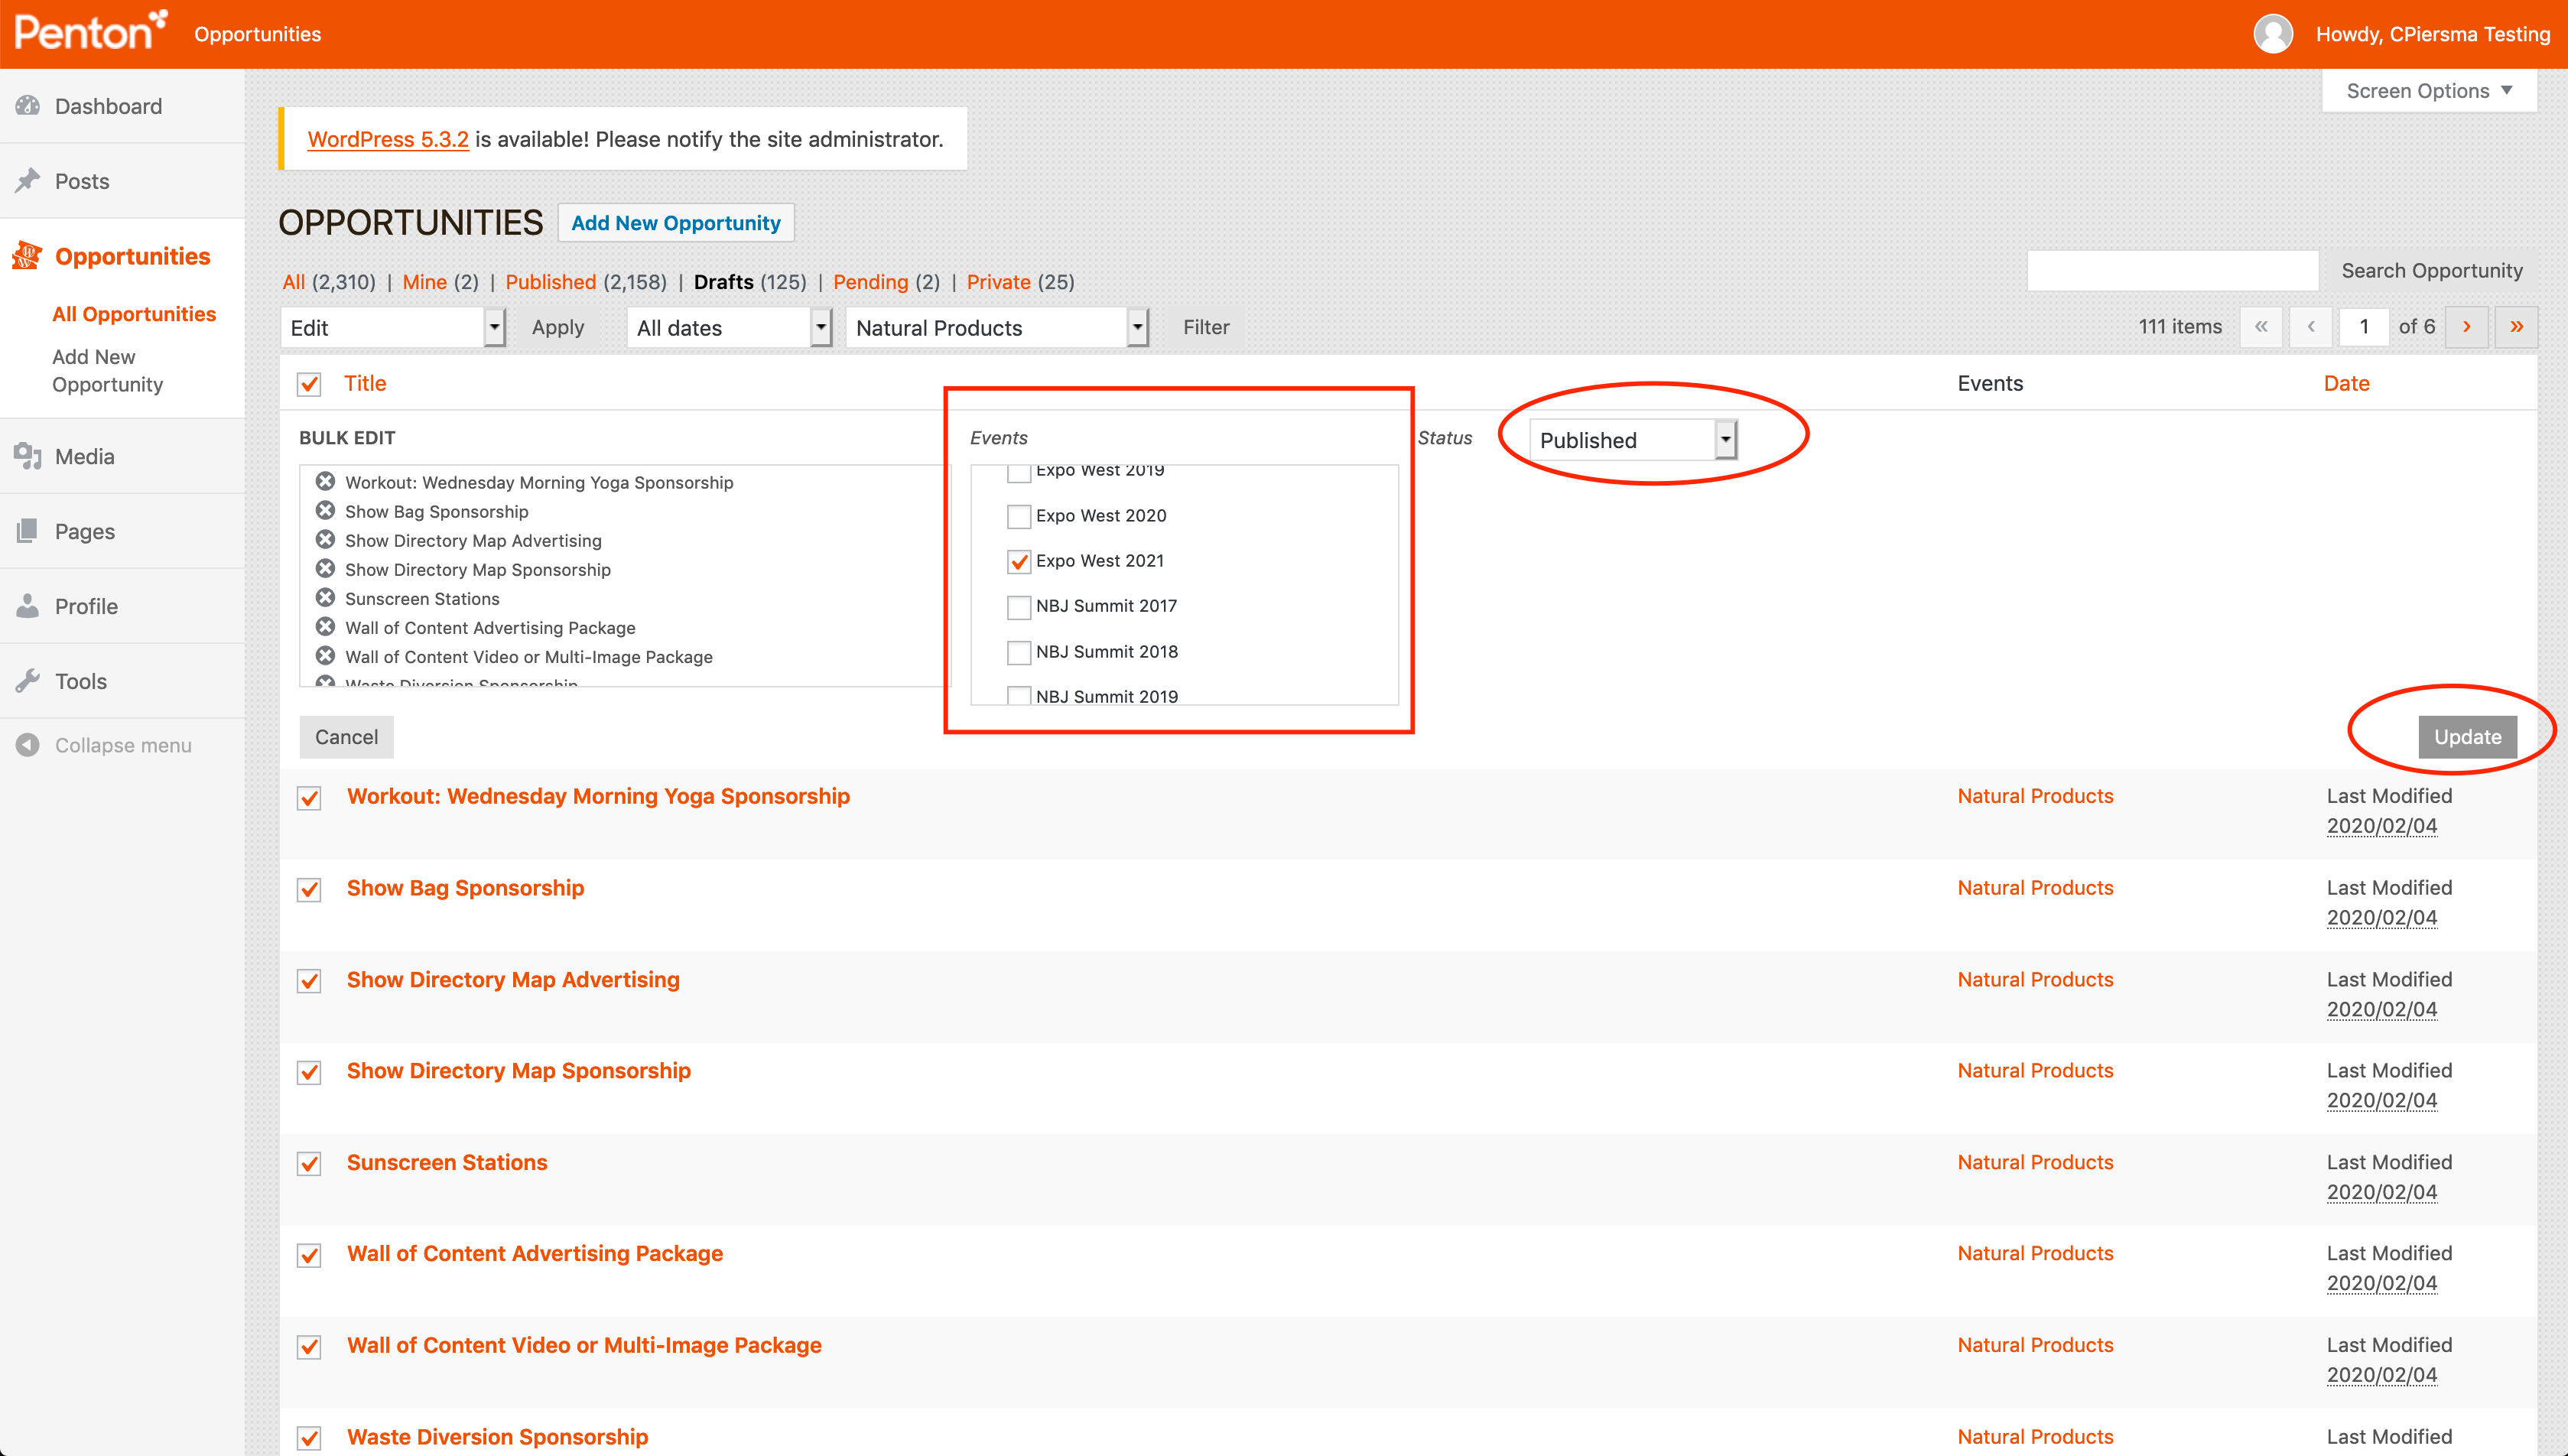
BULK Copy Opportunity: (Often done by the web team and can be requested in the initial setup ticket)
-
Check to make sure that the Event you’d like to copy TO exists in the system:
-
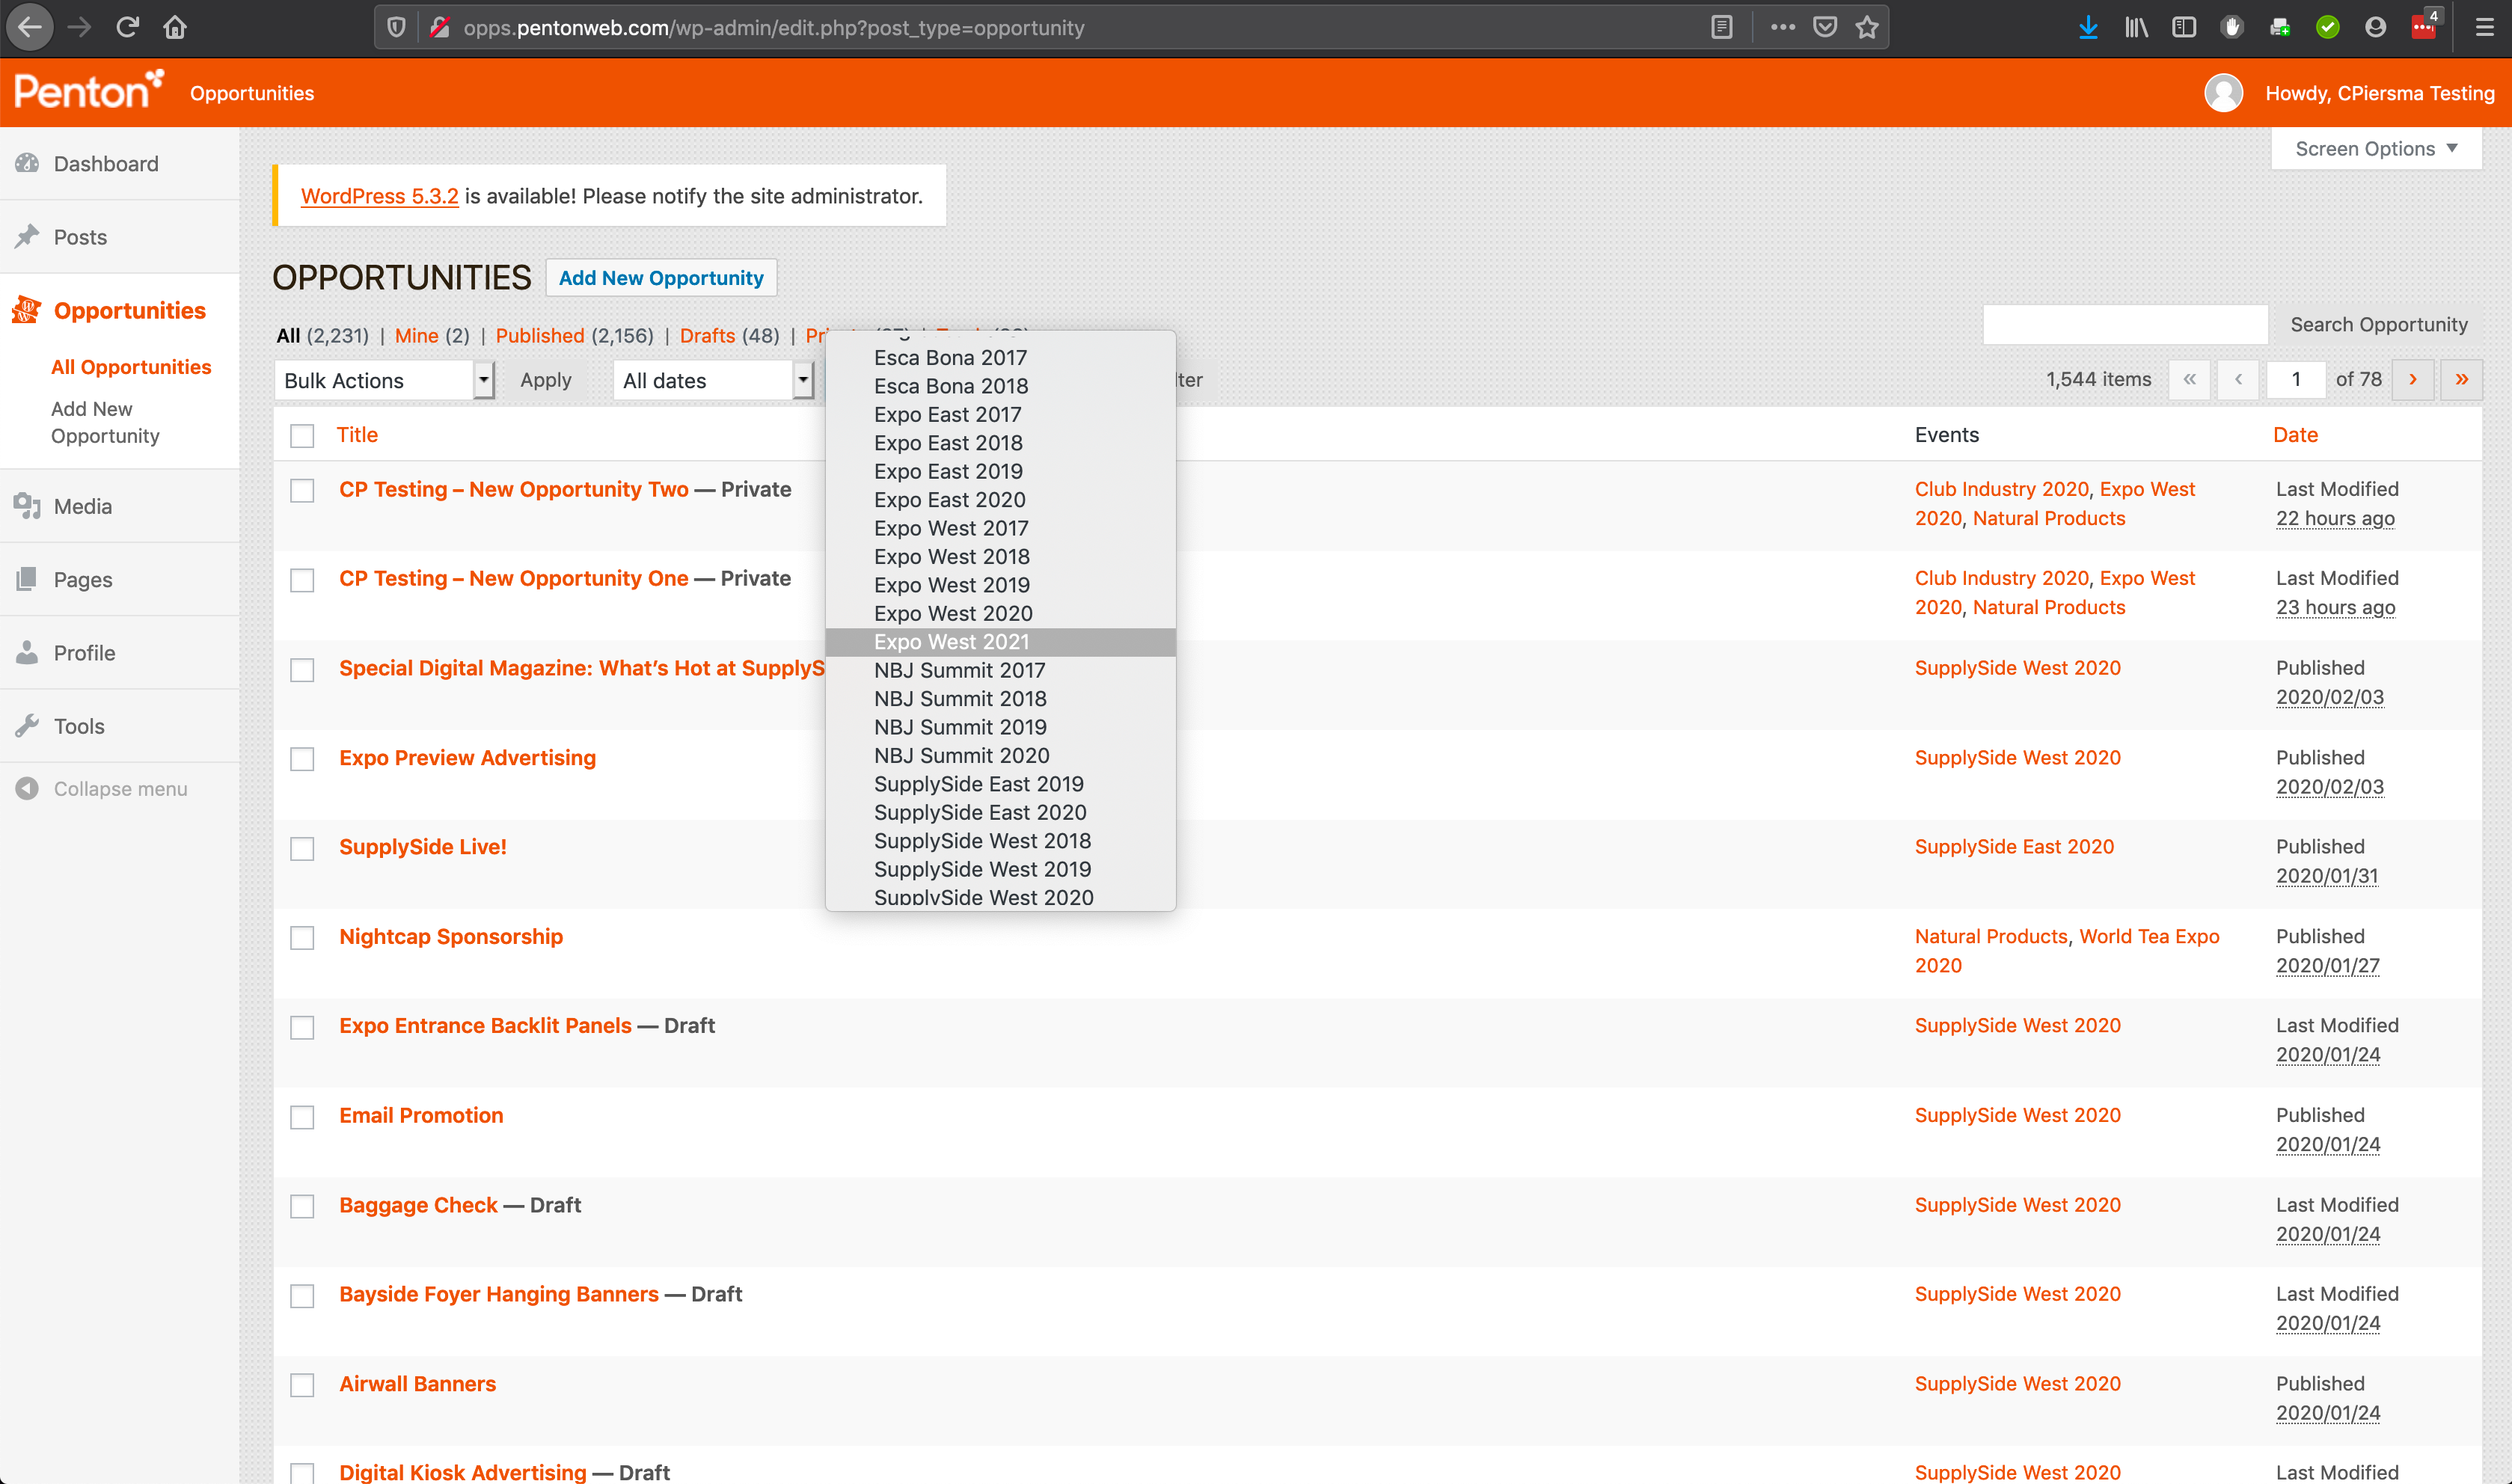
Using the Filters dropdown, select the Event you’d like to copy FROM and filter by that Event:
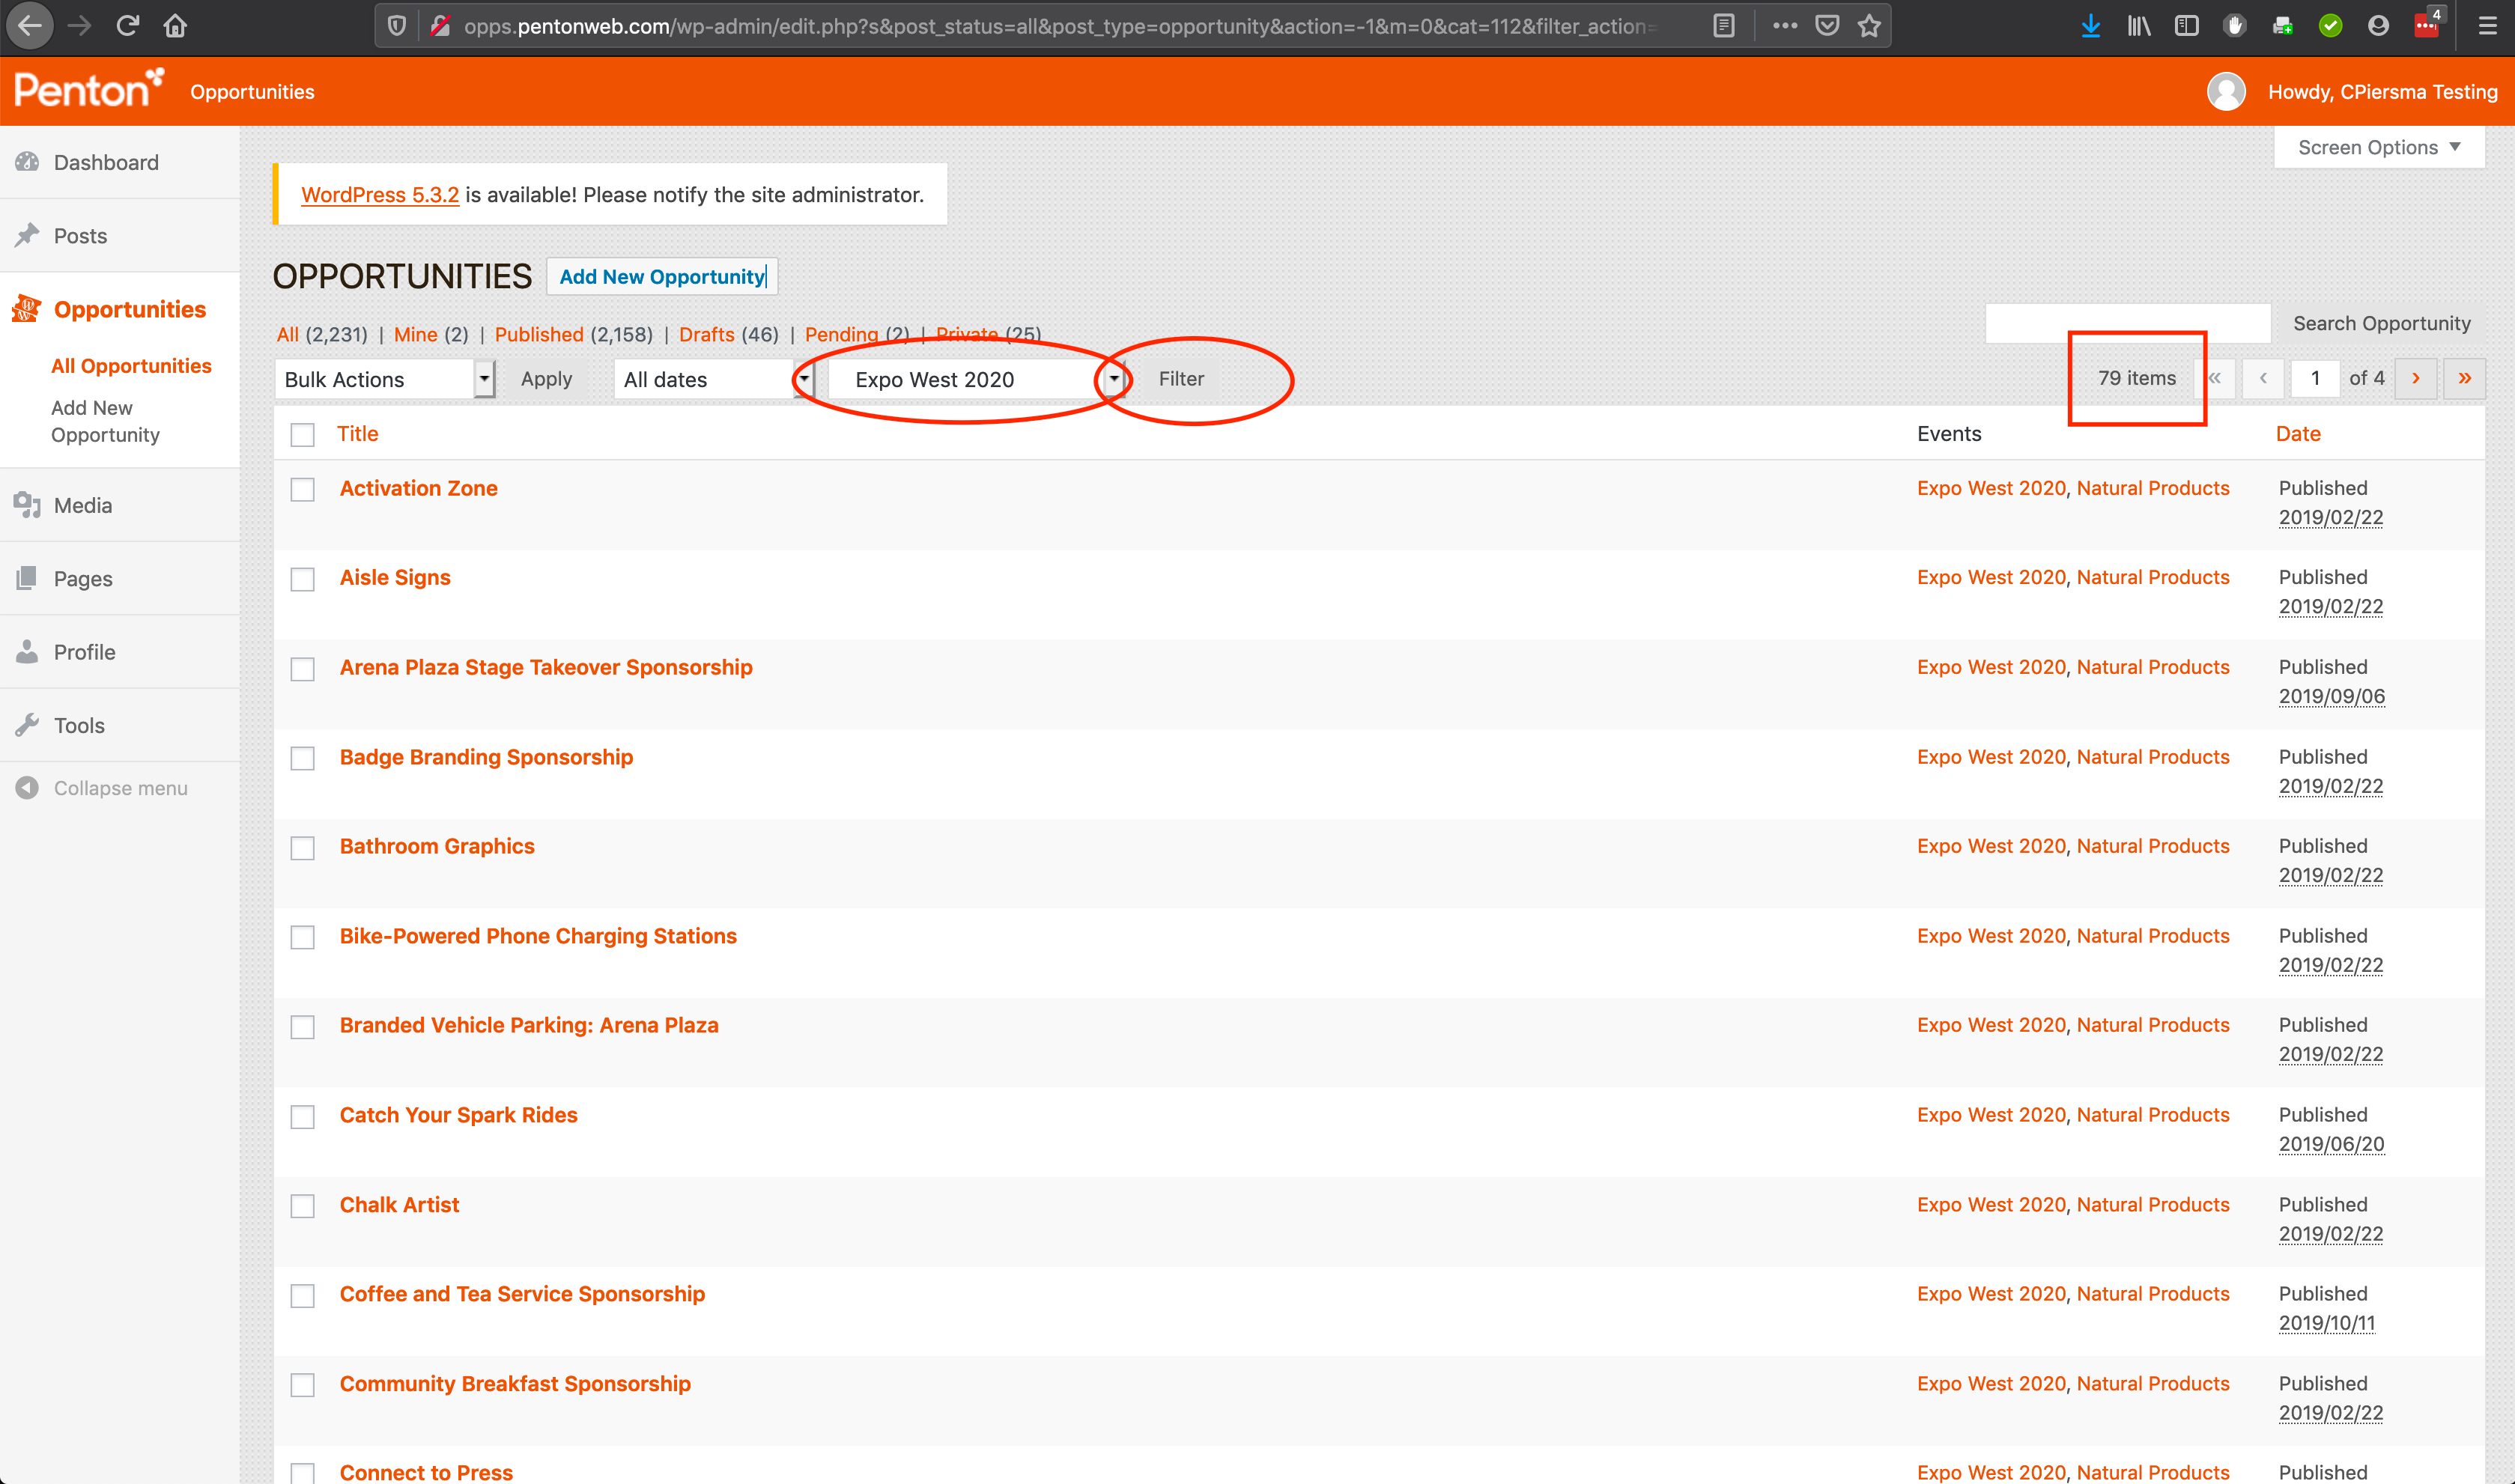
-
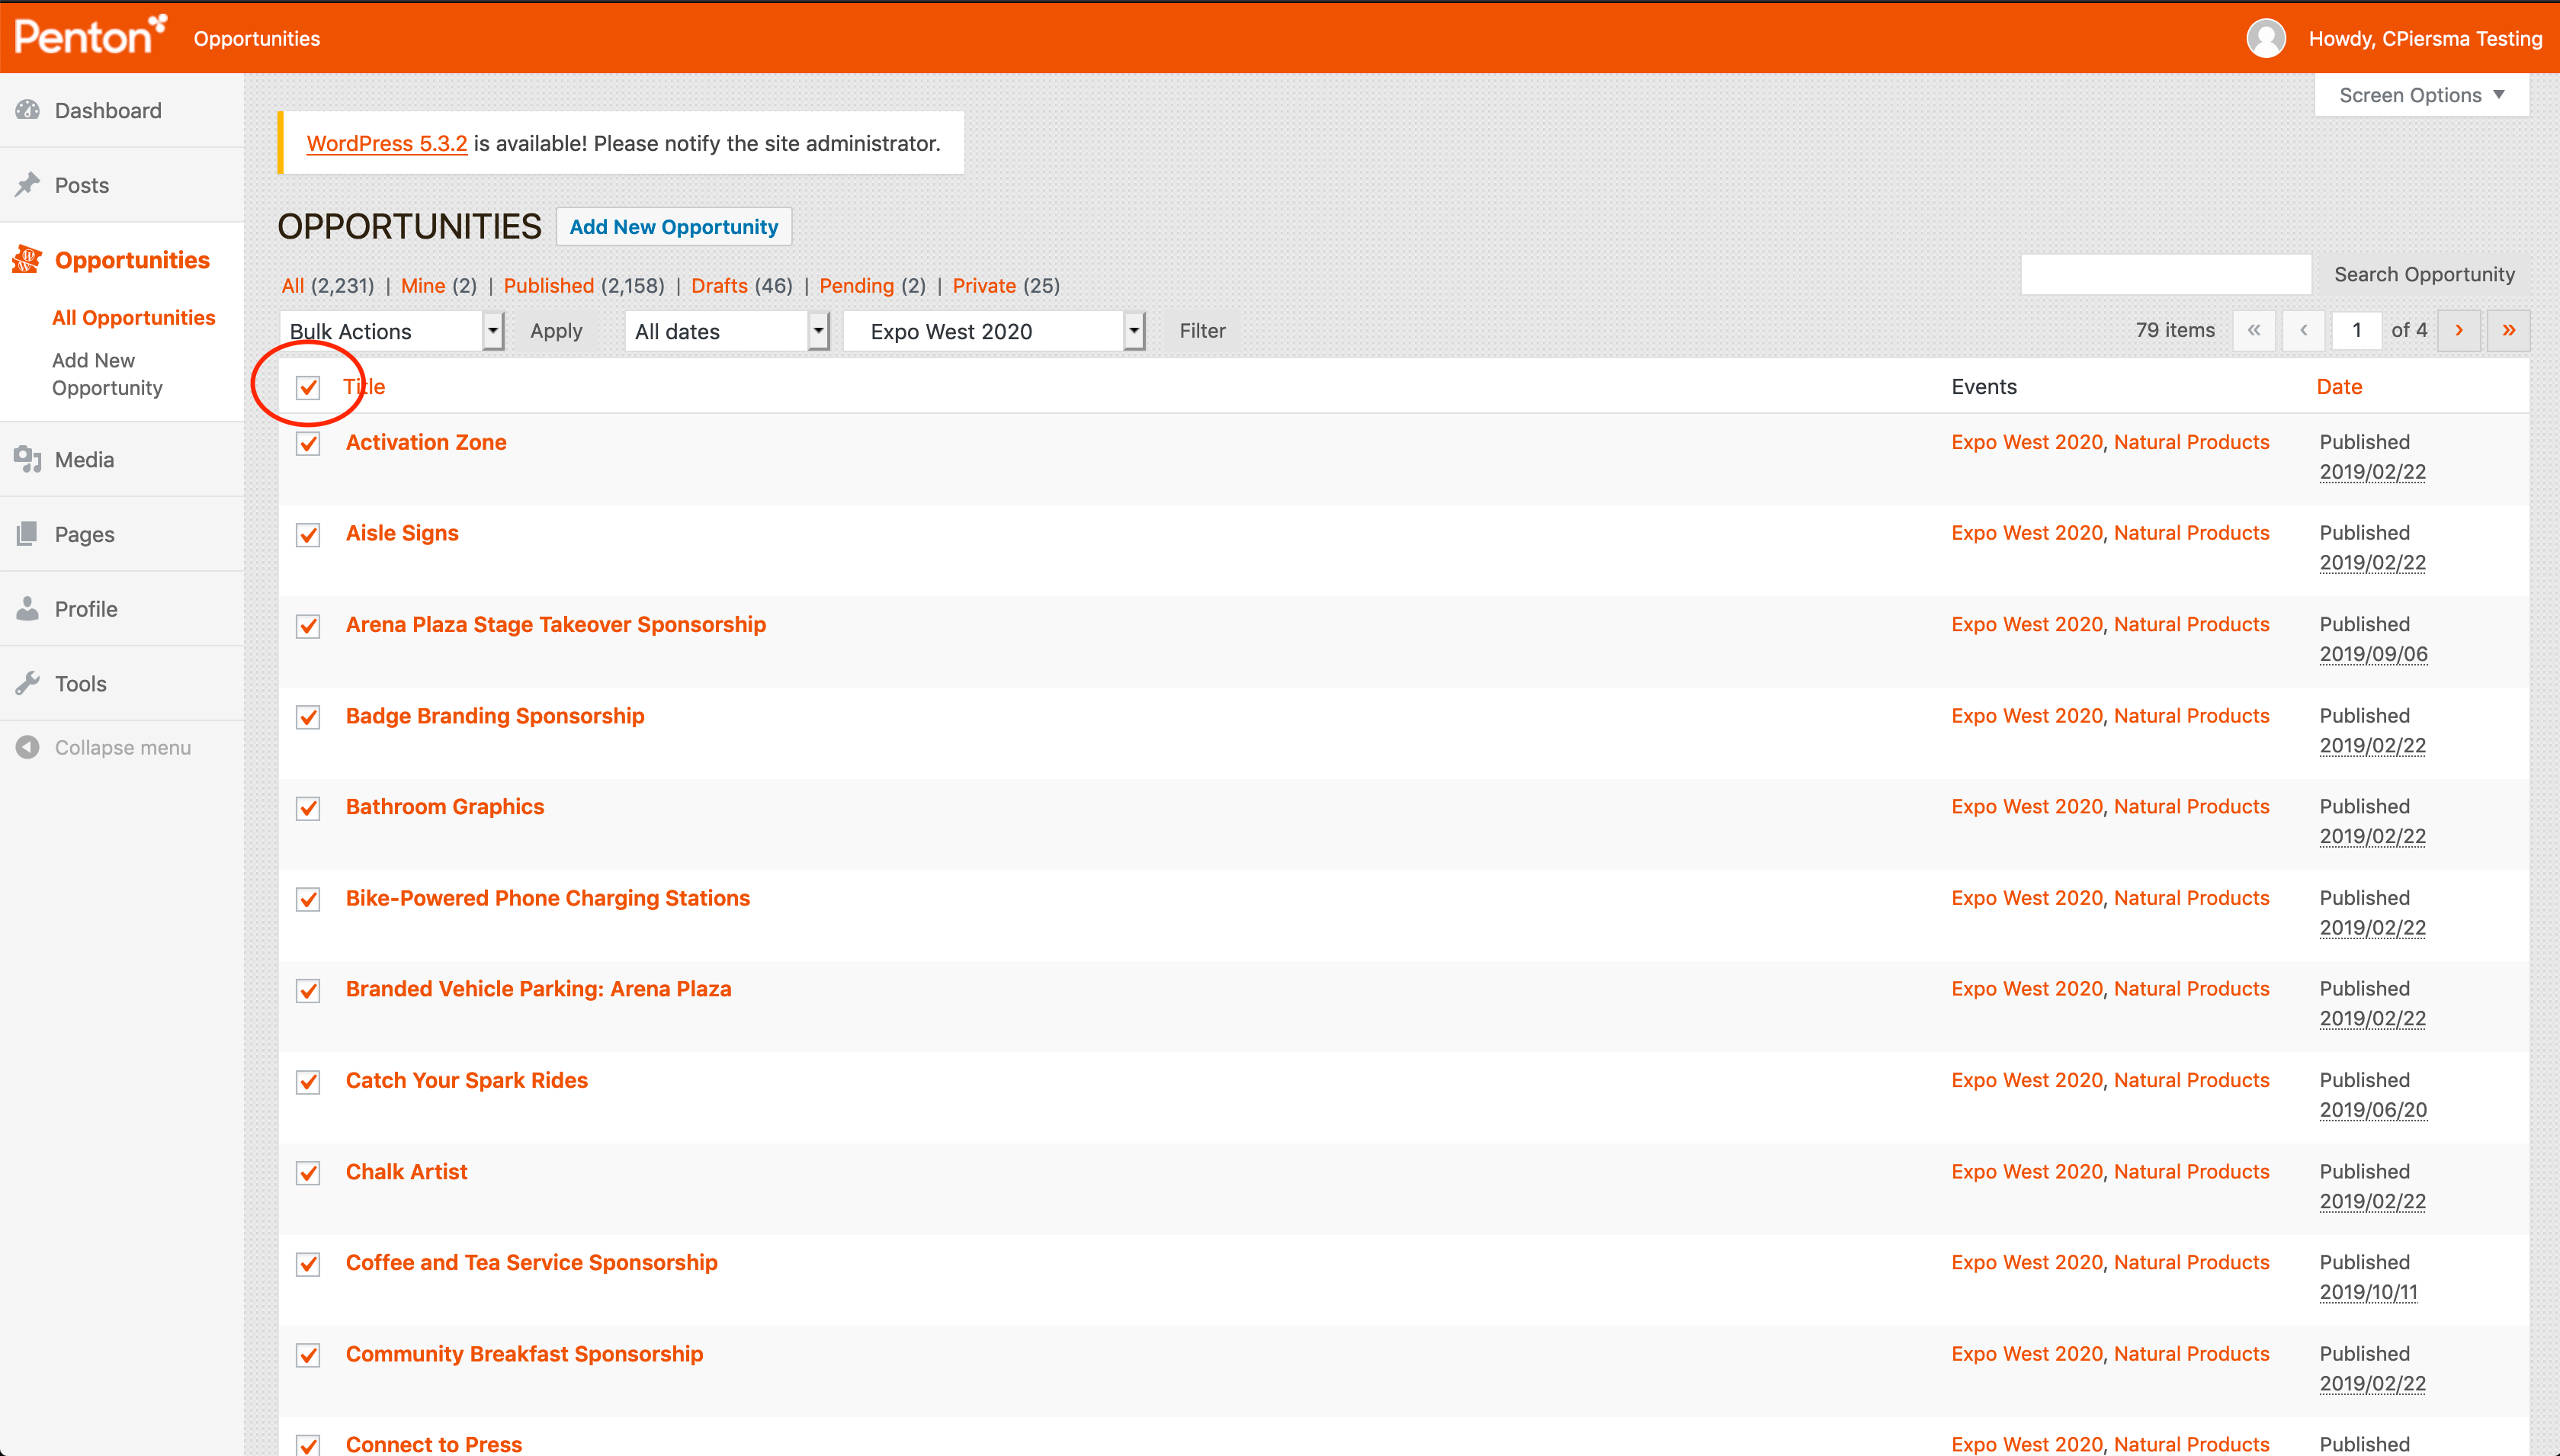
Remembering that total count number, select all those Opportunities by checking the check boxes next to the titles:
-
Now select “WP Duplicate Post” from the “Bulk Actions” dropdown:
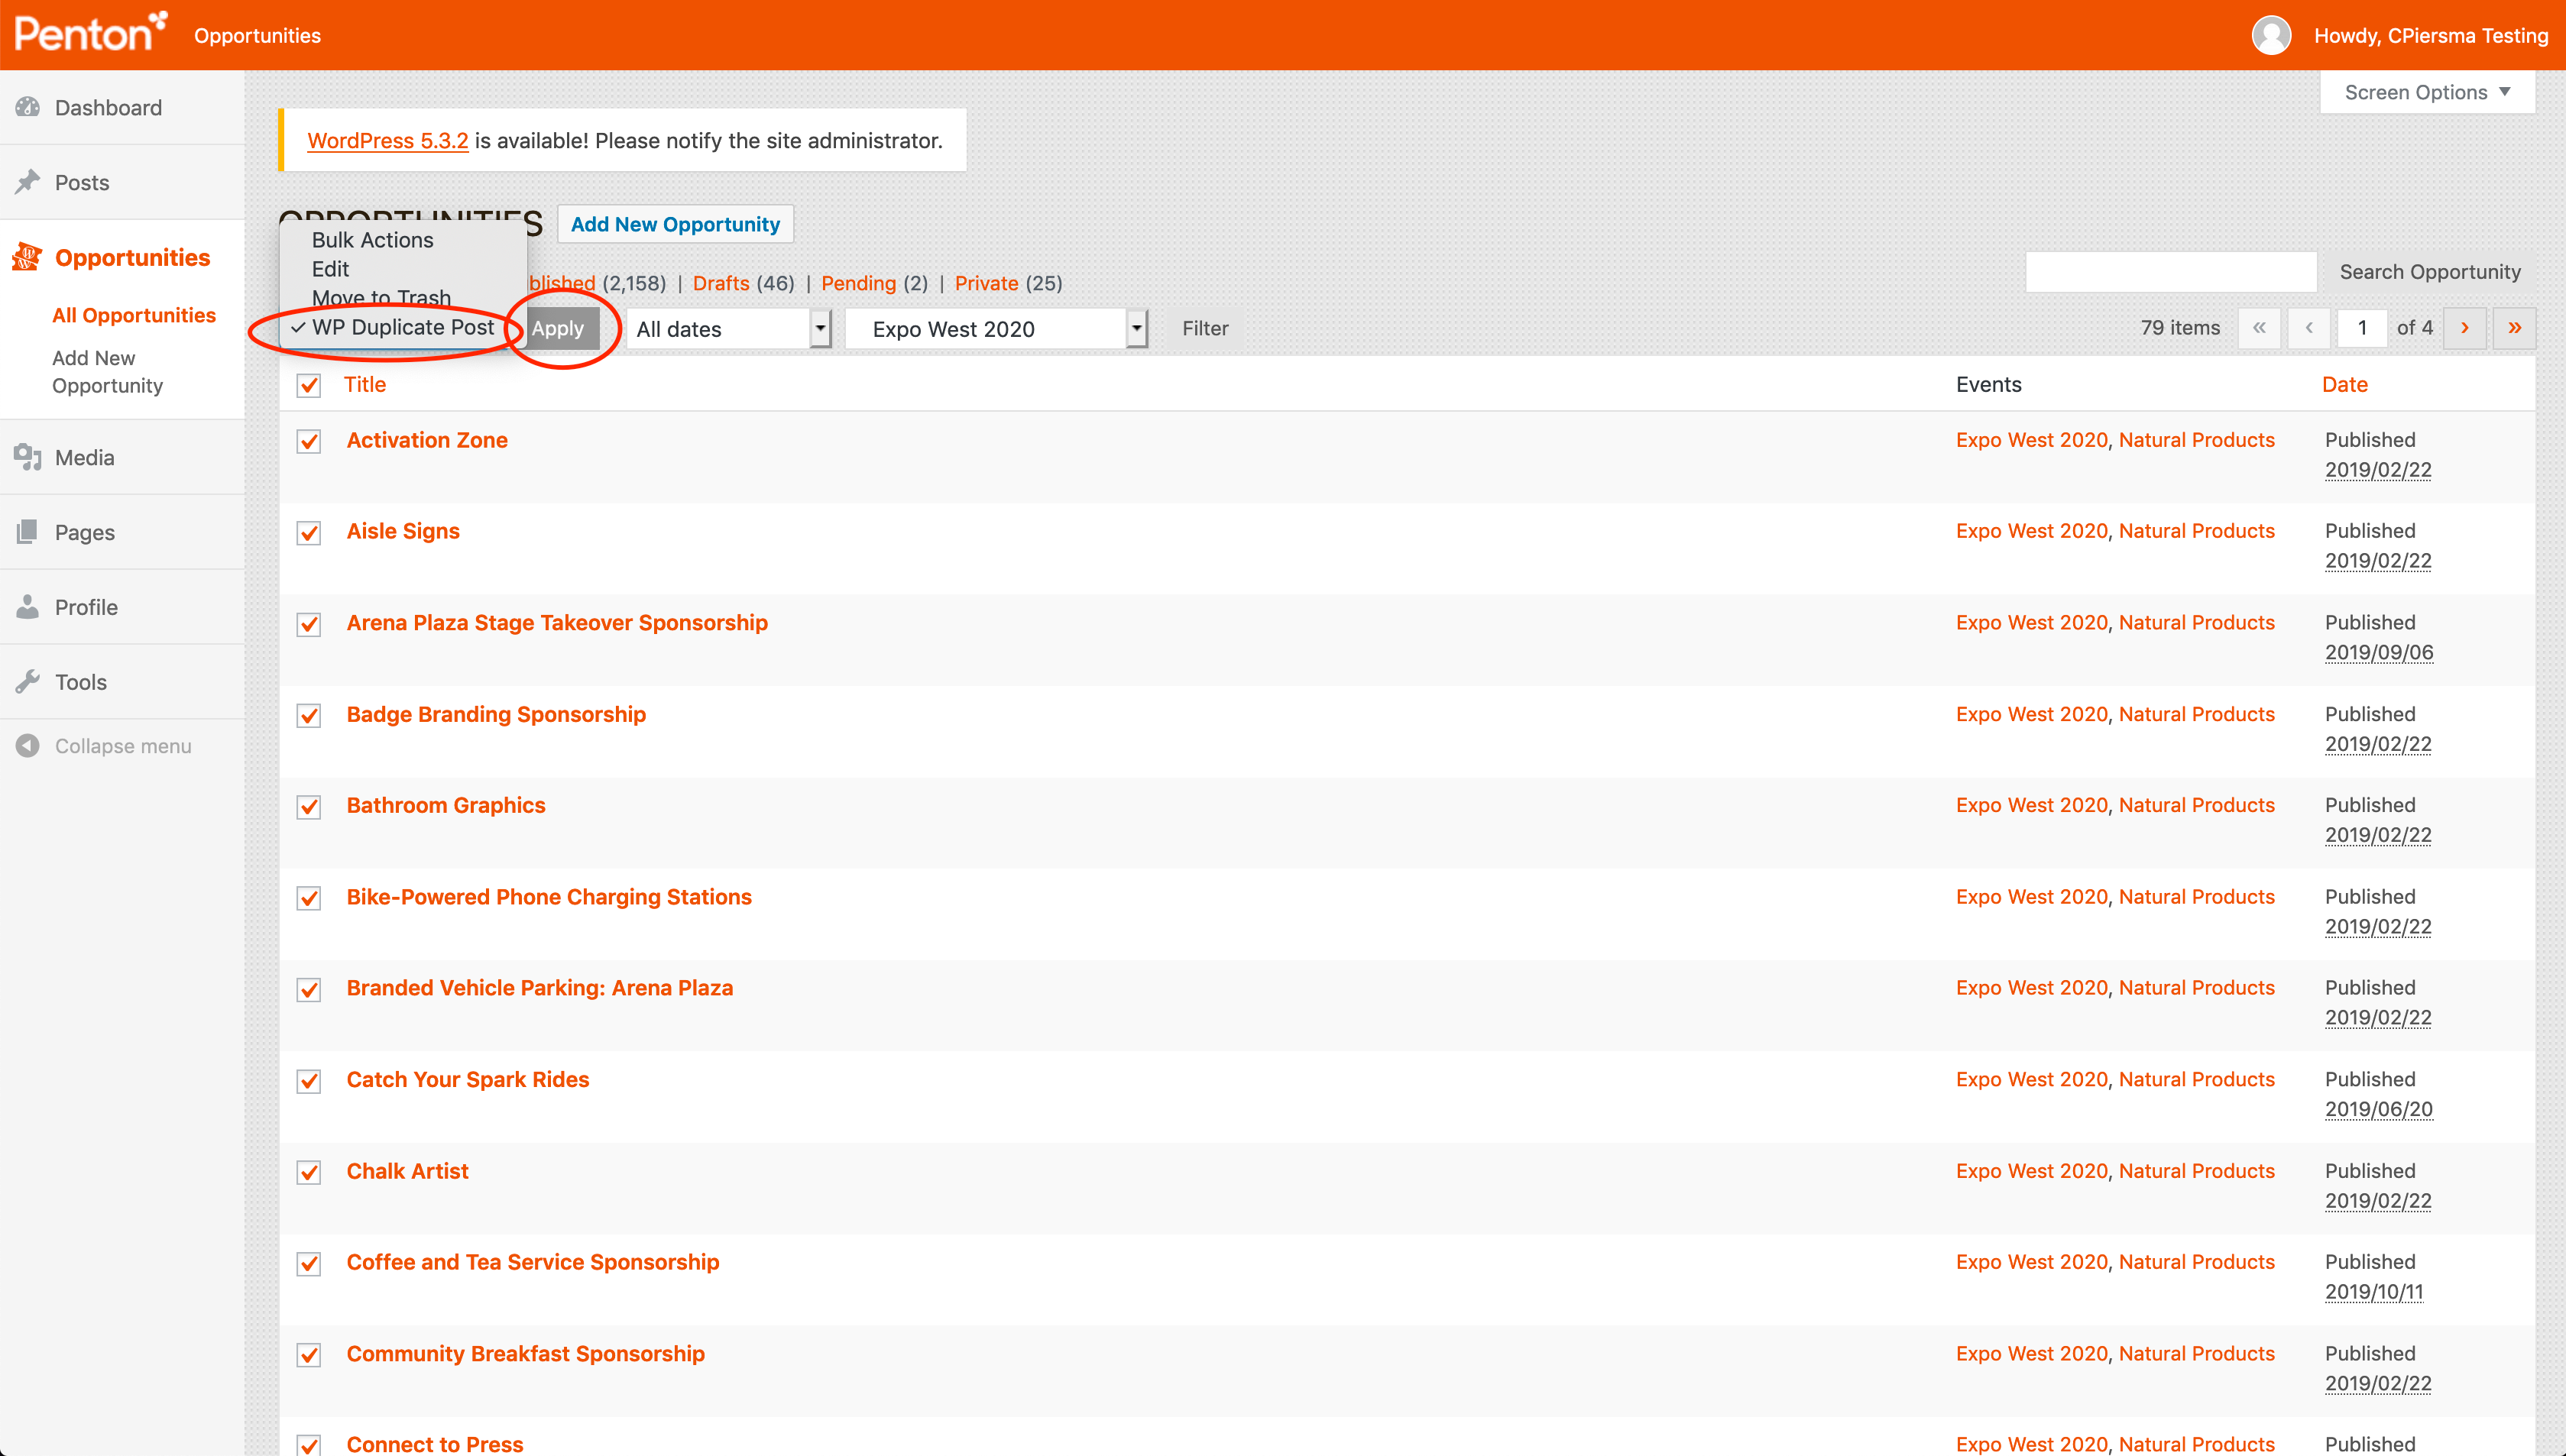 and click “Apply”
 -
The newly copied Opportunities will now populate in the “Draft” category:
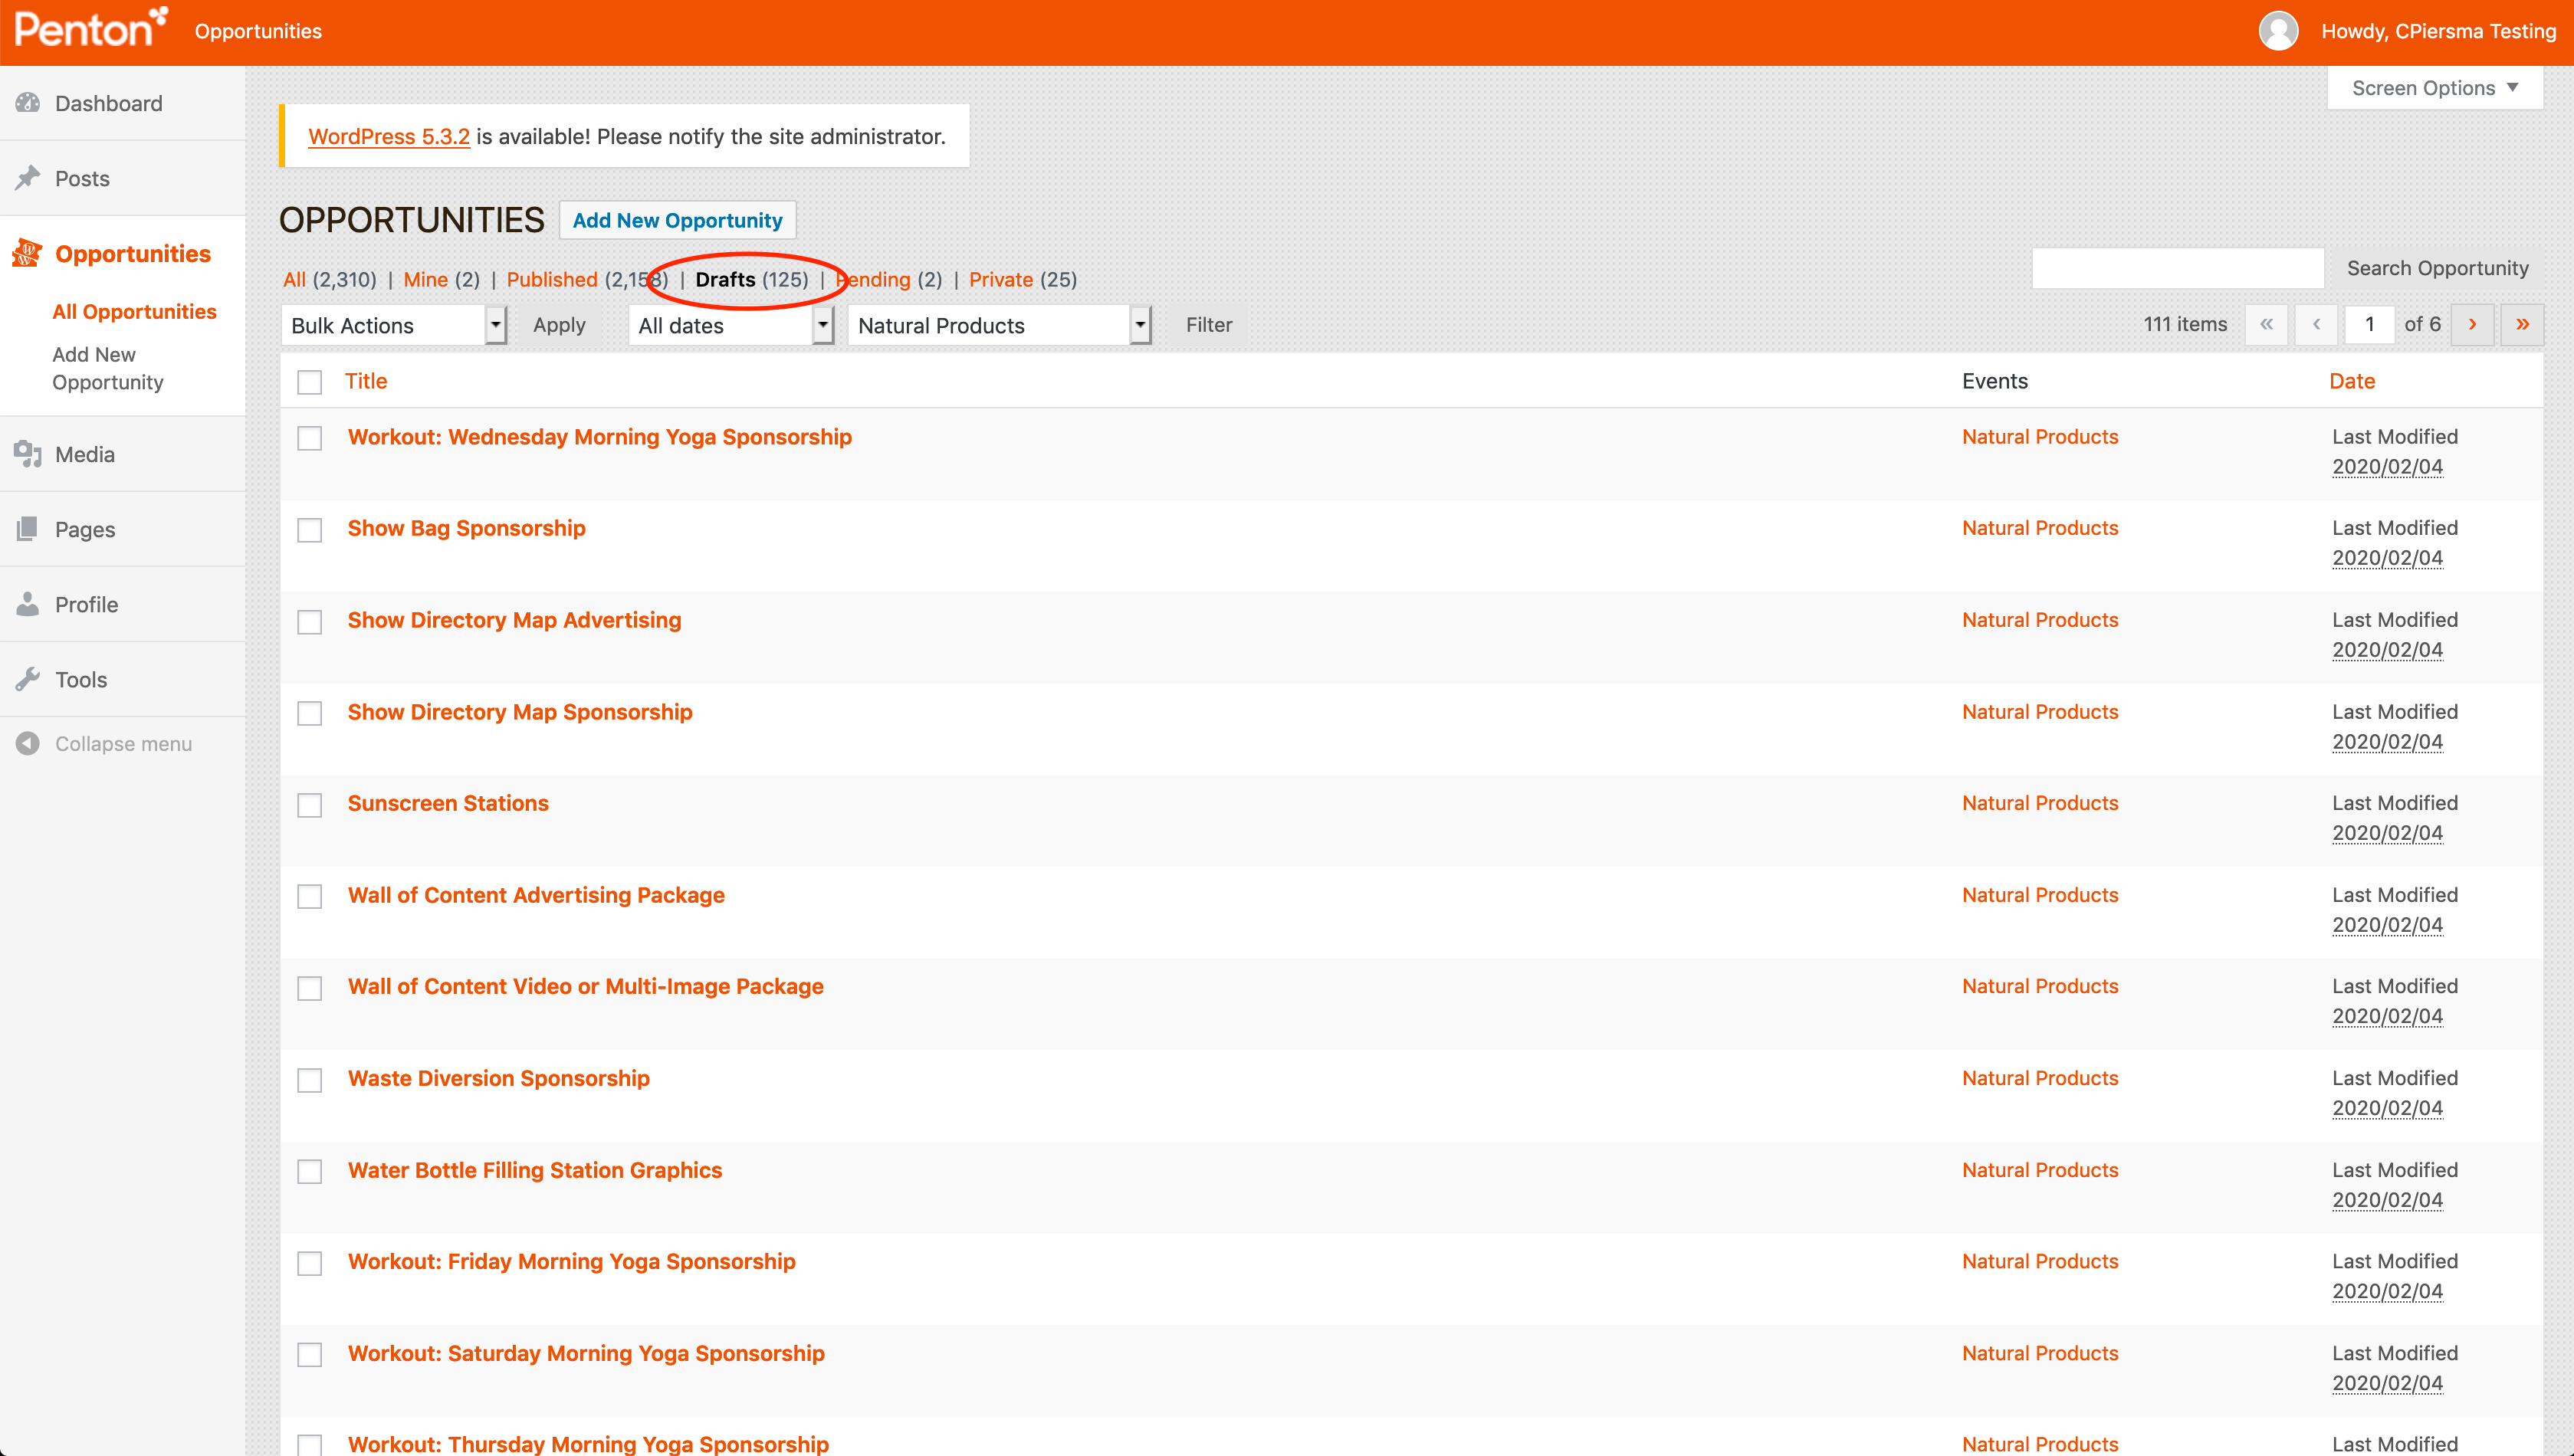 with the main Parent Event category attached
 -
Return to the “Bulk Actions” drop-down and select “Edit” and click “Apply”
-
Use the new box that appears to update the Events category and Status to “Published” - don’t forget to click “Update”:
-
This may have to be done several times depending on the amount of copied Opportunities - be sure to update them all
-
Please note: It is important to “Publish” for 2 reasons:
- That it takes the new Opportunities out of the “Drafts” category which is cleaned out regularly
- It allows you to review the unpublished page of all Opportunities and verify that the Opportunities are showing up correctly (functionality will come later when all the Opportunities are updated)
-
When you filter by the new Event:
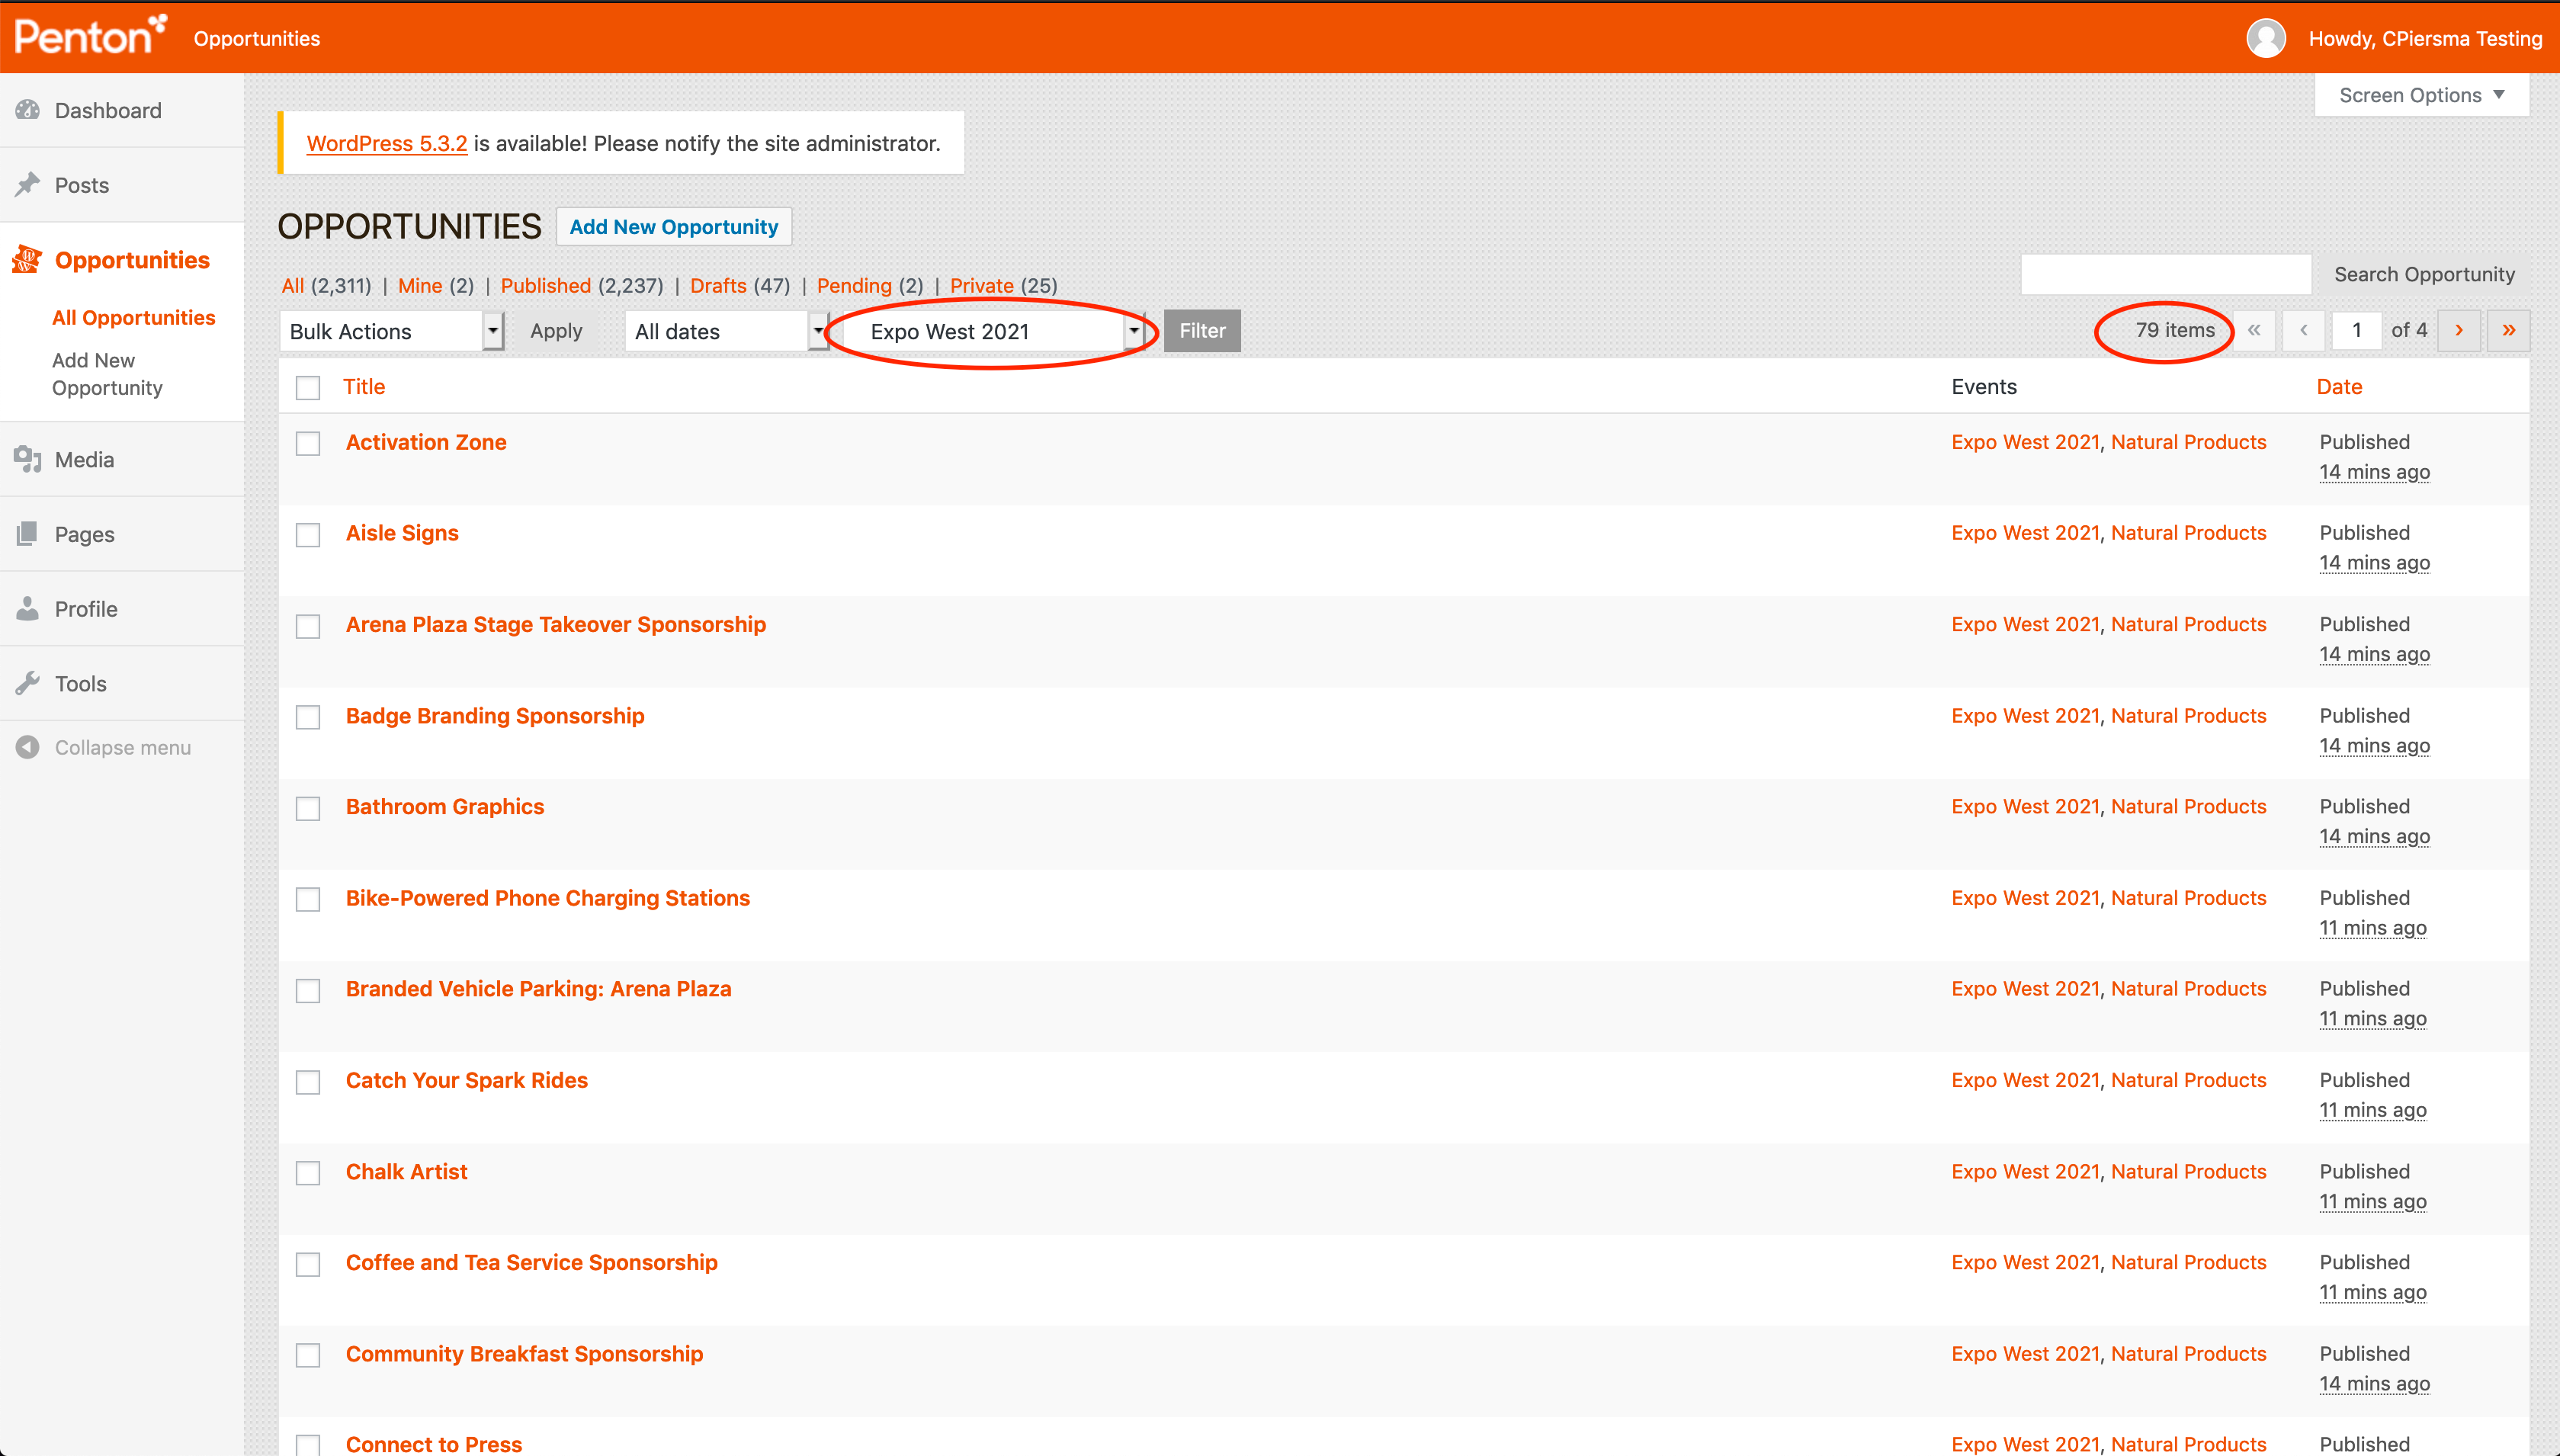 the Opportunities count of the new Event should match the one you copied:
 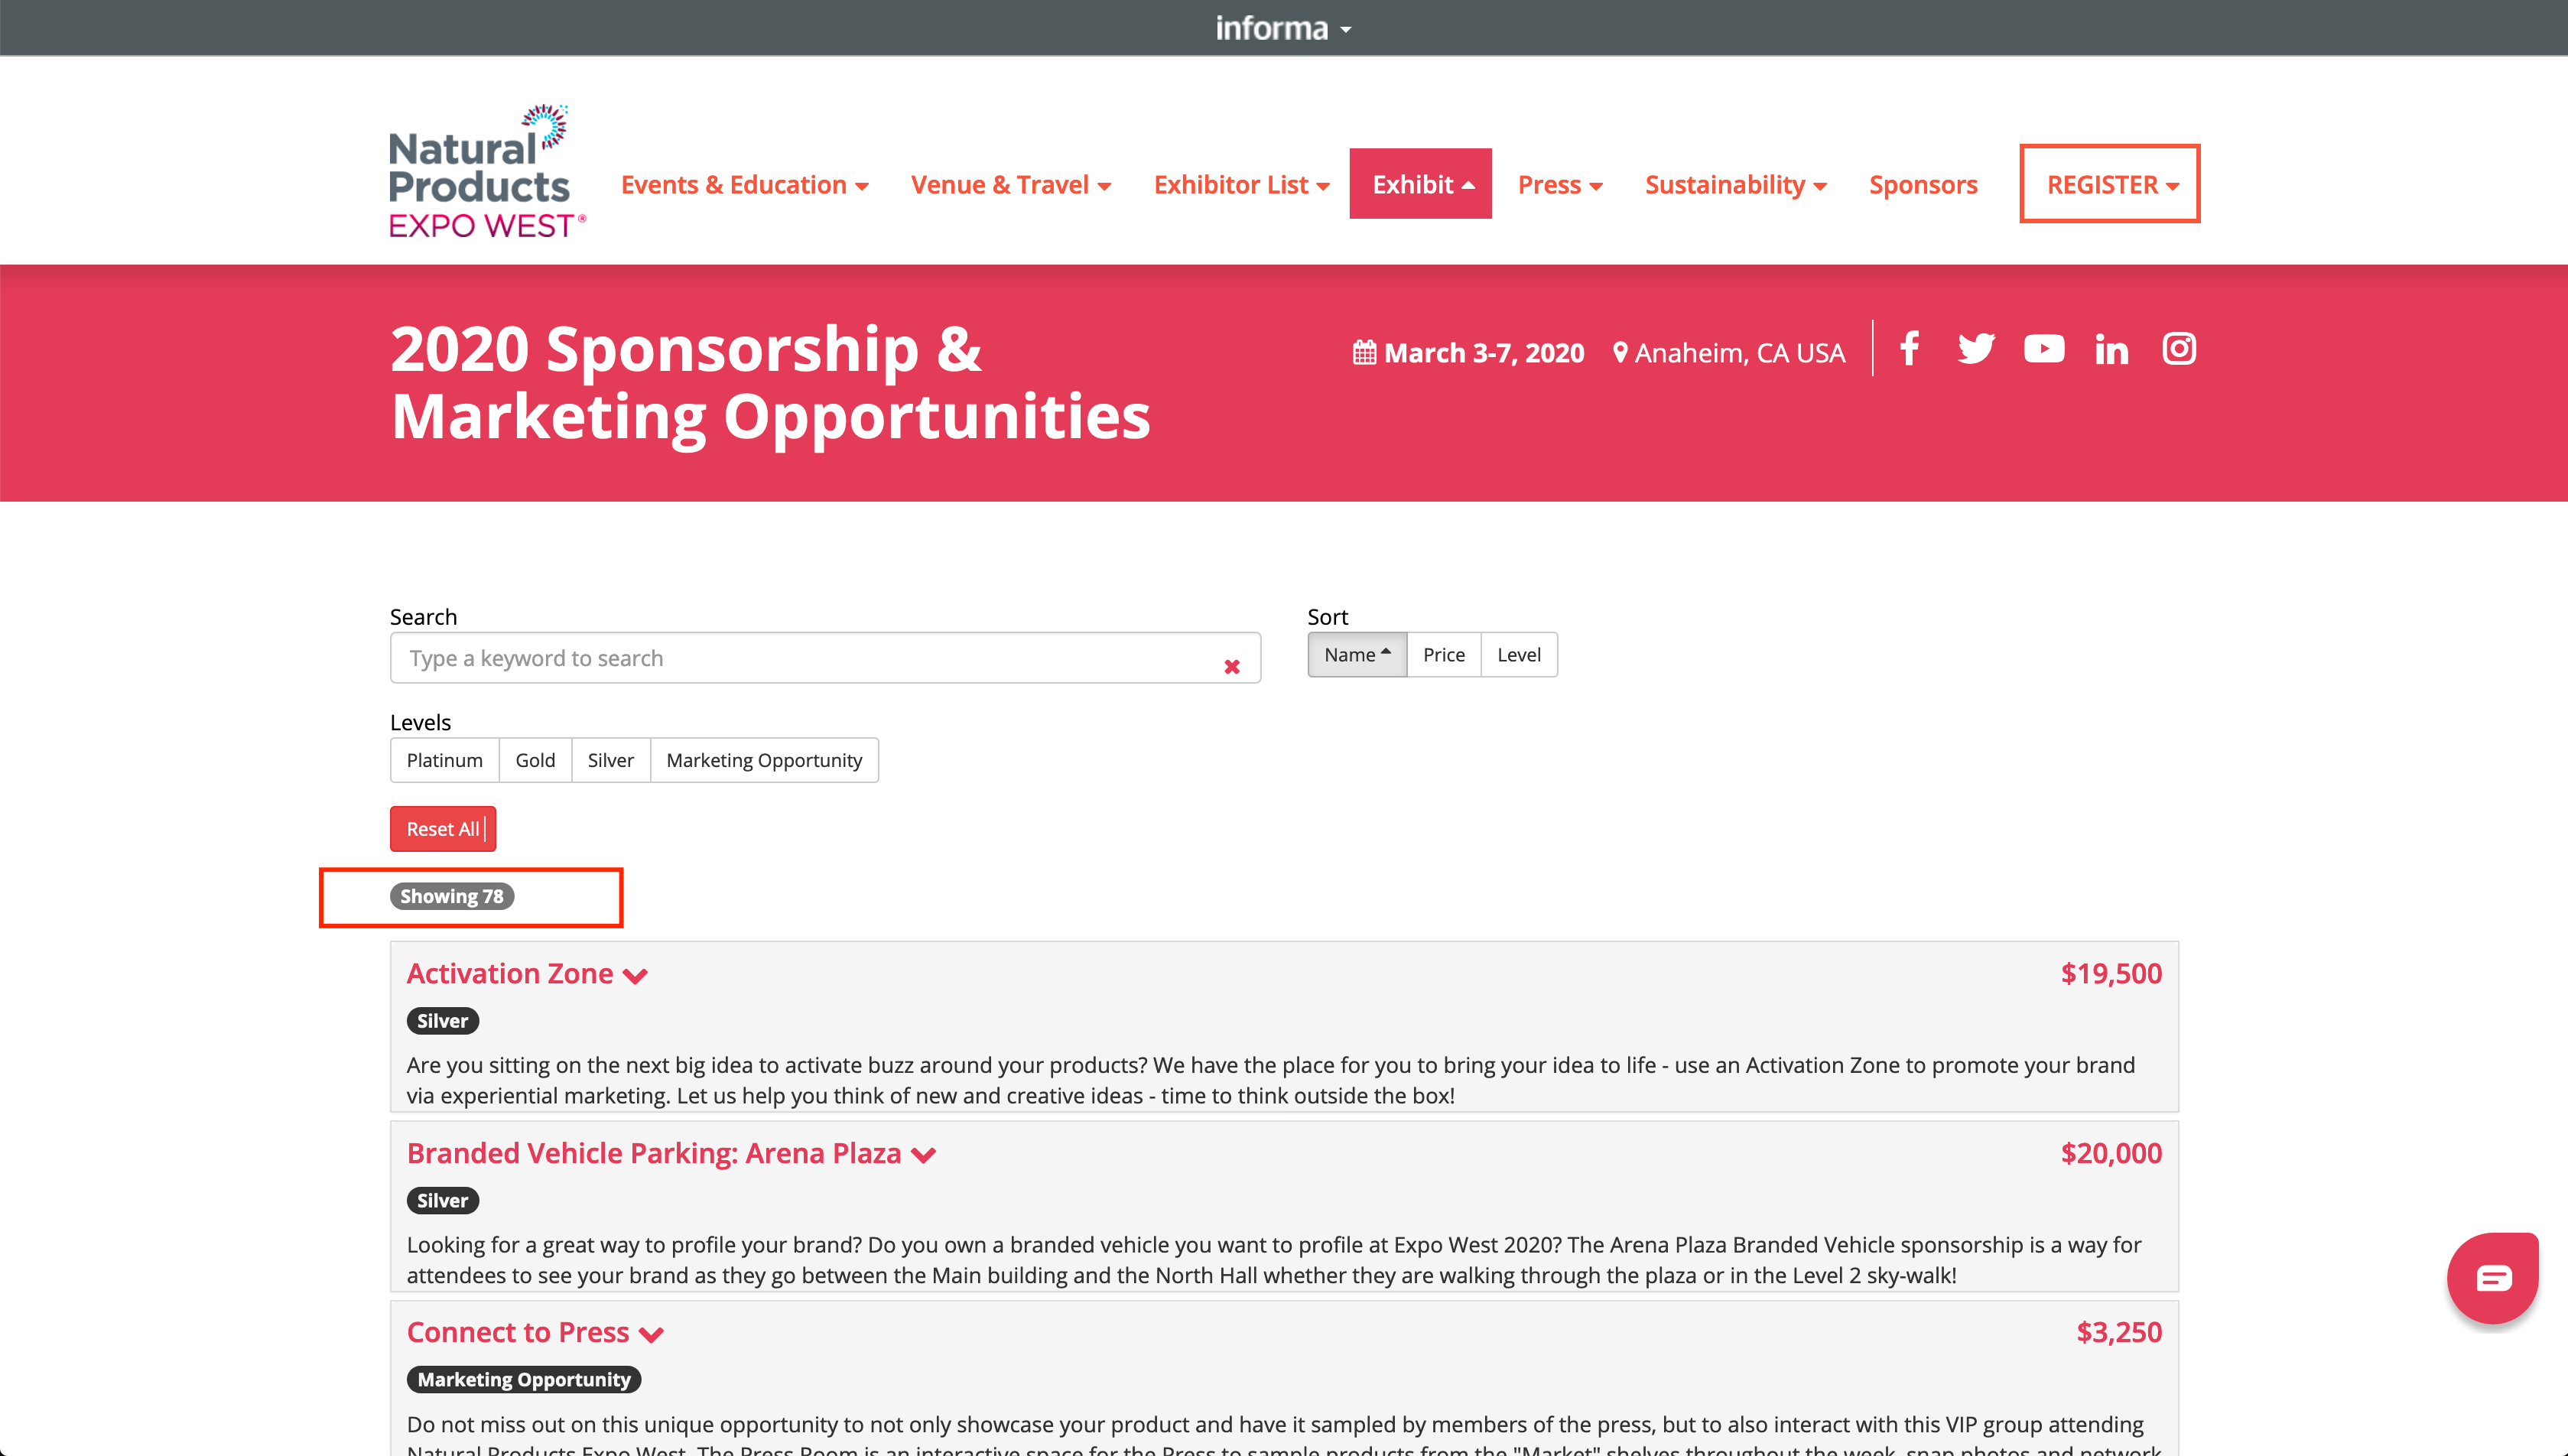 and
and 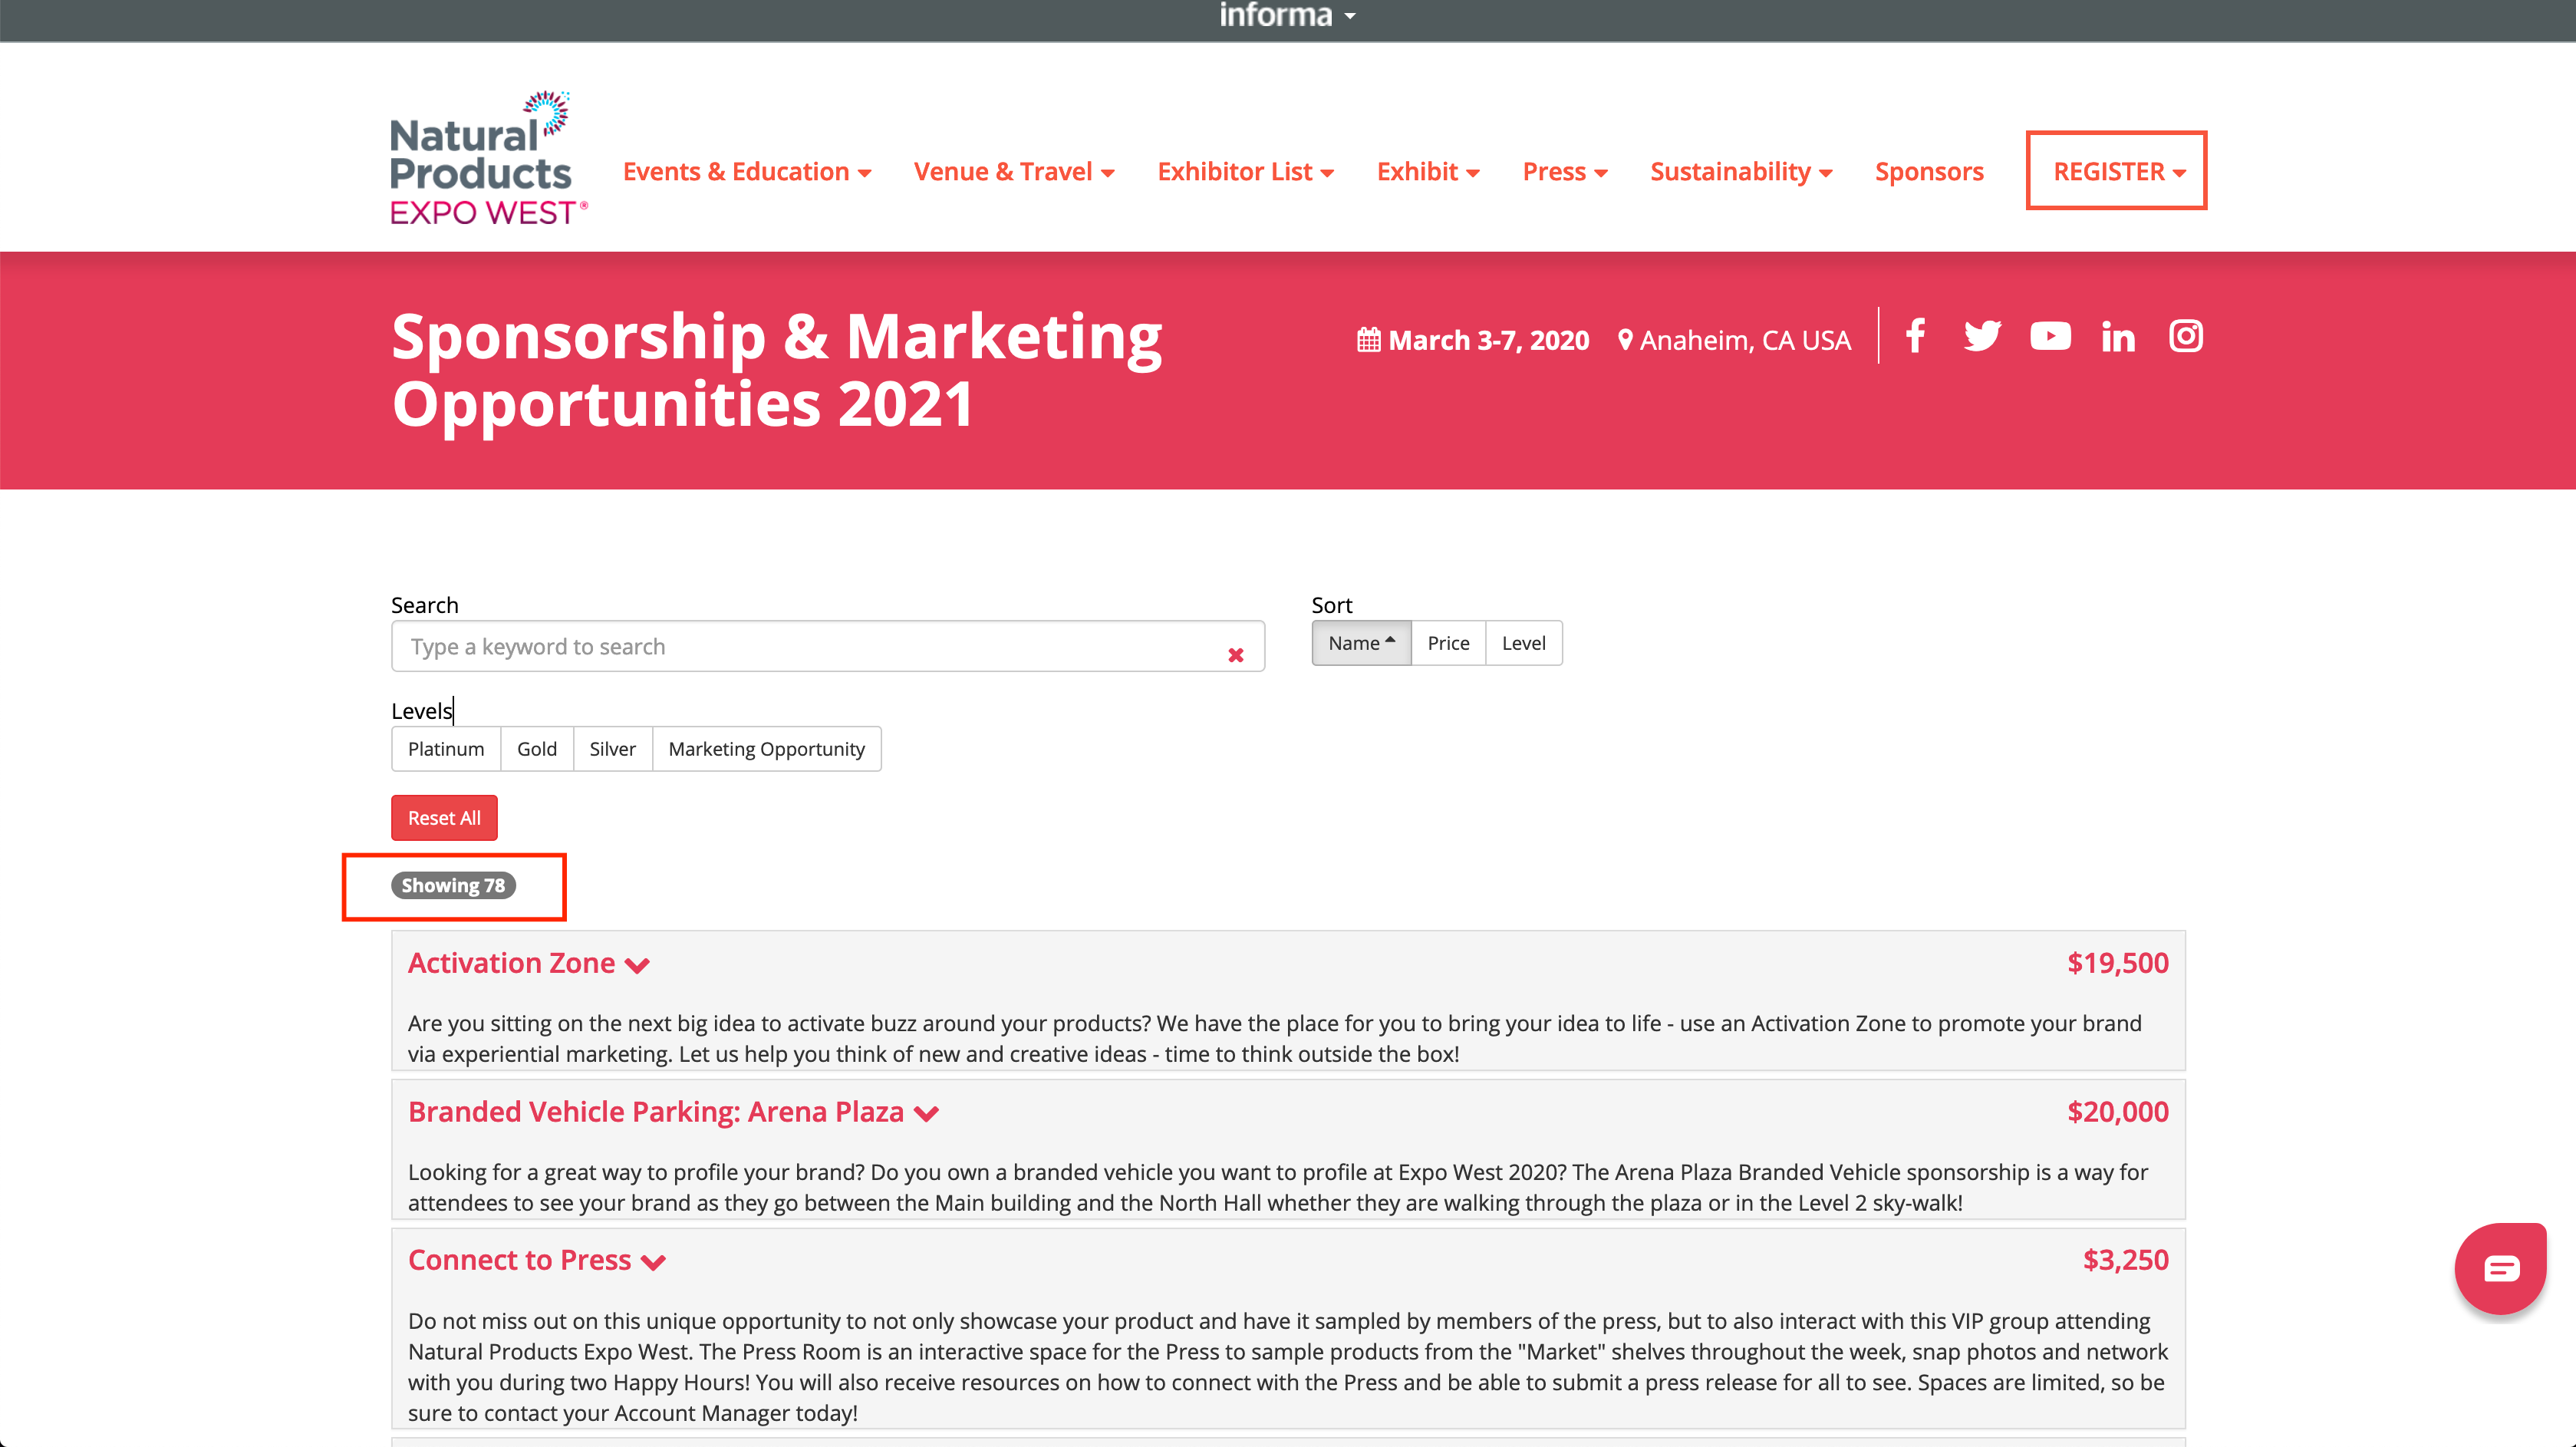 (or thereabouts, due to Opportunity status)
 -
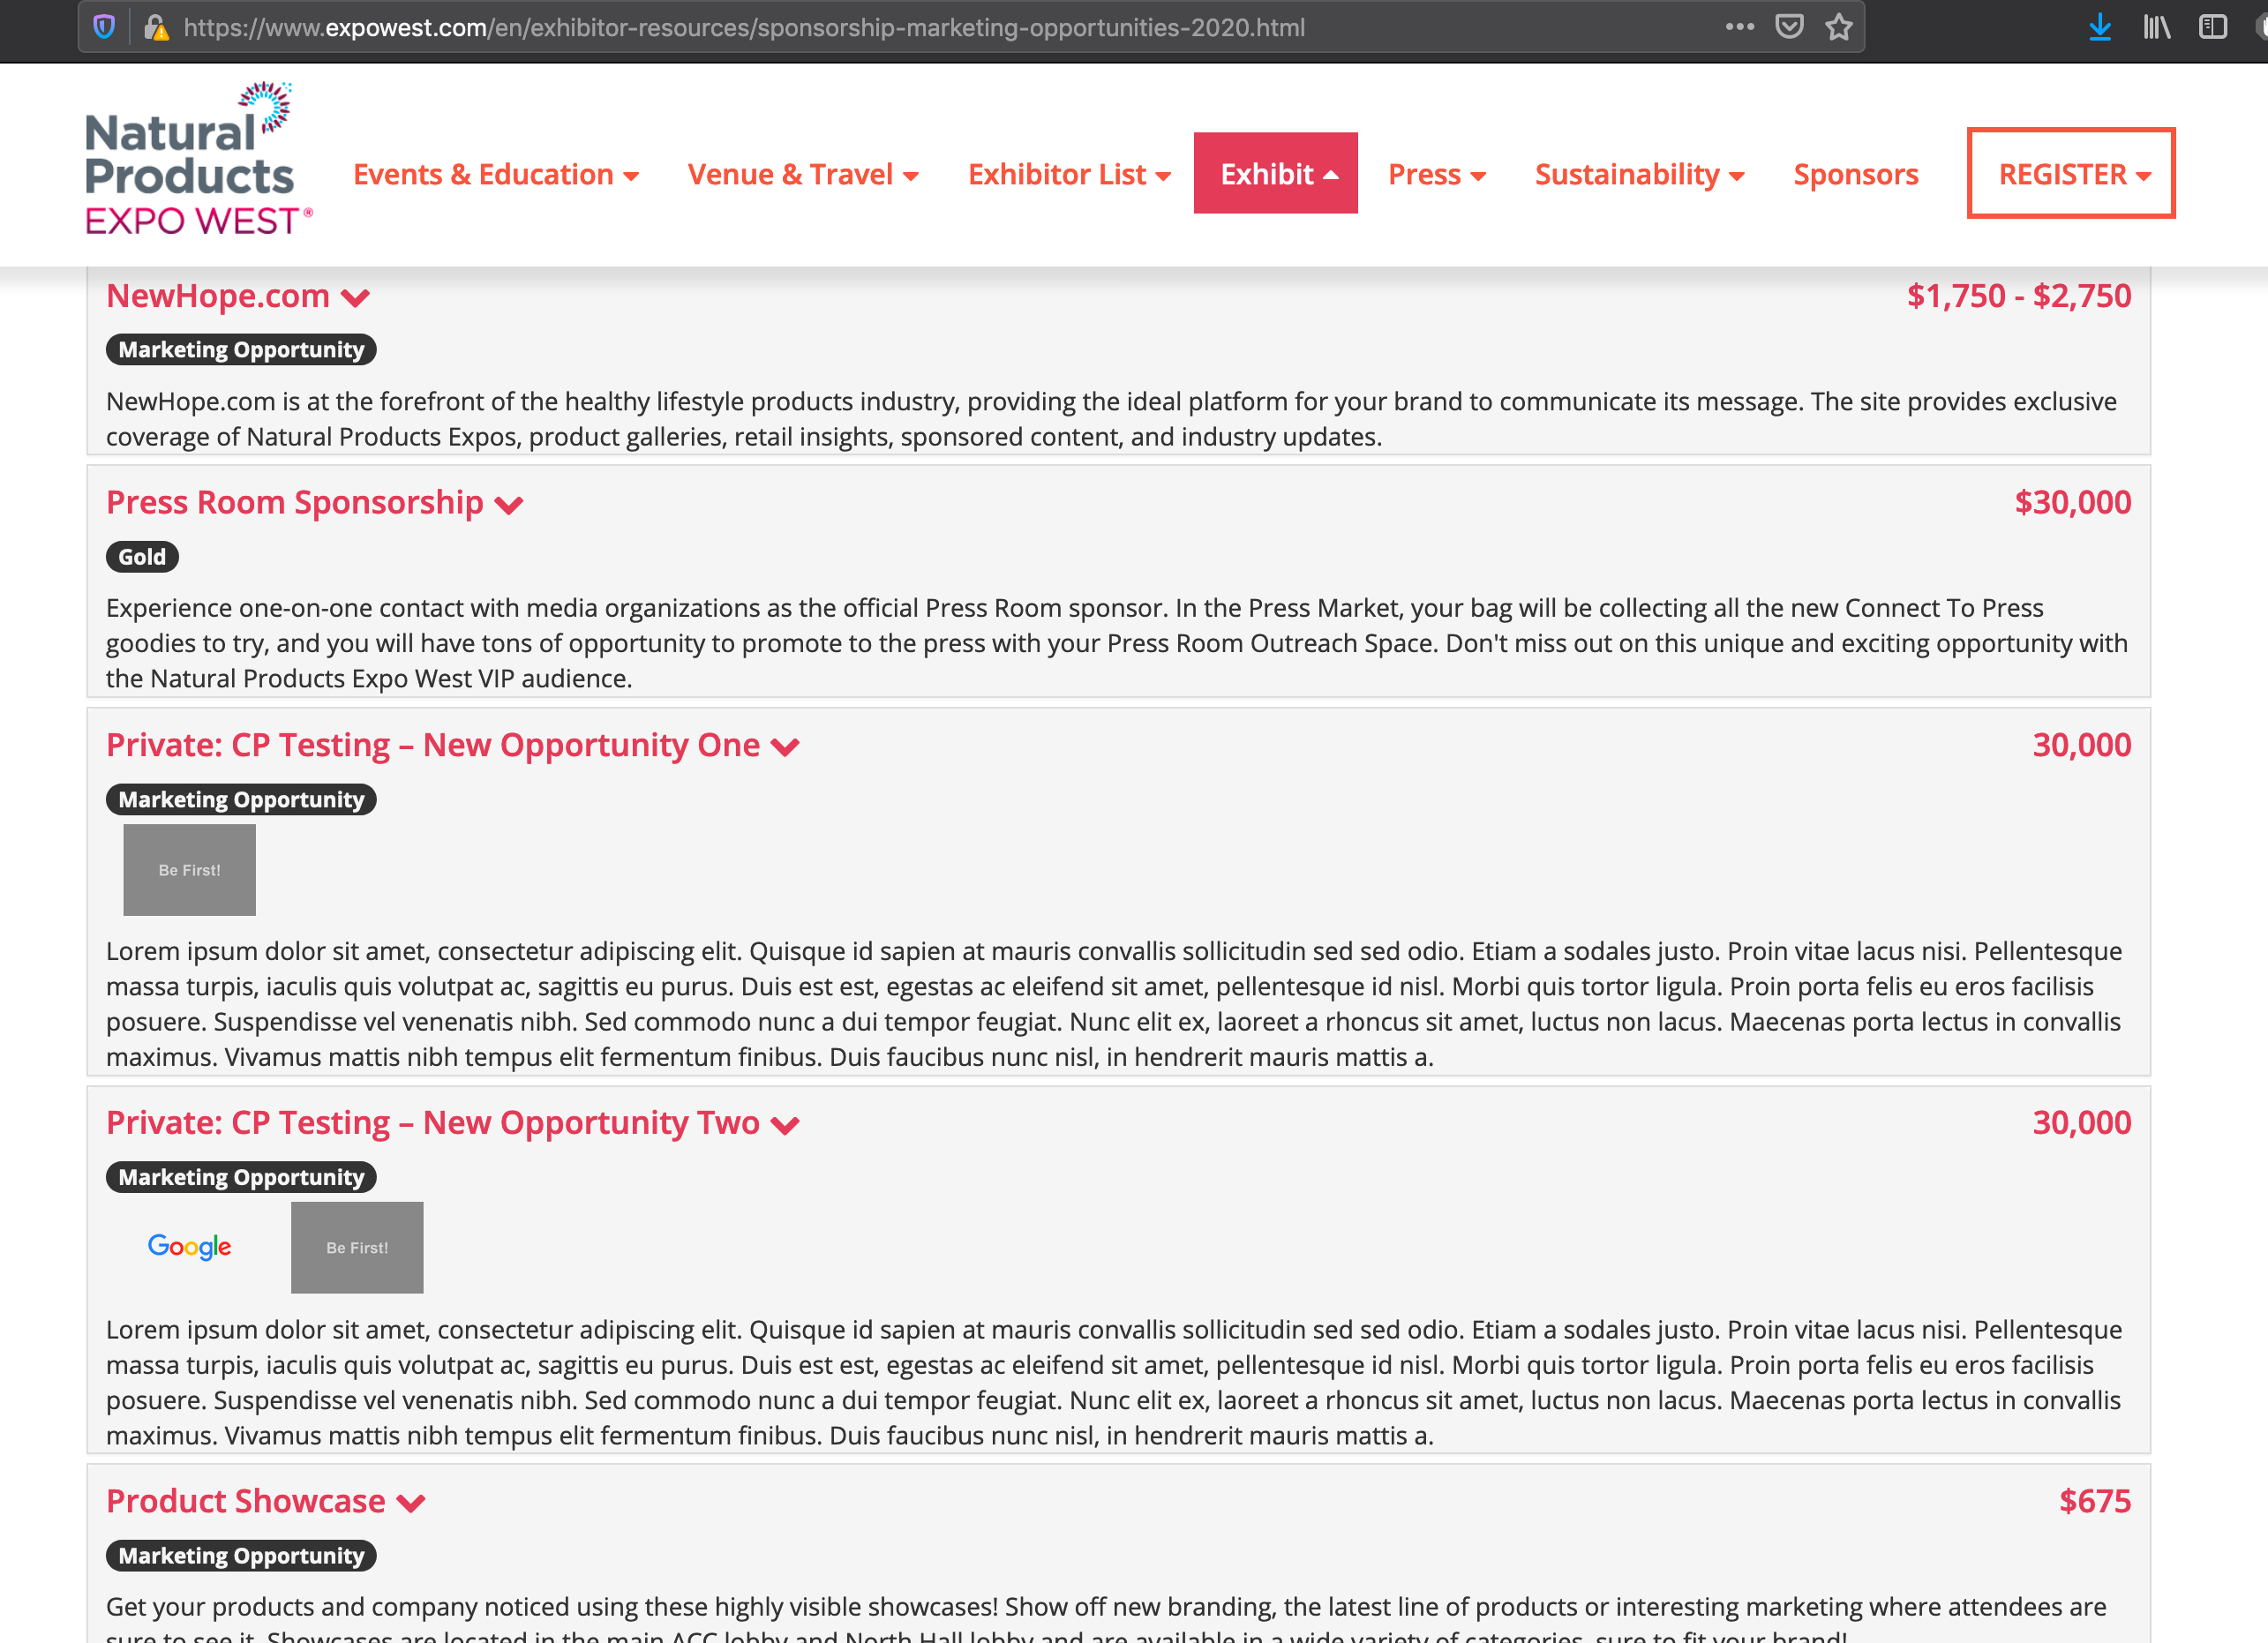
Finally, go through and update each copied Opportunity as much as possible, updating and publishing these Opportunities will then connect them to the unpublished page’s organization and sorting functionality - for example:
- Original Opportunities:
- Copied and updated Opportunities:

- Original Opportunities:
-
If all the Opportunities are ready:
contact the Marketing Content Team to publish the Sponsorship and Marketing Opportunities page: live on the site
FAQ
But I need to hide an Opportunity I made?
Use the “Pending” setting:  under “Quick Edit”:
 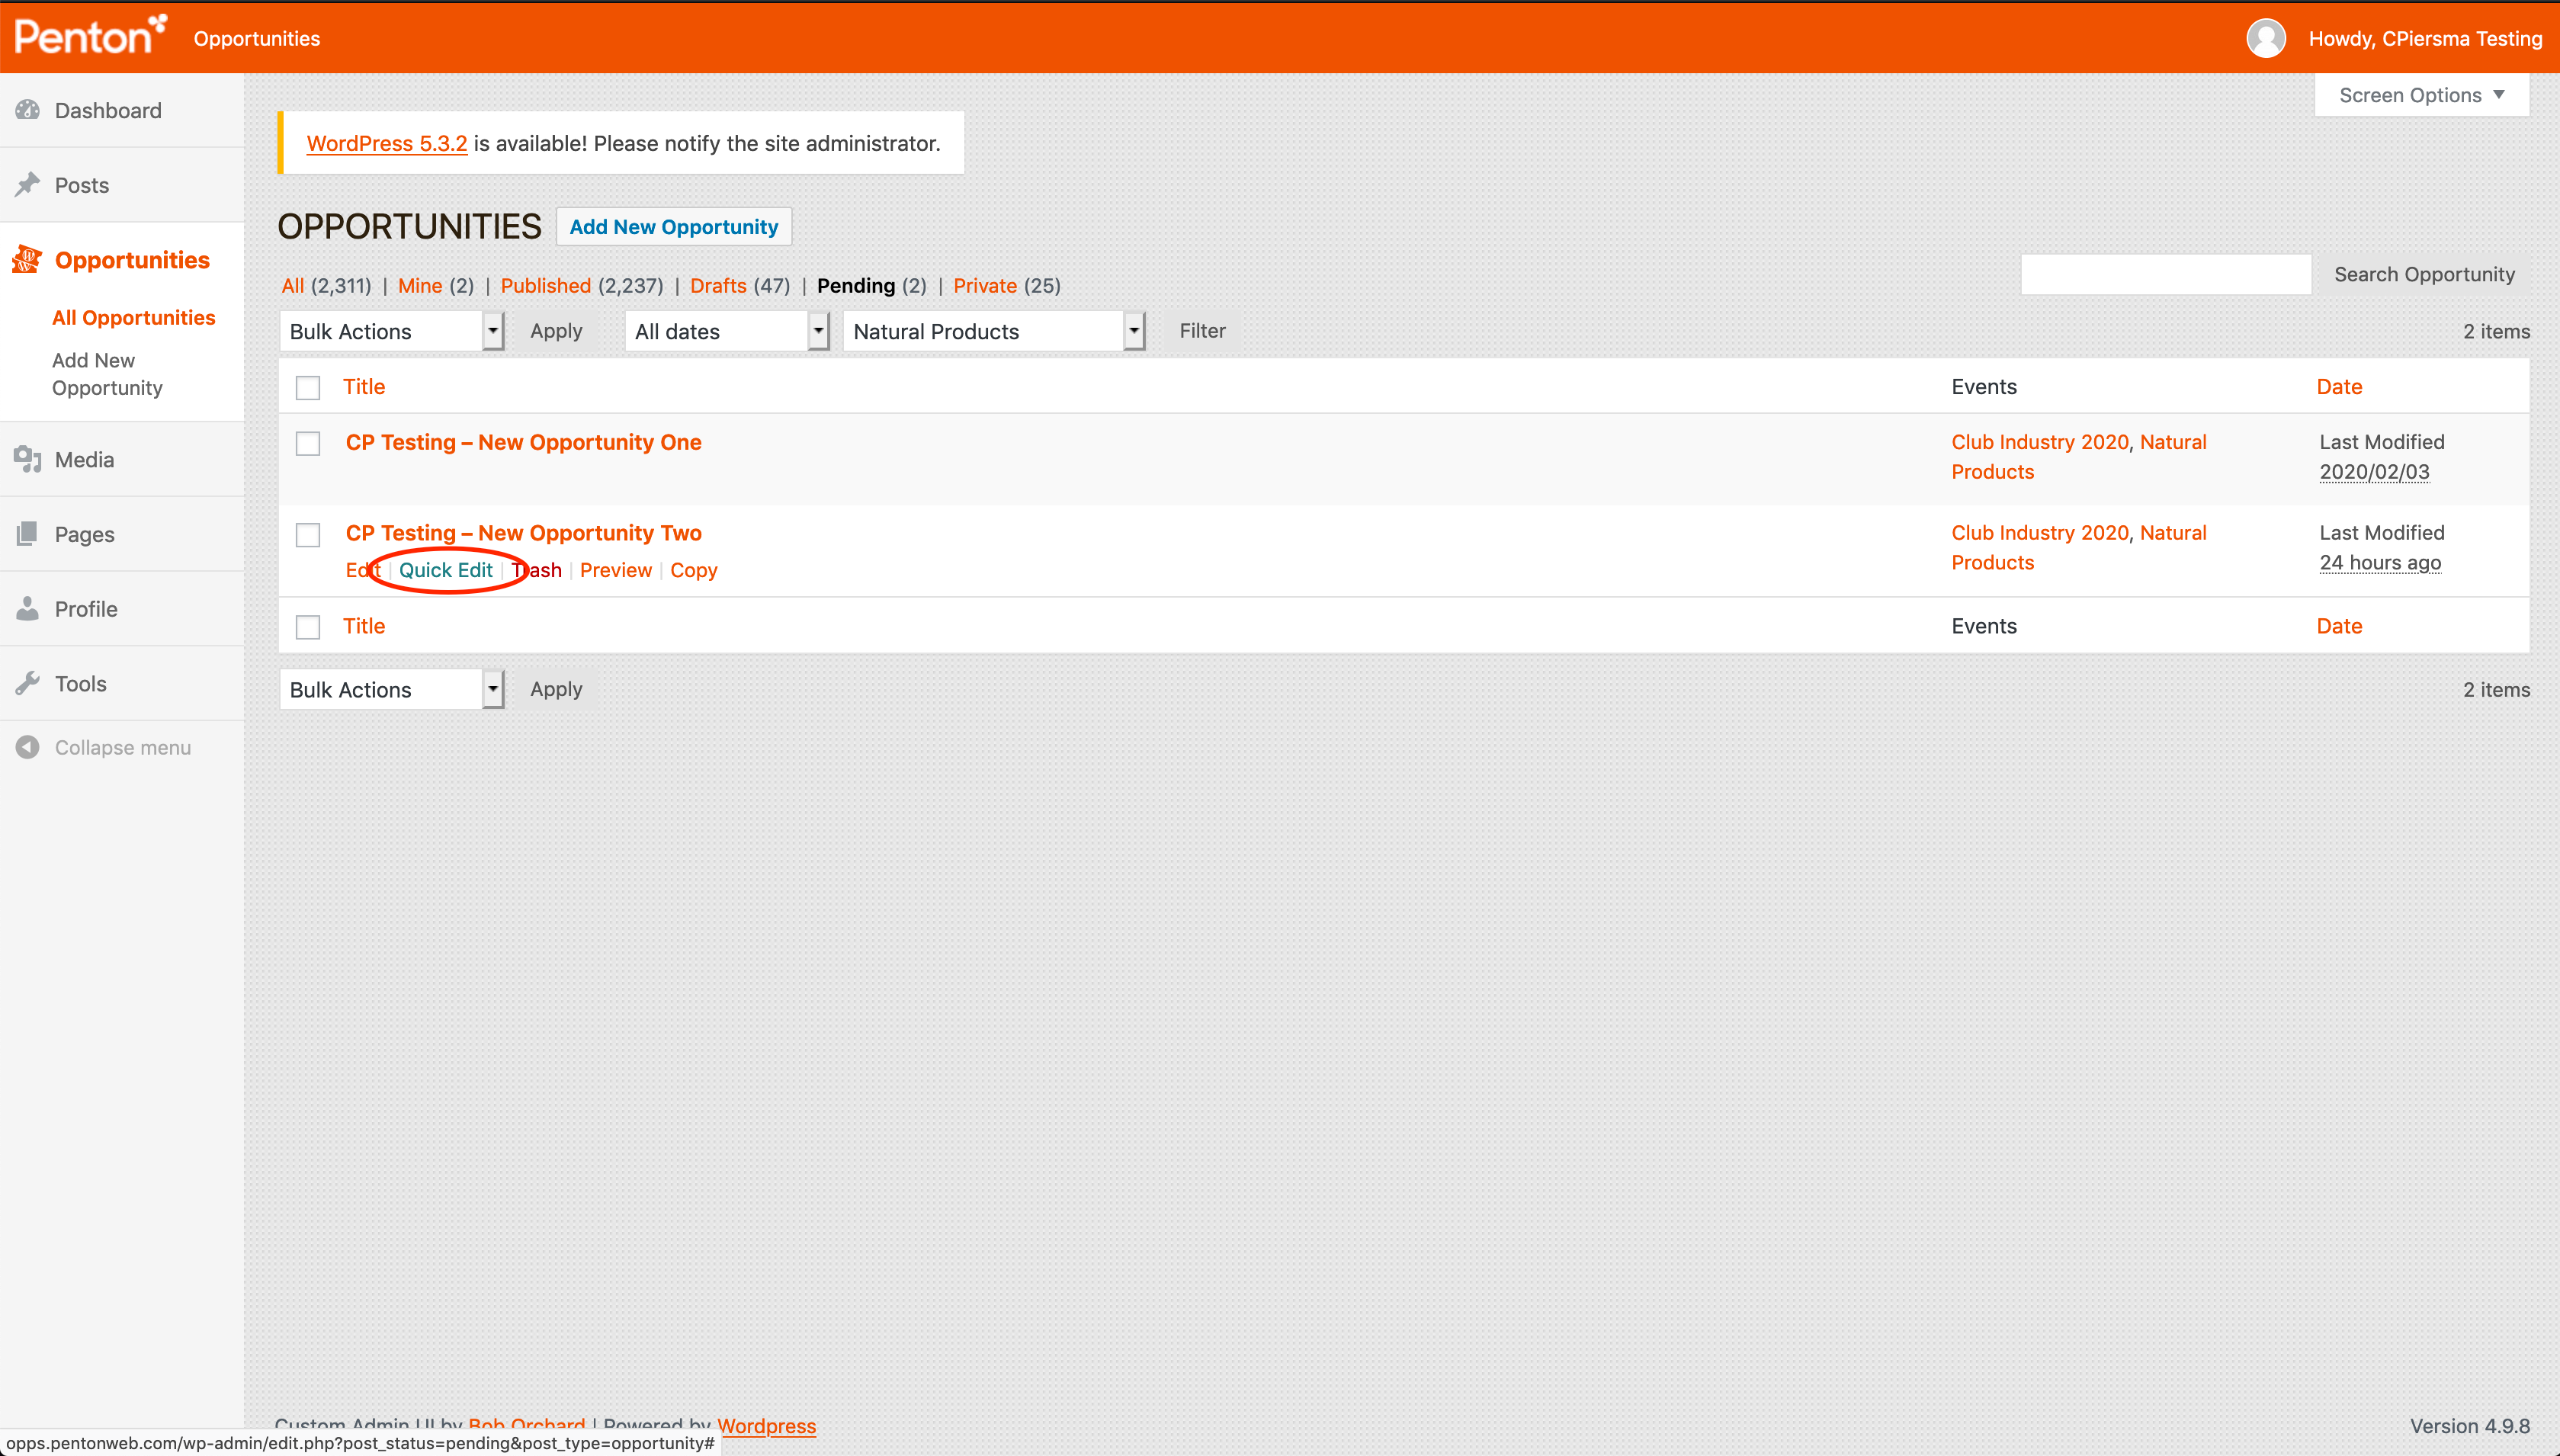 to make sure that even if “Published”, the Opportunity will not show on the main site:
 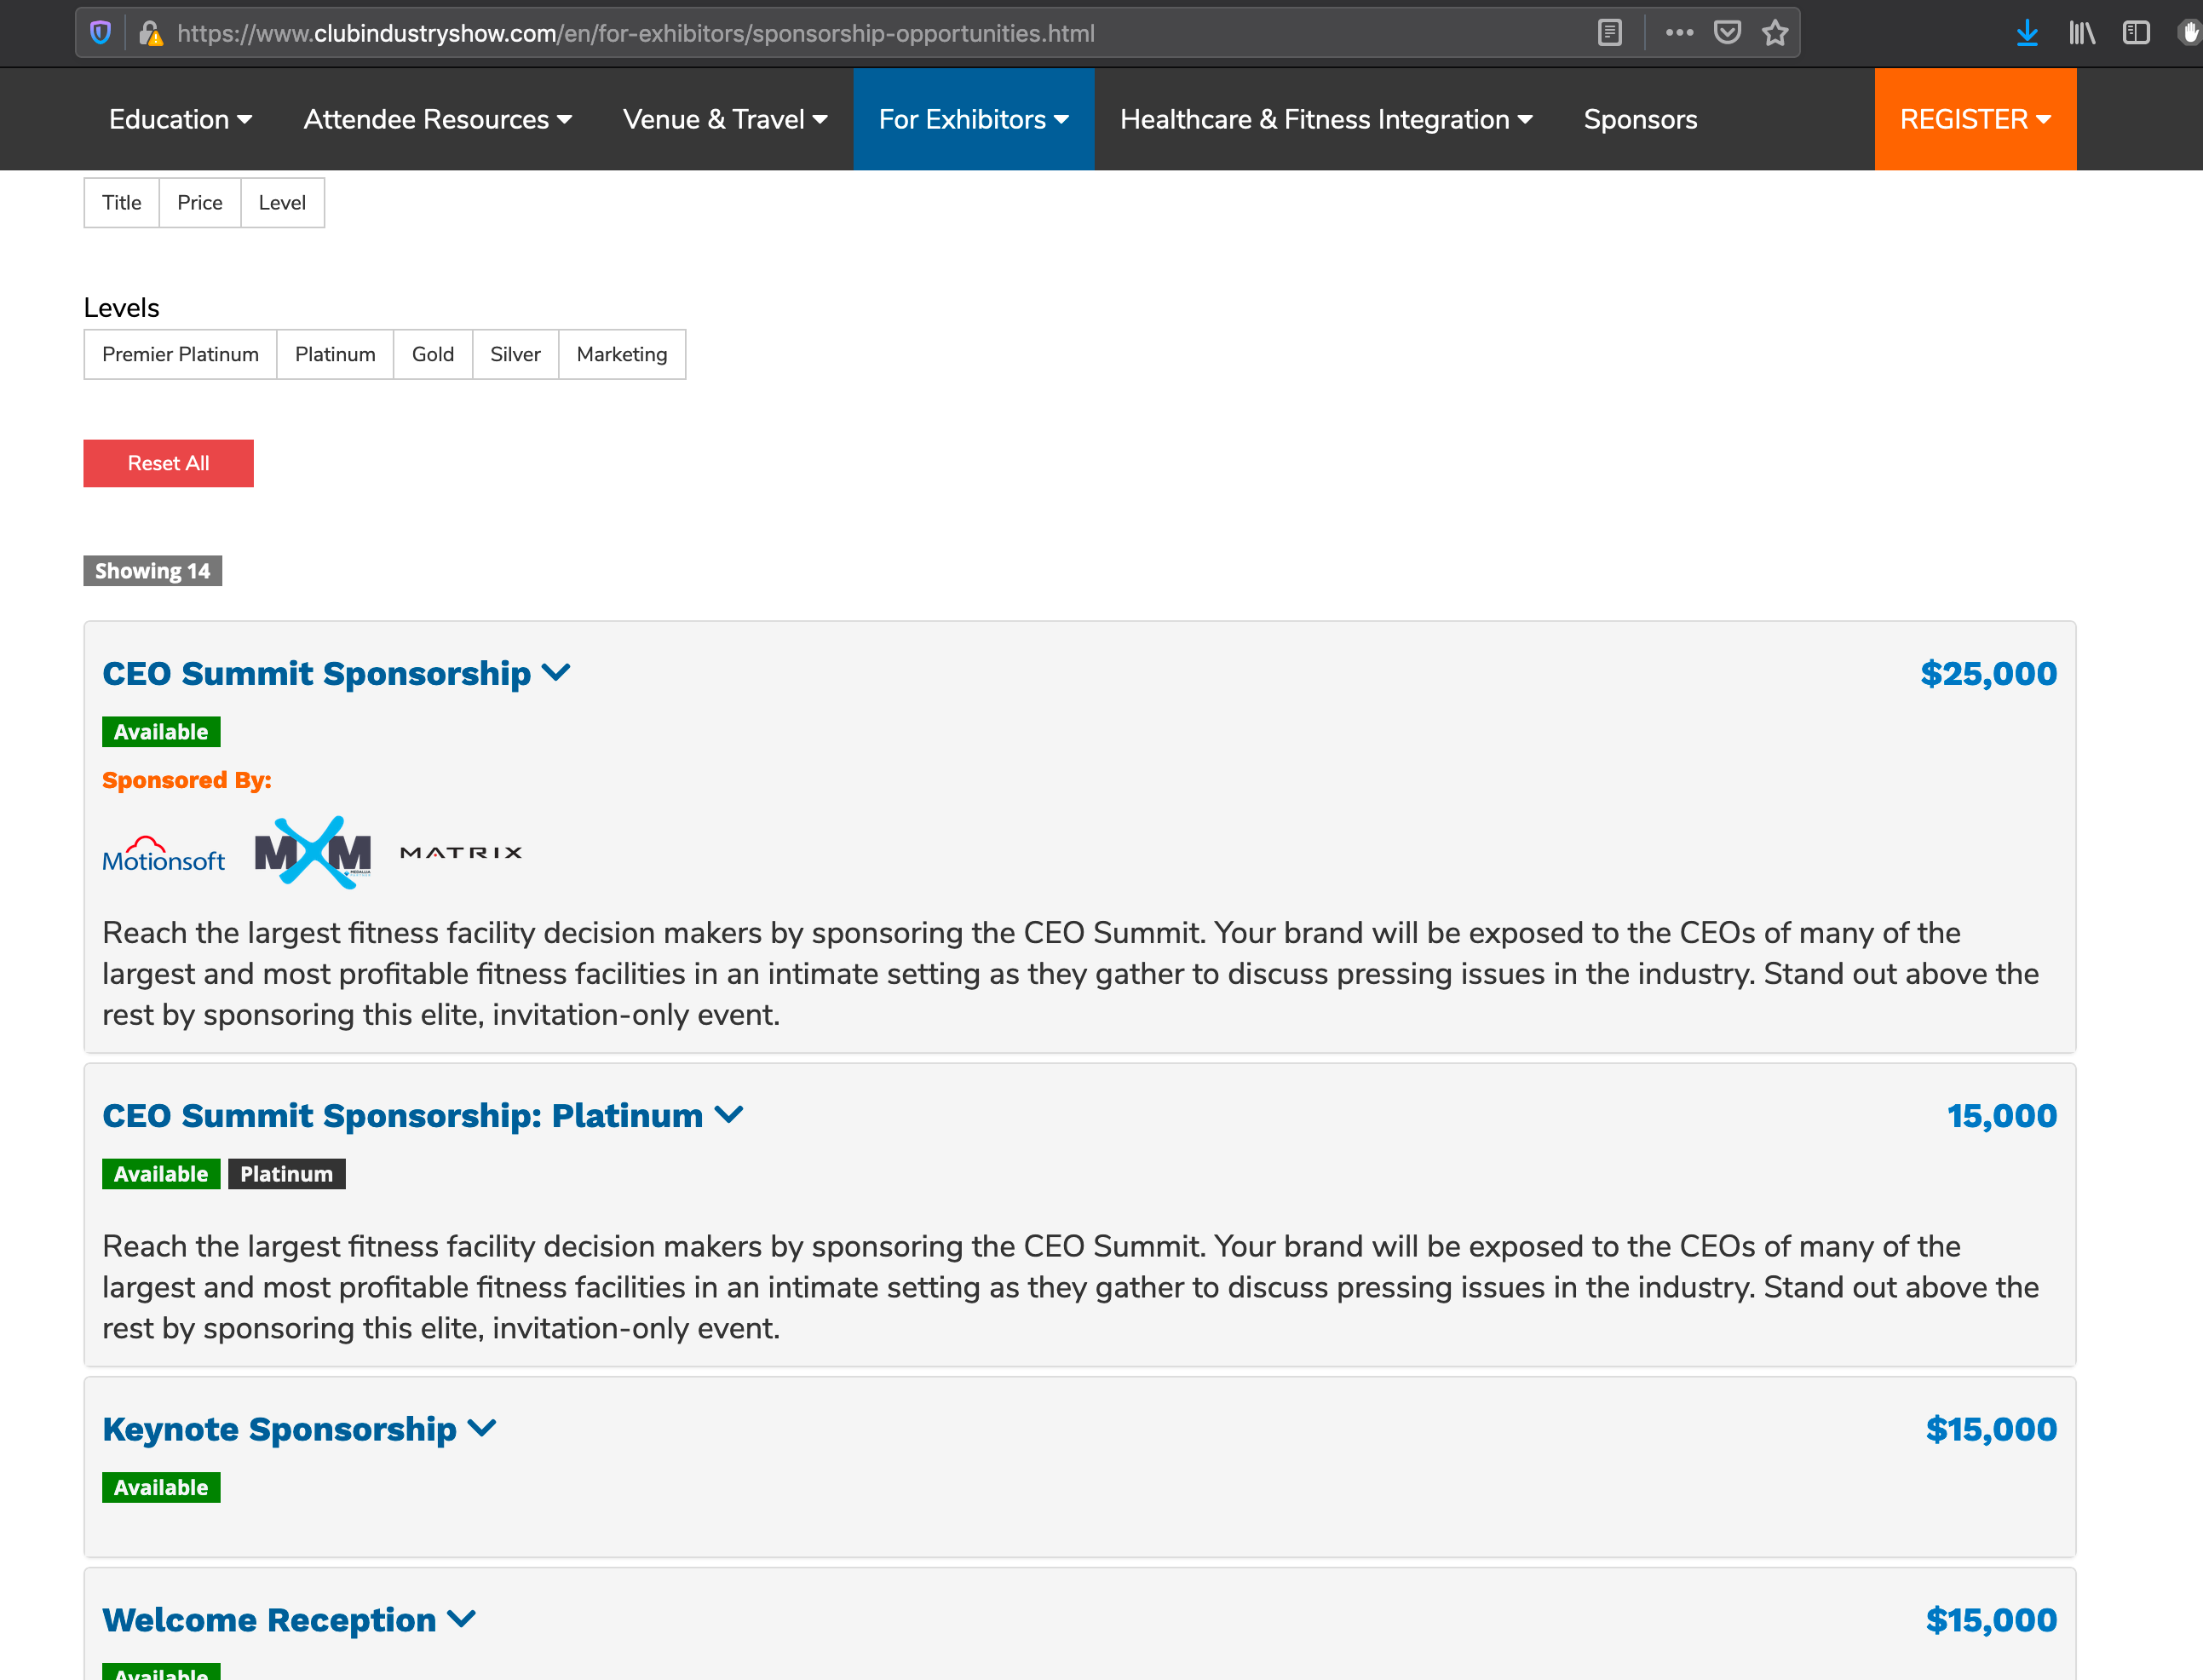 Using “Private”,
 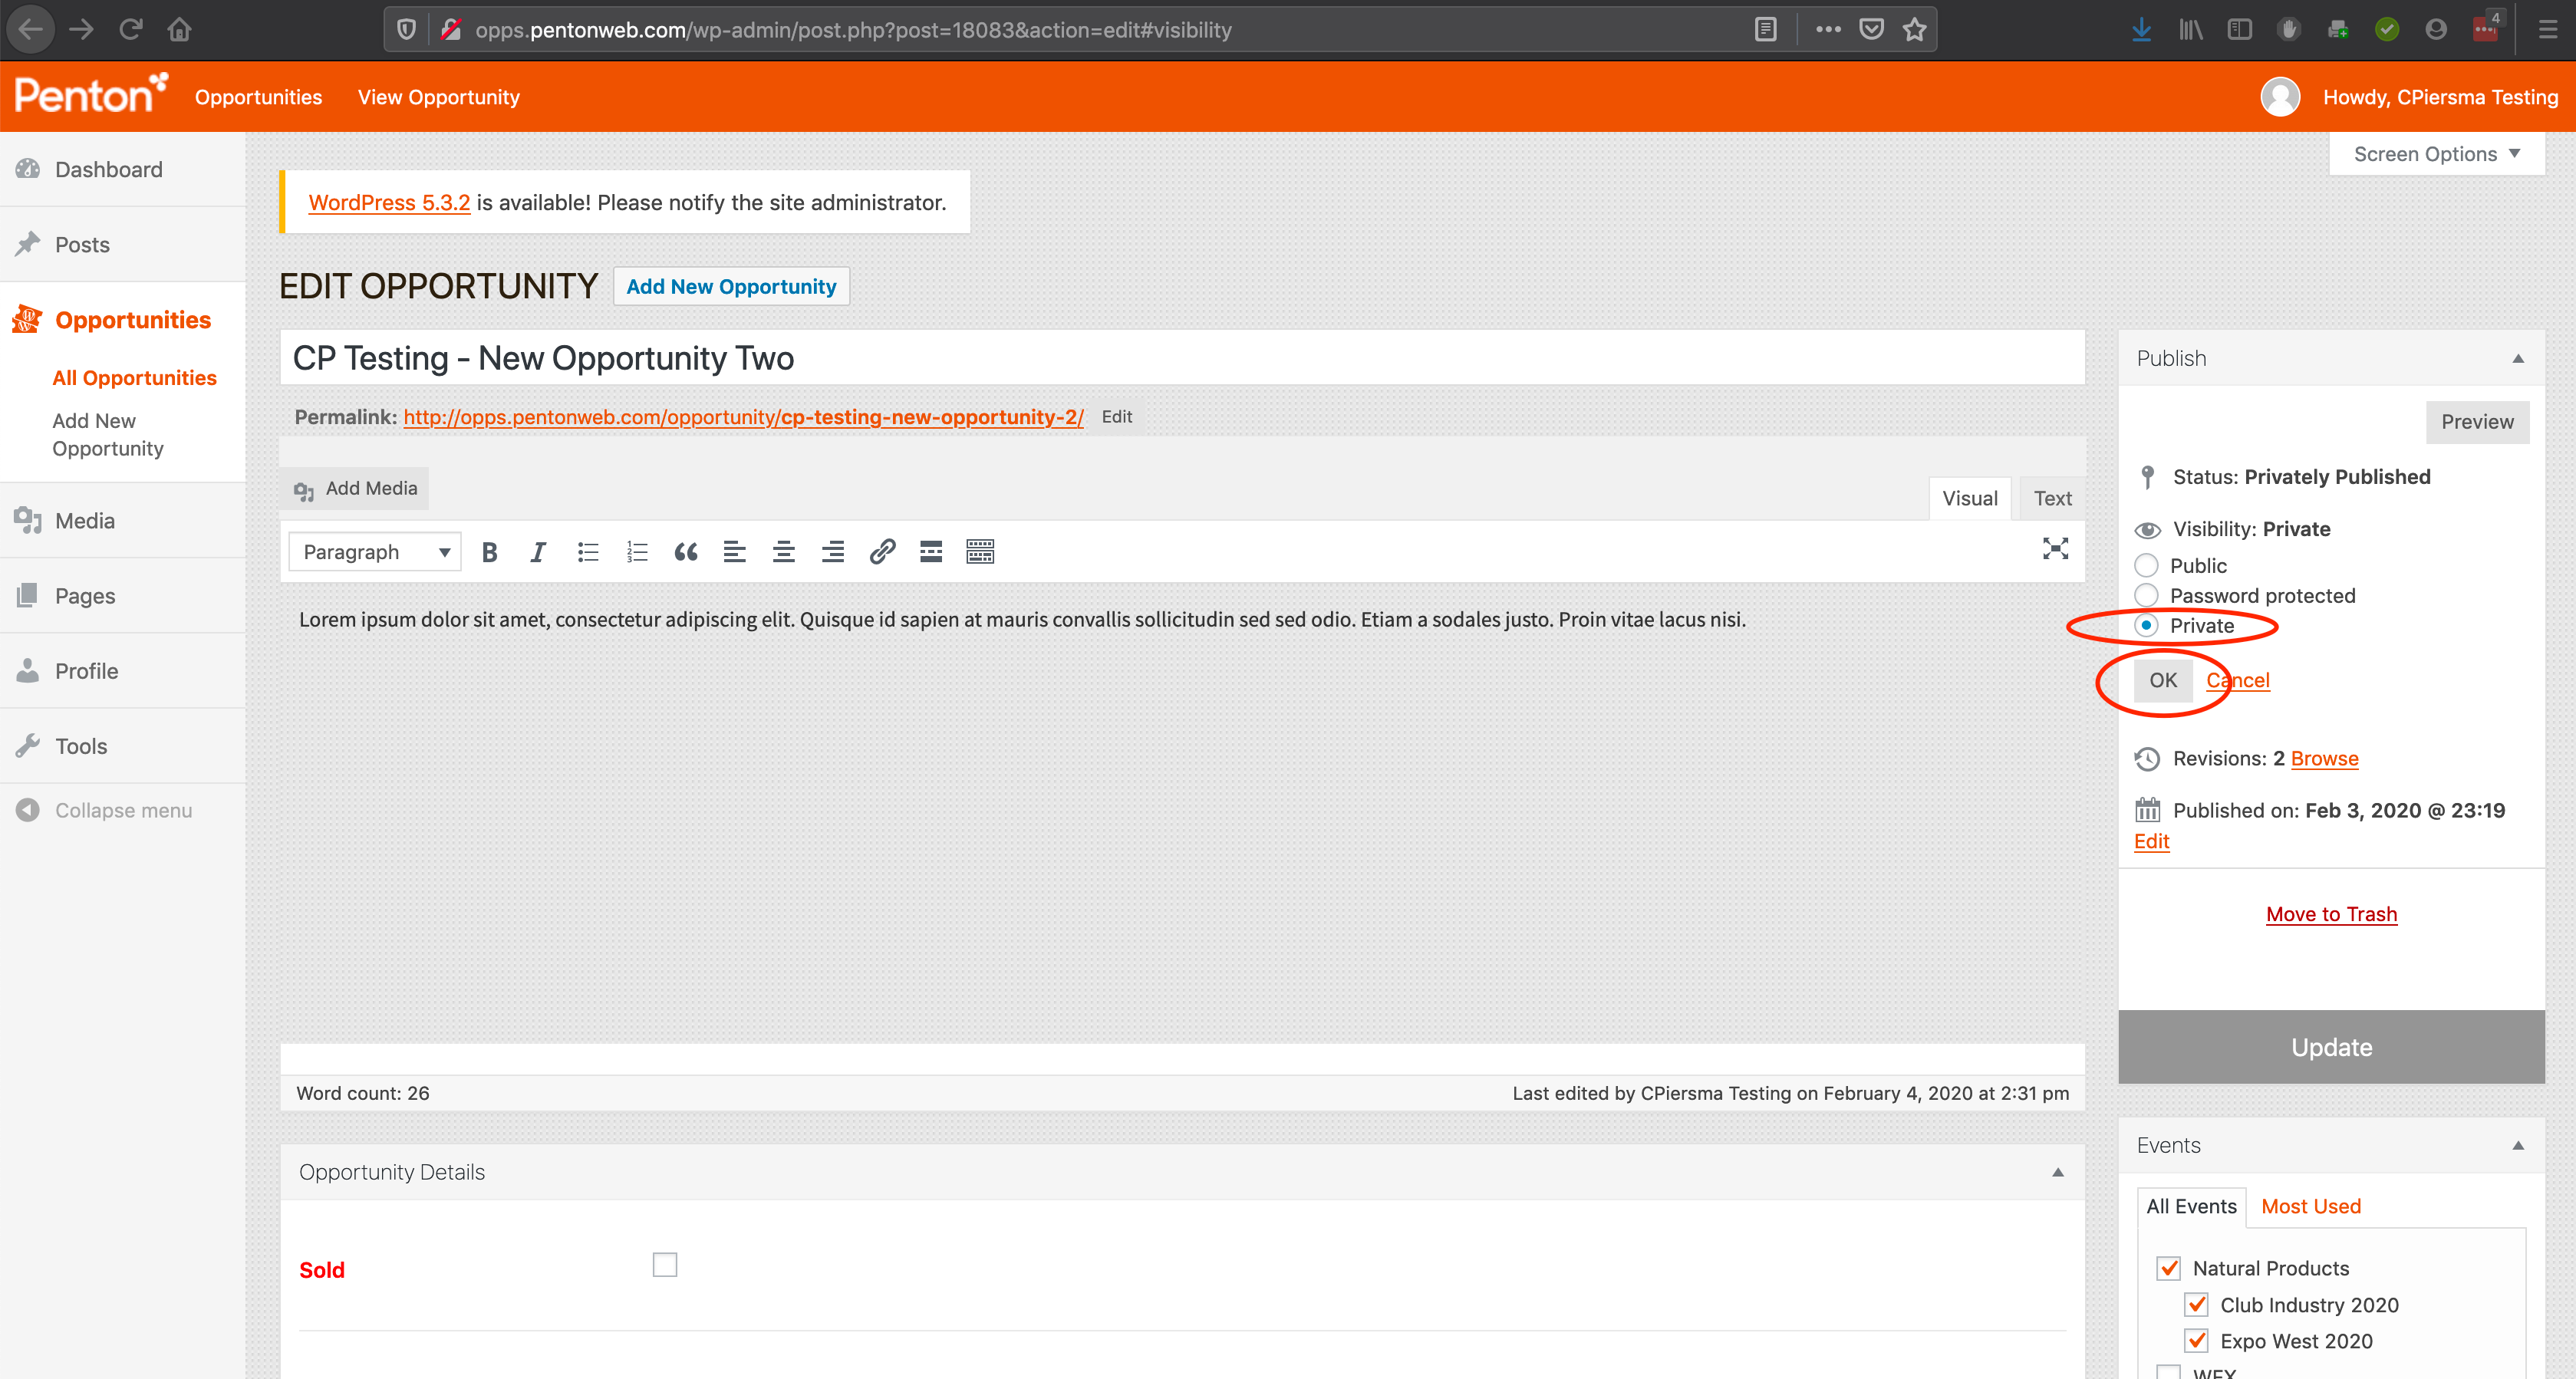 will only add that designation to the public listing:
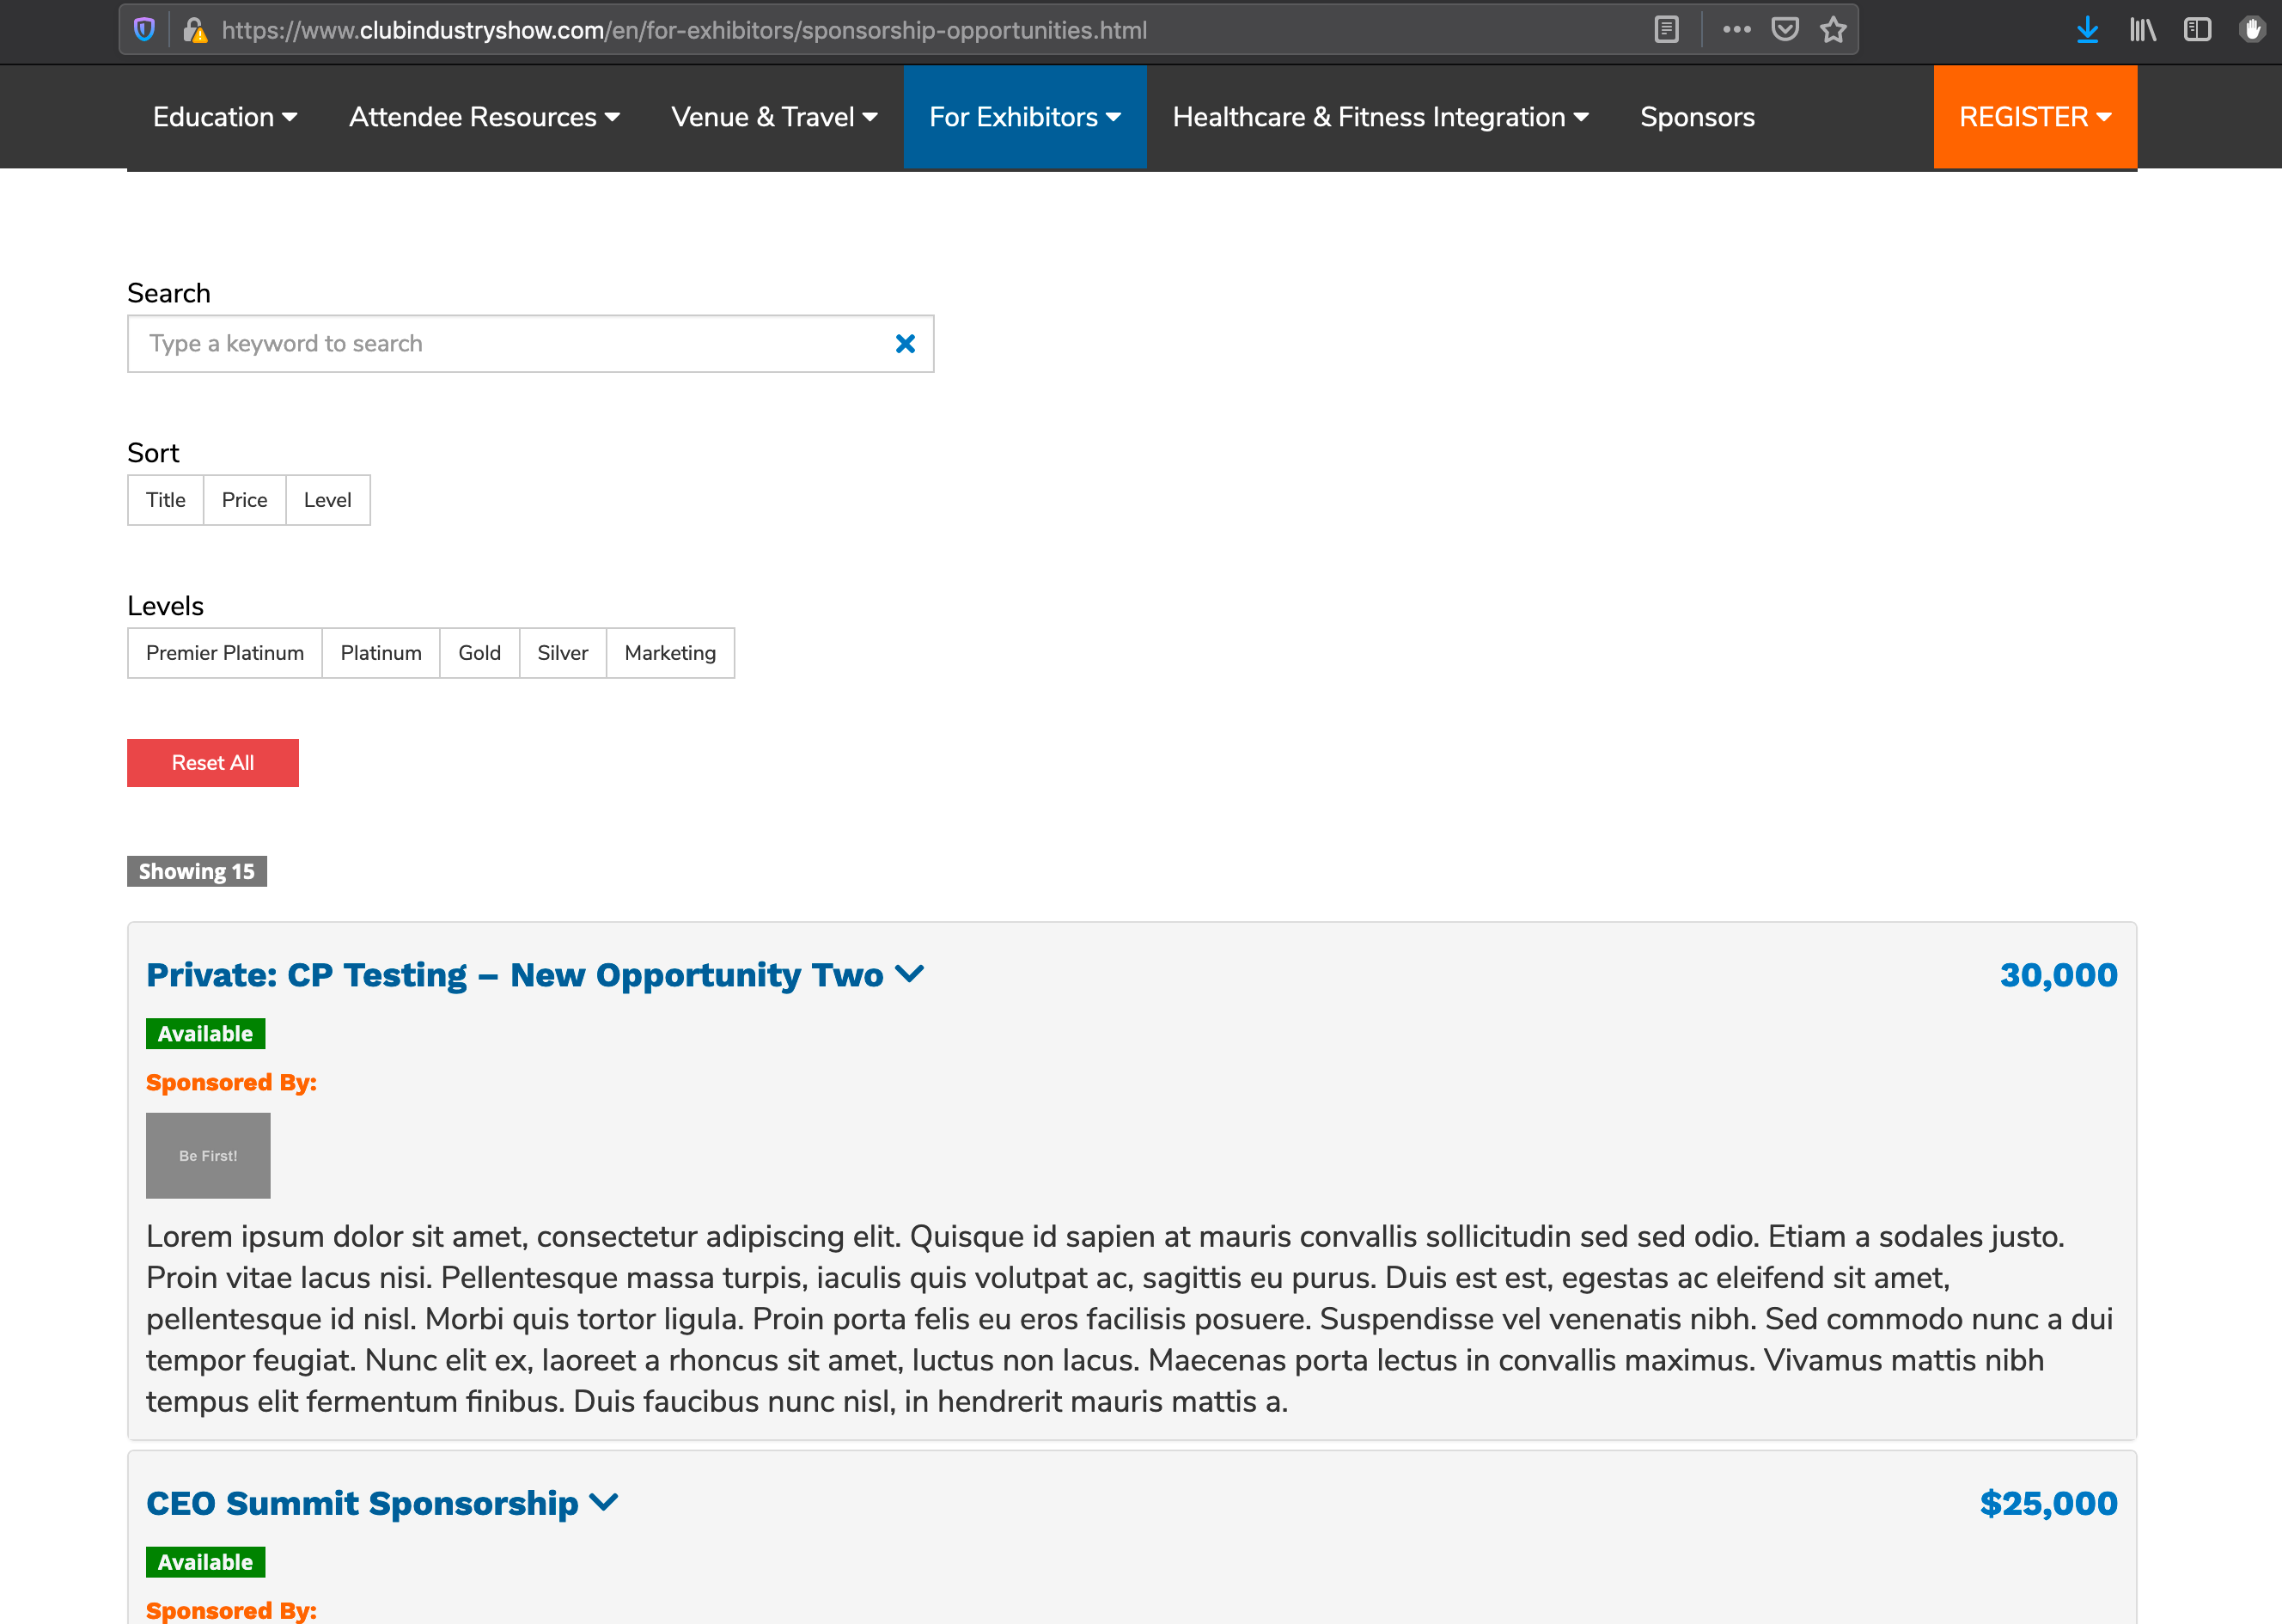
I need to review and prep an Opportunity but next year’s event is not yet in the system
You can build it out and review any Opportunity publicly using the “View” quick link:  available by hovering over an Opportunity to see its details:
 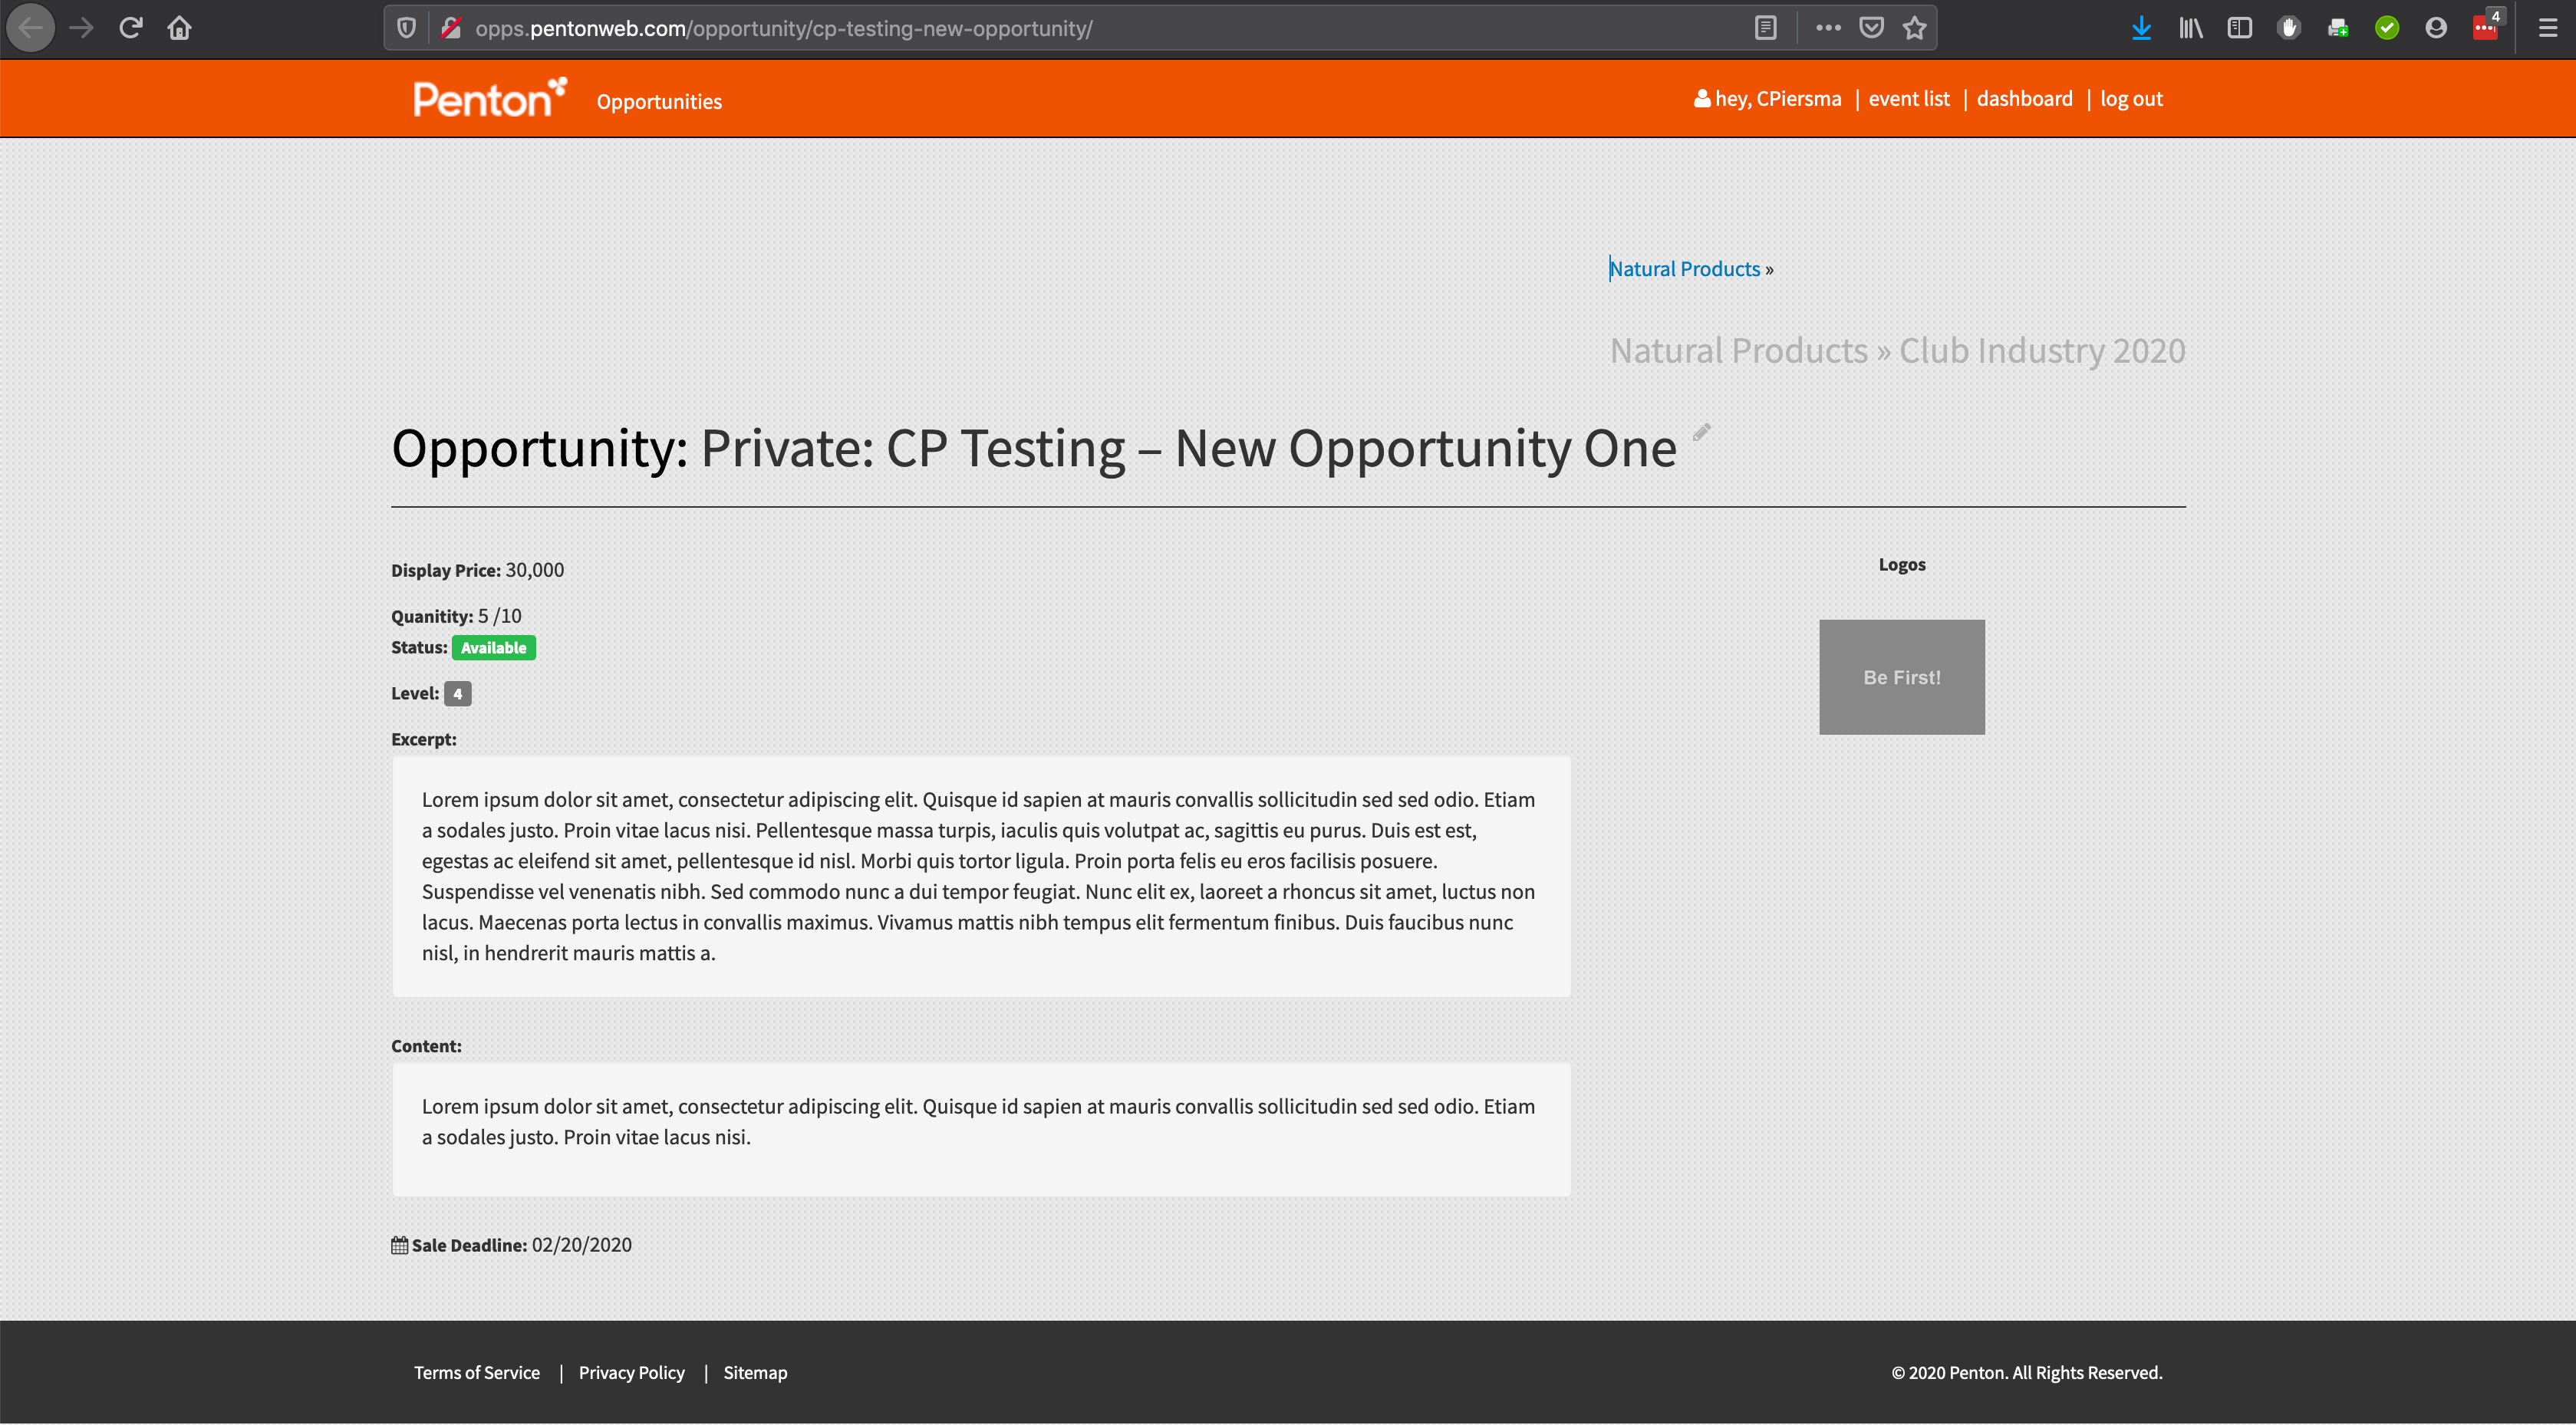 and
and 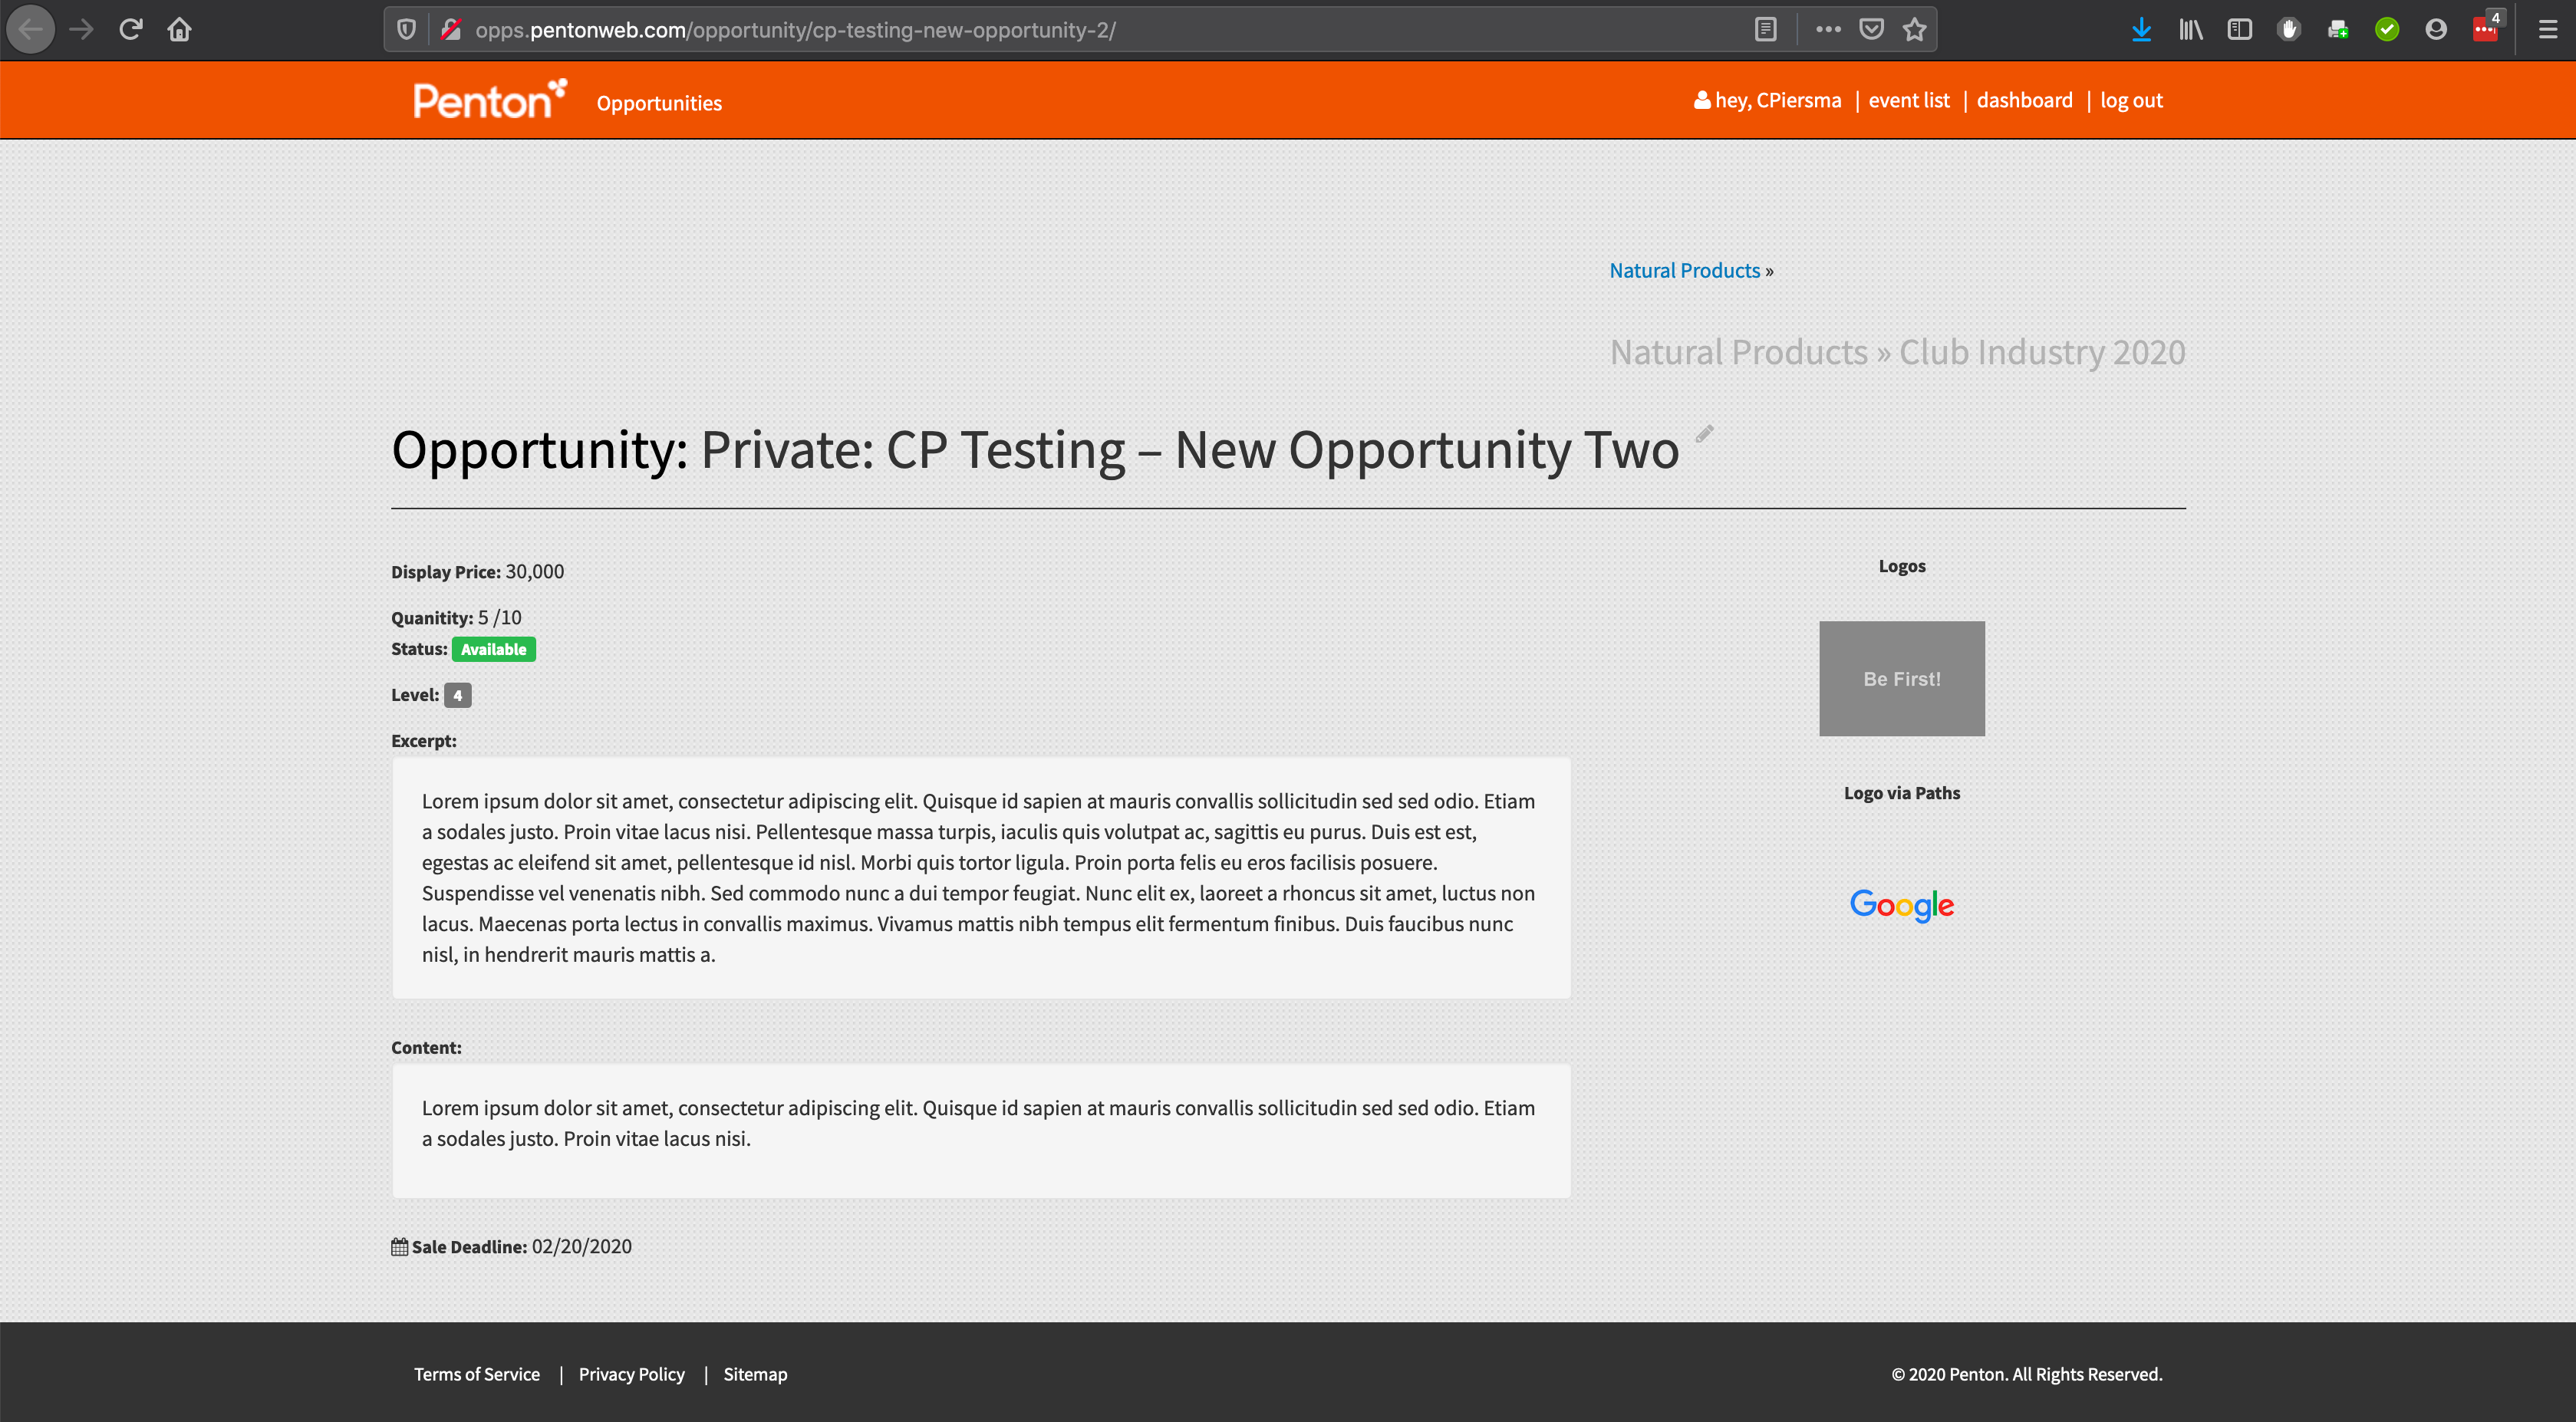 as needed on the Sponsorship and Marketing Opportunities site
I do not see my corresponding event custom field in the custom field dropdown block
If know what it should be (such as opp_level_ee22 and the related values), please feel free to add it through the “Enter new” link. Otherwise, please contact the web department if you don’t know what it should be or if it is not behaving as expected. Remember, adding/updating the fields in the custom fields block work independently of the main “Update” button in the upper right, so it is not necessary to use/hit that button: when updating a custom filed. As always, please review your opportunity after any edits.